6. Fax
43
6FaxSending Faxes
6.1 Sending a fax manually
Important:
L You can only send faxes in monochrome.
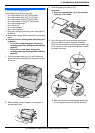
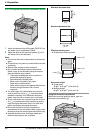
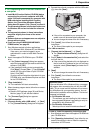
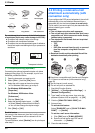
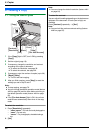
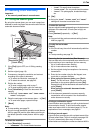
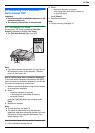
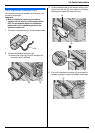
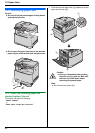
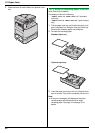
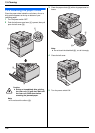
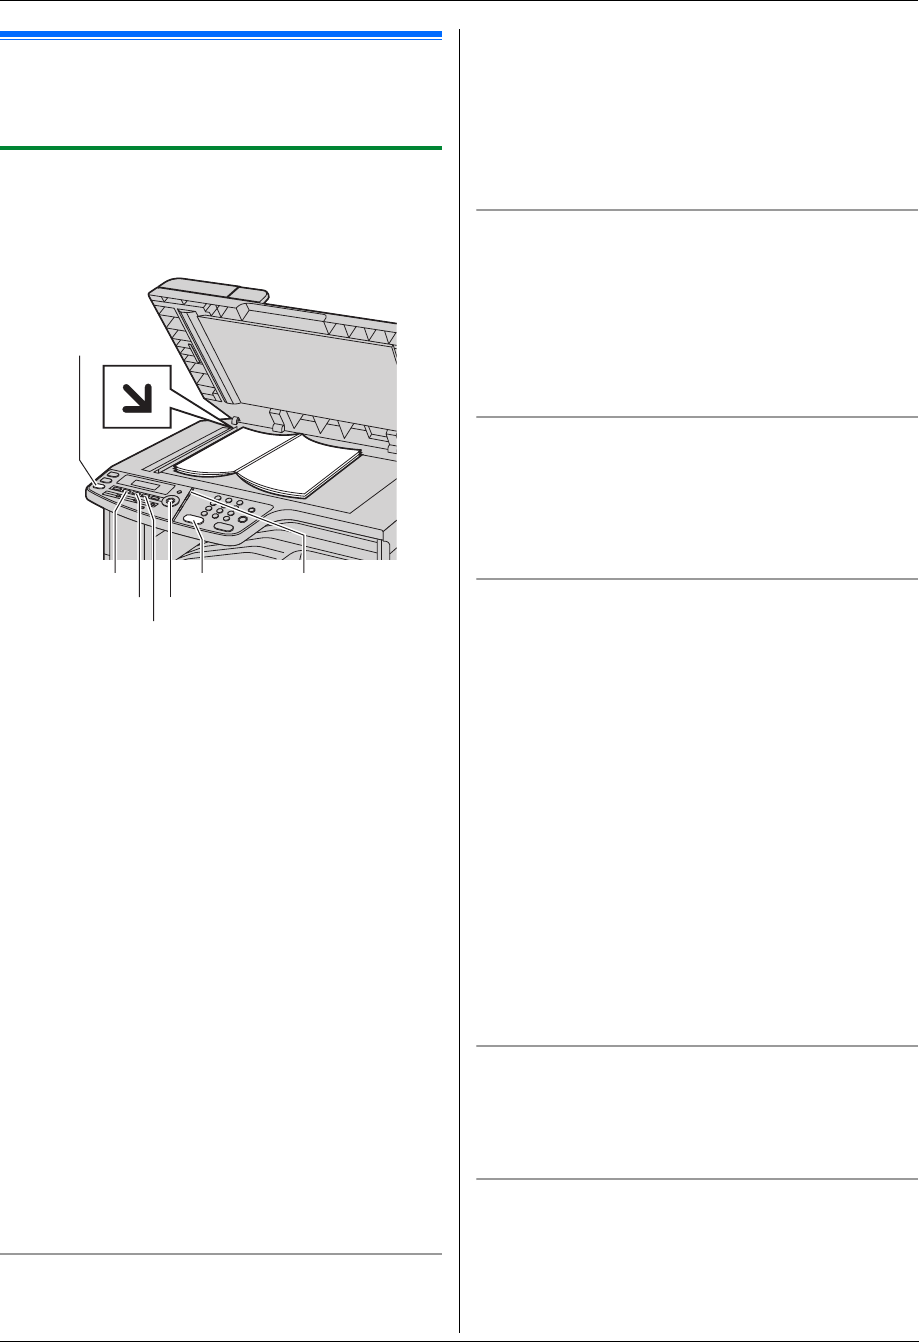
6.1.1 Using the scanner glass
By using the scanner glass, you can send a page from
booklets or small size paper that cannot be sent with the
automatic document feeder.
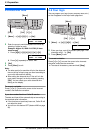
1 If the {Fax} light is OFF, turn it ON by pressing
{Fax}.
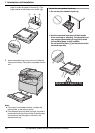
2 Set the original (page 19).
3 If necessary, change the resolution and contrast
according to the type of document.
L To select the resolution, see page 43.
L To select the contrast, see page 43.
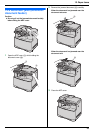
4 Dial the fax number.
L To send a single page, skip to step 7.
L To send multiple pages, go to the next step.
5 Press {Quick Scan} to scan the document into
memory.
L Wait until “SCAN:PRESS SET” “SEND:PRESS
START” is displayed.
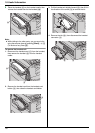
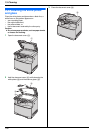
6 Place the next page on the scanner glass. i {Set}
L To send more pages, repeat this step.
7 {Black}
Note:
L To stop sending, see page 76.
L You can change the default operation mode (feature
#463 on page 59) and the timer before returning to
the default operation mode (feature #464 on page
59).
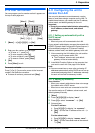
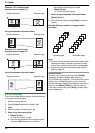
To select the resolution
1. Press {Resolution} repeatedly.
– “STANDARD”: For normal-sized characters.
– “FINE”: For small-sized characters.
– “SUPER FINE”: For very small-sized characters.
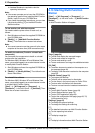
– “PHOTO”: For photographs, shaded drawings,
etc.
2. {Set}
L Using the “FINE”, “SUPER FINE” and “PHOTO”
settings will increase transmission time.
To select the contrast
You can adjust this setting depending on the darkness or
lightness of the document. 5 levels (low to high) are
available.
Press {Contrast} repeatedly. i {Set}
Note:
L You can hold the previous contrast setting (feature
#462 on page 59).
To redial the last number
{Redial}
L If the line is busy, the unit will automatically redial the
number.
Note:
L To stop sending, see page 76.
Reserving the fax transmission (Dual Access)
You can reserve the fax transmission even when the unit
is just receiving a fax or sending a fax from memory.
– Up to 3 reservations when sending
– Up to 4 reservations when receiving
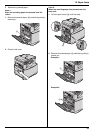
1. Set the original during fax reception or fax memory
transmission.
2. Enter the fax number using the dial keypad, one-
touch dial or navigator directory.
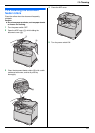
3. When using the scanner glass, press {Quick
Scan}. The unit will scan 1 page. Place the next
document on the scanner glass and press {Set}.
Repeat this until all the documents are scanned, then
press { Black}.
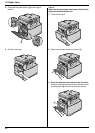
When using the automatic document feeder,
press { Black}.
L If the document exceeds the memory capacity,
transmission will be canceled. You must send the
entire document manually.
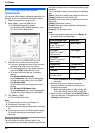
Printing a confirmation report
A confirmation report provides you with a printed record
of transmission results. To print confirmation reports,
make sure feature #401 is activated (page 61). For an
explanation of error messages, see page 81.
Printing a journal report
A journal report provides you with a printed record of the
30 most recent faxes. To print it manually, see page 103.
To print it automatically after every 30 new fax
transmissions and receptions, make sure feature #402 is
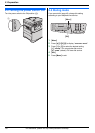
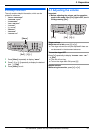
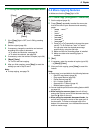
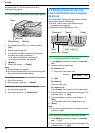
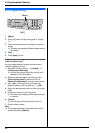
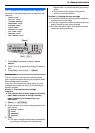
{Black}
{Set}
{Fax}
{Contrast}
{Resolution}
{Quick Scan}
{Redial}