


156 C1553M-B (4/05)
Maps
Maps provide VMX300(-E) operators with a graphical representation of the site they are monitoring, complete with installed devices such as
cameras and video recorders. VMX300(-E) provides tools to create links between maps and to customize maps with icons that represent installed
equipment and alarms.
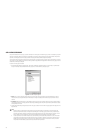
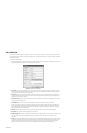
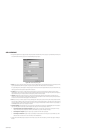
The first time you start the server, no maps are listed in the Object Browser. You must individually add each map you want to make available to
VMX300(-E) operators.
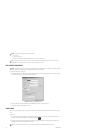
VMX300(-E) does not offer the capability to create maps. Use graphics or CAD software to create your maps, and then import them into
VMX300(-E) as described in Add a New Map. Or you can use the Print Screen key on your workstation keyboard to create a map file, as described
in Use Print Screen to Create a Map File.
Note that you cannot change a map file through VMX300(-E). Nothing you do in VMX300(-E) will affect the original file specified when the map is
added.
File formats: VMX300(-E) accepts the following graphic file formats.
• JPEG (.jpg)
• Bitmap (.bmp)
• Windows metafile (.wmf)
• Extended metafile (.emf)
To reduce the CPU workload, map files should be as small as possible. Avoid using files with a file size over 1 MB.
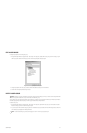
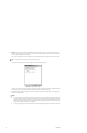
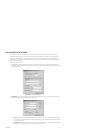
USE PRINT SCREEN TO CREATE A MAP FILE
1. Display the image you want to use as a map on your computer. Click the image to make it active.
2. Take a screen capture of the active window by holding the Alt key down and pressing Print Screen.
3. In any software package that allows you to save bitmaps, such as the Paint program available through Windows Accessories, open a new file
and press Ctrl-V to paste the screen capture.
4. Save the file as one of the supported bitmap formats, .bmp or .jpg.
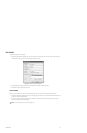
5. If desired, open the new file in a graphics package and crop the map.
TIP: If you have an AutoCAD drawing that you want to use as a VMX300(-E) map, create a .wmf version of the drawing by opening the
drawing in AutoCAD and exporting the drawing as type Metafile (.wmf).