


Optical Mark Recognition (OMR) • 5
5-11SV40221 Rev. A
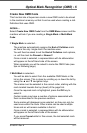
Create New OMR Code
This function lets a Supervisor create a new OMR code to be stored
in the machine’s memory so that it can be used when creating a Job
Definition that uses OMR.
Action…
Select Create New OMR Code from the OMR Menu screen and the
machine will ask if you are creating a Single Mark or Multi-Mark
Code:
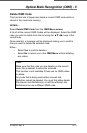
If Single Mark is selected...
The machine automatically assigns the End of Collation mark
as this is the only ‘single mark’ the machine uses.
You will then be asked to set the End of Collation mark options,
i.e. will the mark be Present or Absent?
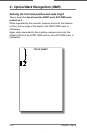
Once a mark is selected, a representation with its abbreviation
will appear on the left hand side of the screen.
When complete you will be asked to name the OMR Code (see
tips on following page).
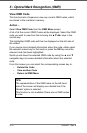
If Multi-Mark is selected...
You will be able to select from the available OMR Marks in the
list on the screen. This is done by scrolling up or down the list by
using the ▲ and ▼ navigation keys.
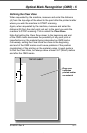
The marks must be selected in the correct order, starting with the
mark located towards the top (head) of the page first.
Once the required mark is highlighted, press the OK key to
select it.
Certain marks may have a number of options associated with
them as described in the previous sections.
Some marks will disappear once selected, as they can only be
used once within the code. Other marks can be used multiple
times and so will remain available in the list.
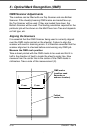
Once a mark is selected, a representation with its abbreviation
will appear on the left hand side of the screen.
If you press Cancel whilst in this screen, the last selected mark
will be removed.
SV40221 Rev A book.indb 5-11 9/14/2004 5:51:19 PM