


16
Scanner Setup
17
Scanner Setup
Scanner Setup
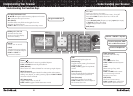
Installing Your Scanner
You can mount your scanner in your vehicle or use it as a base
station.
Setting up a Mobile Base
You can place your scanner on a desk, shelf, or table to use it as a
base station. Because the speaker is on the bottom of the scanner,
use the mounting bracket to elevate your scanner off the surface for
better sound.
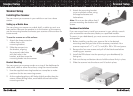
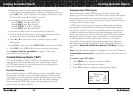
To use the scanner on a flat surface:
1. Attach the three protective
rubber feet to the
mounting bracket.
2. Slide the scanner into
the bracket, aligning
the scanner’s side holes
with the holes in the
bracket,
and then screw the
mounting
knobs into the scanner.
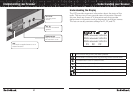
Bracket Mounting
You can mount your scanner under or on top of the dashboard a
desk, shelf, table or other flat surface, using the mount bracket.
1. Use the supplied mounting bracket as a template to make
positions for the two mounting screws.
2. At the marked positions, drill holes slightly smaller than the
screws. When drilling holes, avoid obstructions behind the
mounting surface.
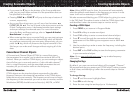
3. Attach the mounting bracket
to your vehicle’s surface using
the supplied screws and
lockwashers.
Note: Do not use the rubber feet if
you are mounting the bracket with
screws.
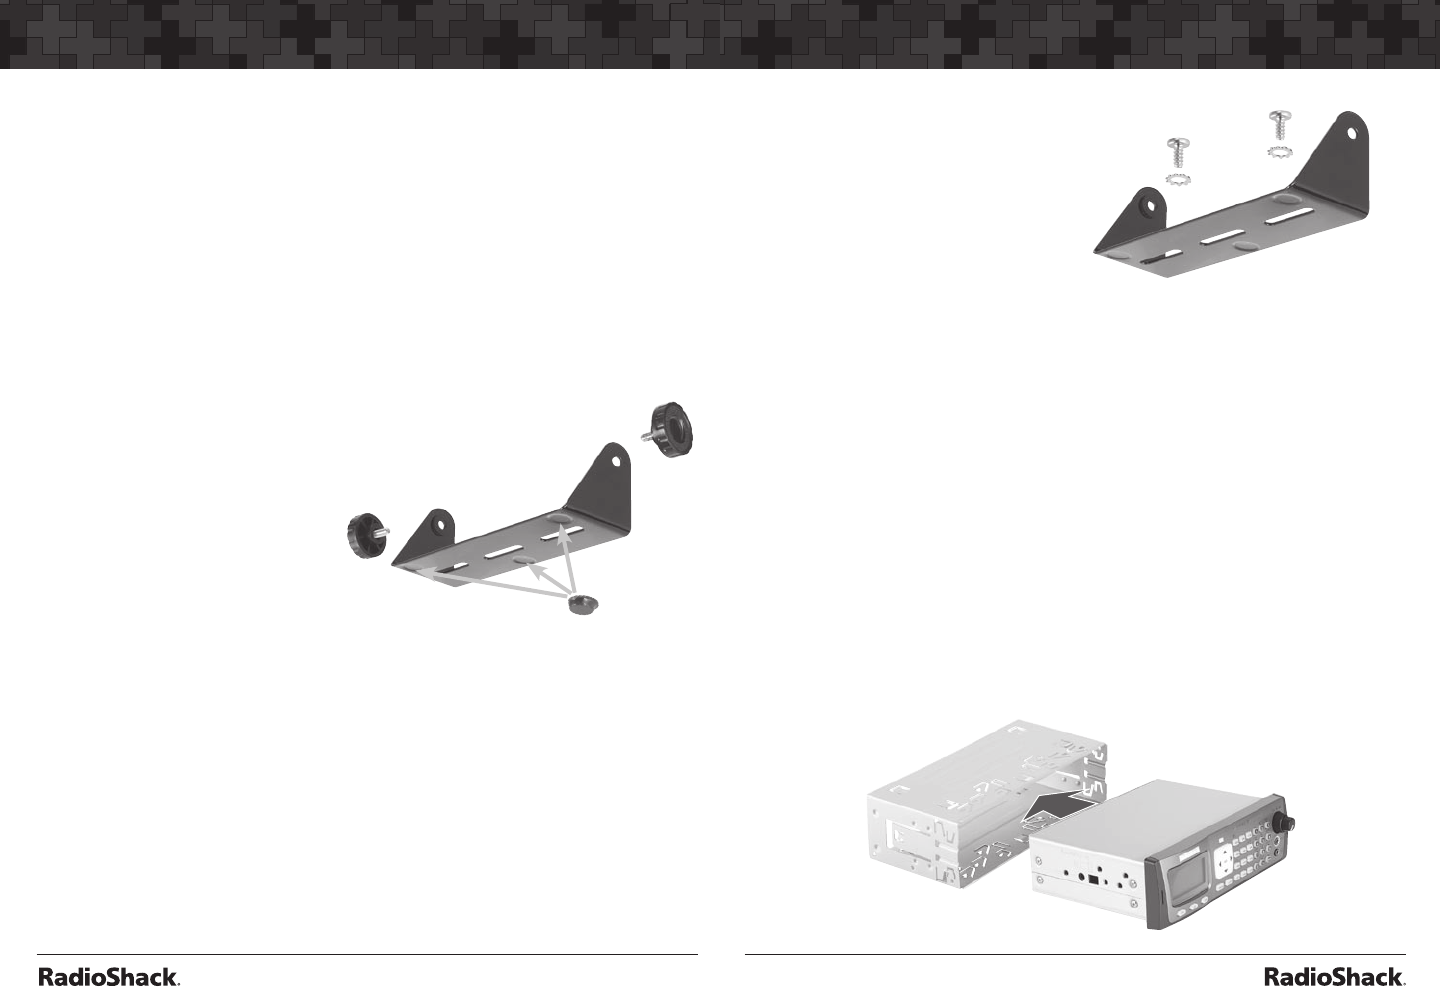
Dashboard Installation
If you are unsure how to install your scanner in your vehicle, consult
your automobile manufacturer, dealer, or a qualified installer.
To mount in your dashboard, you must connect an external antenna
and speaker.
1. Before installing, confirm your scanner fits in the desired
mounting area and you have all the necessary materials. Your
scanner requires a 2 x 7
1
/
8
x 5
5
/
16
inch (50 x 180 x 135 mm) space.
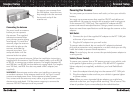
2. Remove the four rear screws and pull off the black case before
installing your scanner.
3. Install the DIN sleeve into the opening in your dashboard, lip
facing out.
4. Push out the top and bottom tabs to hold the sleeve firmly in place.
5. Slide the scanner into the sleeve until it locks in place.