Printing a File Received with Memory Lock
155
4
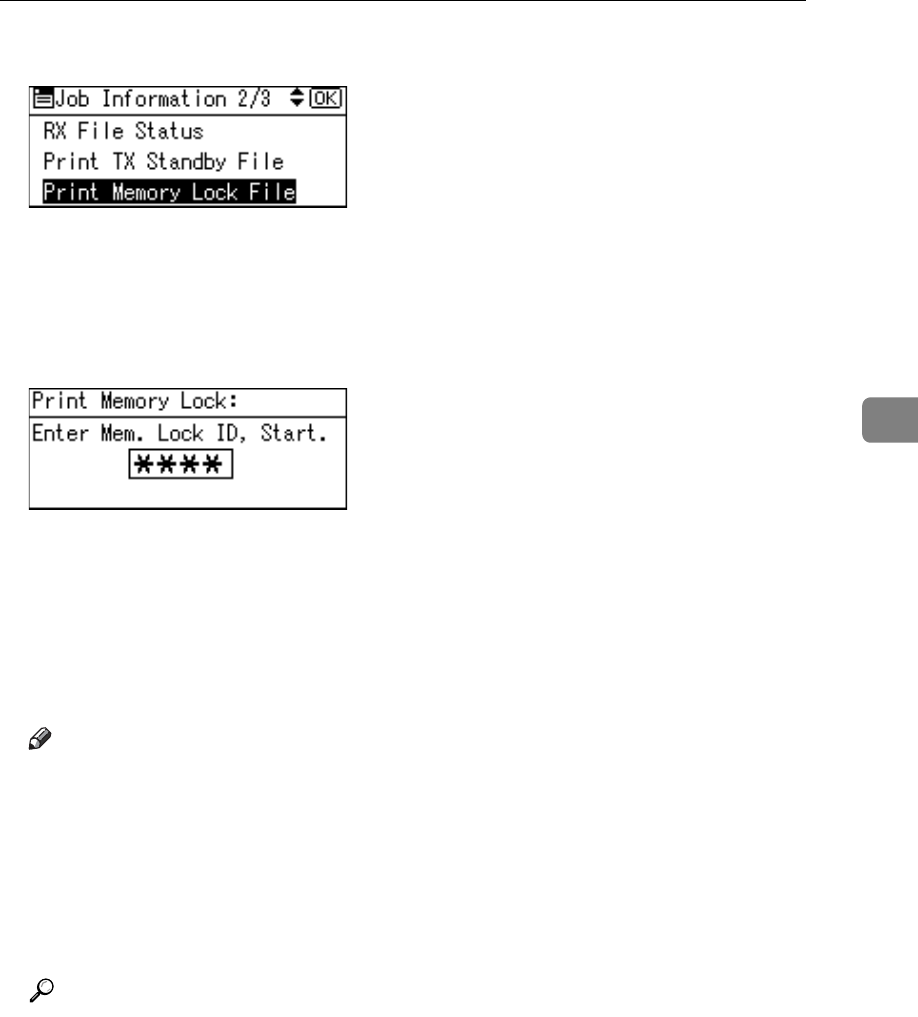
C Select [Print Memory Lock File] using {U} or {T}, and then press the {OK} key.
If no documents were received while Memory Lock was switched on, the
message “
There are no memory lock files.” is shown, and then the dis-
play returns to that of step
C
.
D Enter a 4-digit Memory Lock ID with the number keys, and then press the
{Start} key.
If the Memory Lock ID does not match, the “
Specified code does not
match the programmed Memory Lock ID.
” message appears, and then the
display returns to the previous screen. Retry after checking the Memory Lock
ID.
E Press the {Escape} key.
The standby display appears.
Note
❒ Even when Memory Lock is available, if free memory is insufficient, recep-
tion is not possible.
❒ You can also apply a Memory Lock to documents that come only from cer-
tain senders.
❒ Documents received by SEP Code Reception are automatically printed
even if this function is switched on.
❒ If you print a Memory Lock File, it is deleted.
Reference
“Fax Features”, General Settings Guide
“Troubleshooting When Using the Facsimile Function”, Troubleshooting


