49
8
8
Begin installation of the Sharpdesk (This step will start if it was
selected in step 4).
1
After confirming the message in the "Welcome to Sharpdesk
installation" window, click the "Next" button.
2
Read the message in the "Information" window, and then click the
"Next" button.
3
When the "Choose Destination Location" window appears, click
the "Next" button.
4
When the "Select Program Folder" window appears, click the
"Next" button.
The setup program will start to copy the files.
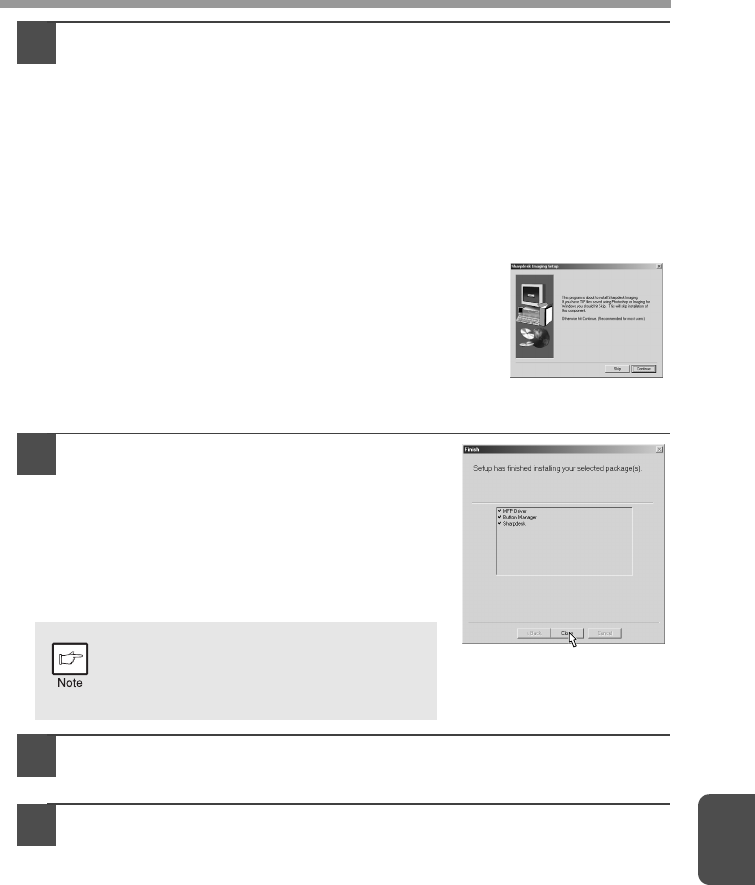
If the dialog box asking "If you have TIF files
saved using Photoshop or Imaging for
Windows you should hit Skip" appears,
answer the question to continue the
Sharpdesk installation.
5
Click the "Finish" button when the message
to inform you of the completion of the installation appears.
9
Click the "Close" button when the
message to inform you of the
completion of the installation appears.
When the "Now connect the MFP
interface cable to the PC. This will
finalize the drivers installation and
settings." dialog box appears, click the
"OK" button.
10
Connect the USB interface cable. (p.67)
Windows will detect the MFP and the Plug and Play screen will appear.
11
Follow the instructions in the Plug and Play screen that
appears in your version of Windows to begin the installation.
You have completed the installation of the software.
After the installation, a message to
restart your computer may be
displayed. In this case, click the "Yes"
button to restart your computer.


