


62
3
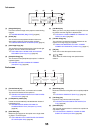
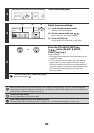
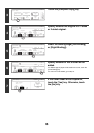
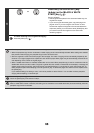
Touch the [Erase] key.
4
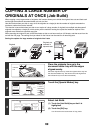
Select the erase settings.
(1) Touch the desired erase mode.
Select one of the three positions.
(2) Set the erasure width with .
0 mm to 20 mm (0" to 1") can be entered.
(3) Touch the [OK] key.
You will return to the base screen of copy mode.
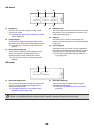
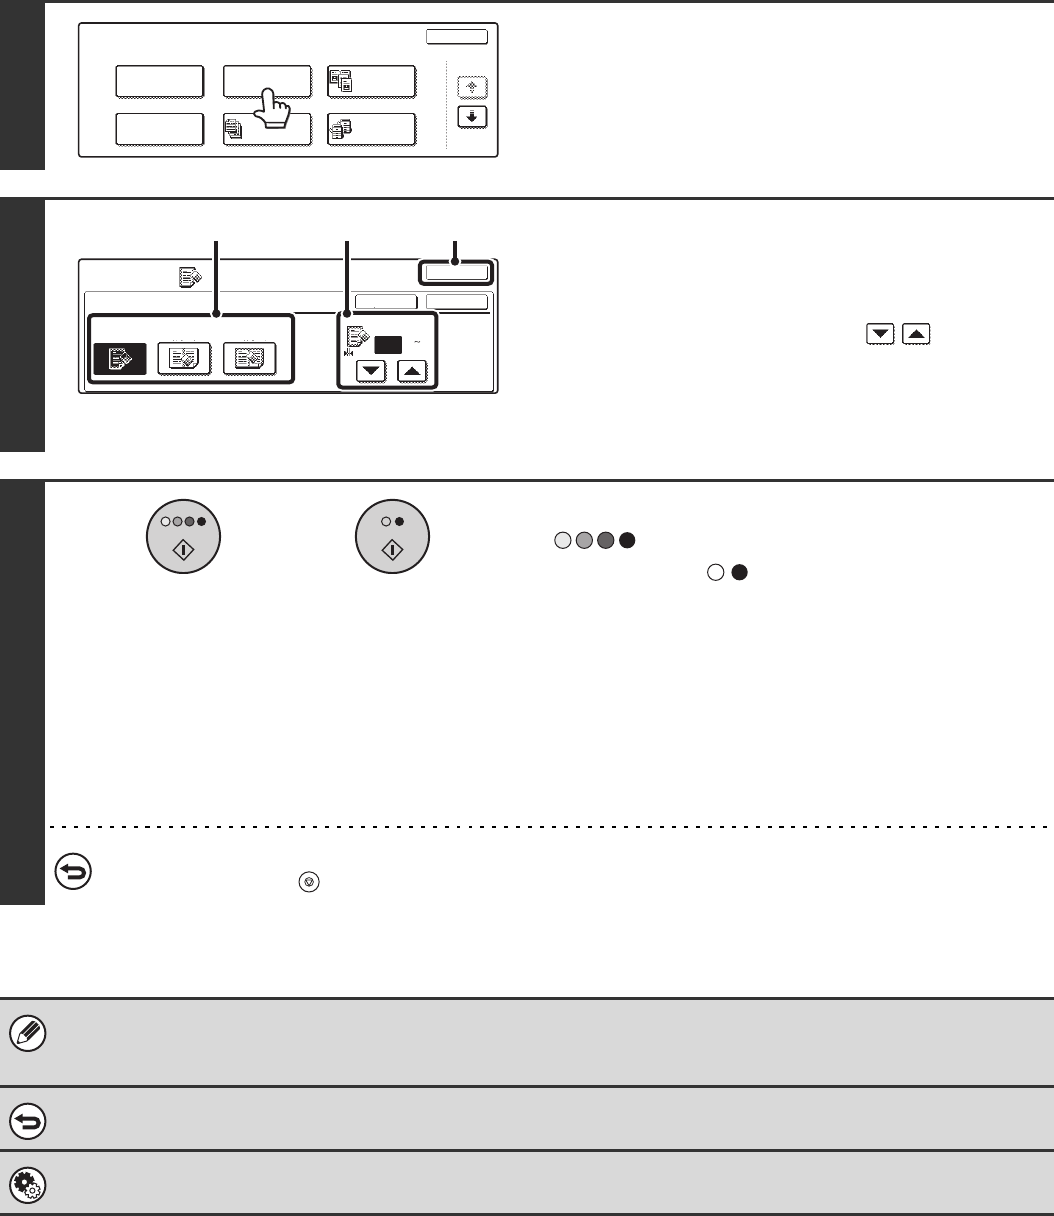
5
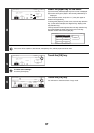
Press the [COLOUR START] key
( ) or the [BLACK & WHITE
START] key ( ).
Copying will begin.
• If the originals were placed in the document feeder tray, the
originals are copied.
• If you are using the document glass, copy each page one
page at a time. If you are using the sort function or other
function that requires all originals to be scanned before the
copies are printed, you must use the same [START] key that
you used to scan the first original to scan each of the
remaining originals.
To cancel scanning of the original and copying...
Press the [STOP] key ( ).
When the erase function is used, erase takes place at the edges of the original image. If you also use a ratio setting, the
erase width will change according to the selected ratio. For example, if the erase width setting is 20 mm (1") and the copy is
reduced to 50%, the erase width will be 10 mm (1/2").
To cancel the erase setting...
Touch the [Cancel] key in the screen of step 4.
System Settings (Administrator): Erase Width Adjustment
The default erase width can be set from 0 mm to 20 mm (0" to 1"). The factory default setting is "10 mm (1/2")".
Special Modes
OK
1/4
Margin Shift
Pamphlet Copy
Erase
Tandem
Copy
Dual Page
Copy
Job
Build
Special Modes
Erase
OK
OKCancel
Edge
10
Centre
Erase
Edge
Erase
Edge+Centre
Erase
(0 20)
mm
(2)(1) (3)
or