104
Installation and Adjustment
Setting Up the Printer (Continued)
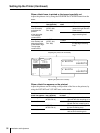
PRN SPEED : / HIGH
MOTION CHK
P
/c/ l /PRN/i /o/
RINTER SETUP
PRINTER SETUP COLOR : 200
/ COL / LAY / PRN / IN / OUT /
PRINT QTY. : 1 [ 1 ~ 9 ]
INTERVAL : OFF / ON
GAMMA : S / NORMAL / H
: OFF / ON
LOAD USER : 1 / 2 / 3 [ EXEC ]
SYSTEM : PRESS [ > ]
FUNCTION : PRESS [ > ]
C - BALANCE : PRESS [ > ]
Q1 A 1
S
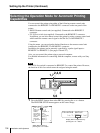
Selecting the Operation Mode for Automatic Printing
Capabilities
You can control the printer using either of the following remote control units
connected to the REMOTE 2 or REMOTE 3 connector on the rear panel of the
printer.
• RM-91 Remote control unit (not supplied): Connected to the REMOTE 2
connector
• FS-30 Foot switch (not supplied): Connected to the REMOTE 3 connector.
In addition, you can also remote control the printer by using a remote control unit
which sends the remote control signal to the Pin No.5 of the REMOTE 3
connector.
Using the menu, you can assign the desired functions to the remote control unit
connected to the REMOTE 2 or REMOTE 3 connector.
In addition, the printer can be remotely controlled by a pulse signal input to
REMOTE 2 or REMOTE 3. (See pages 126 and 127).
Also, you can control the printer using a personal computer.
For detailed information on controlling with the computer, contact with your Sony
dealer.
Note
The FS-36 foot switch is connected to REMOTE 2 to control the printer. However,
the function of this foot switch cannot be assigned using the menu.
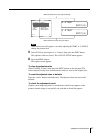
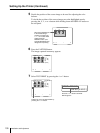
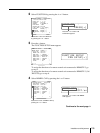
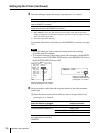
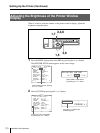
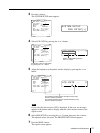
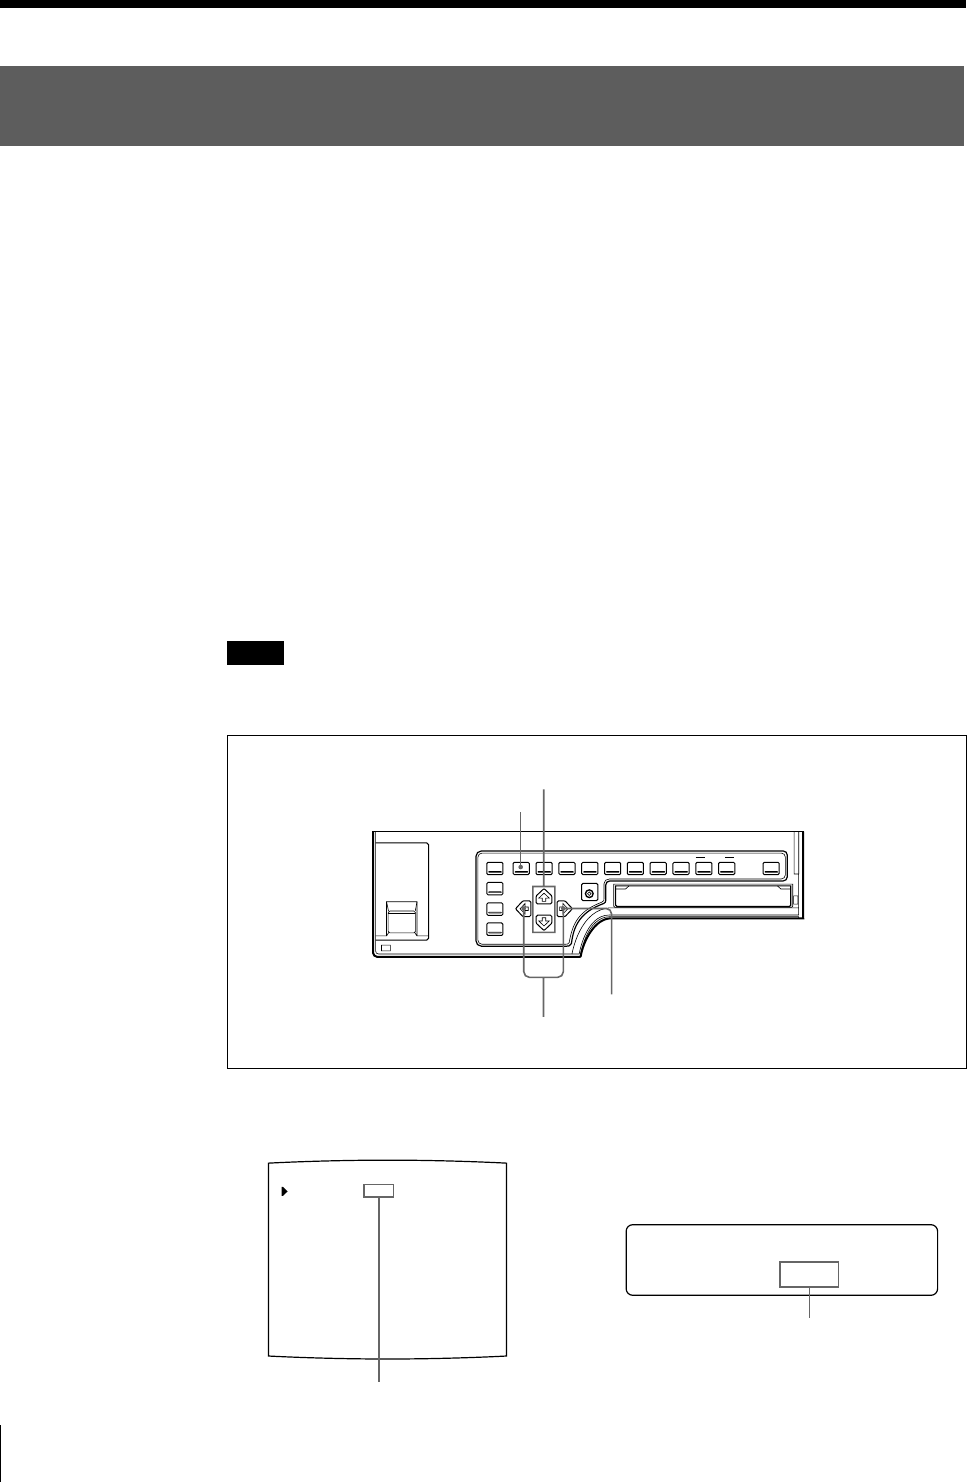
1 Press the MENU button, then select PRN by pressing the G or g button.
The PRINTER SETUP menu appears on the source image.
1,7
2,4,6
3
5,6
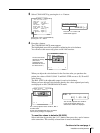
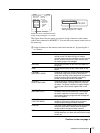
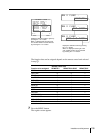
Switch PRN to green by
pressing the G or g button.
Display PRN in capital letters by
pressing the G or g button.


