135
Others
SOURCE/
MEMORY
MEMORY
PAGE
CAPTURE
PRINT
PRINTALARM
POWER
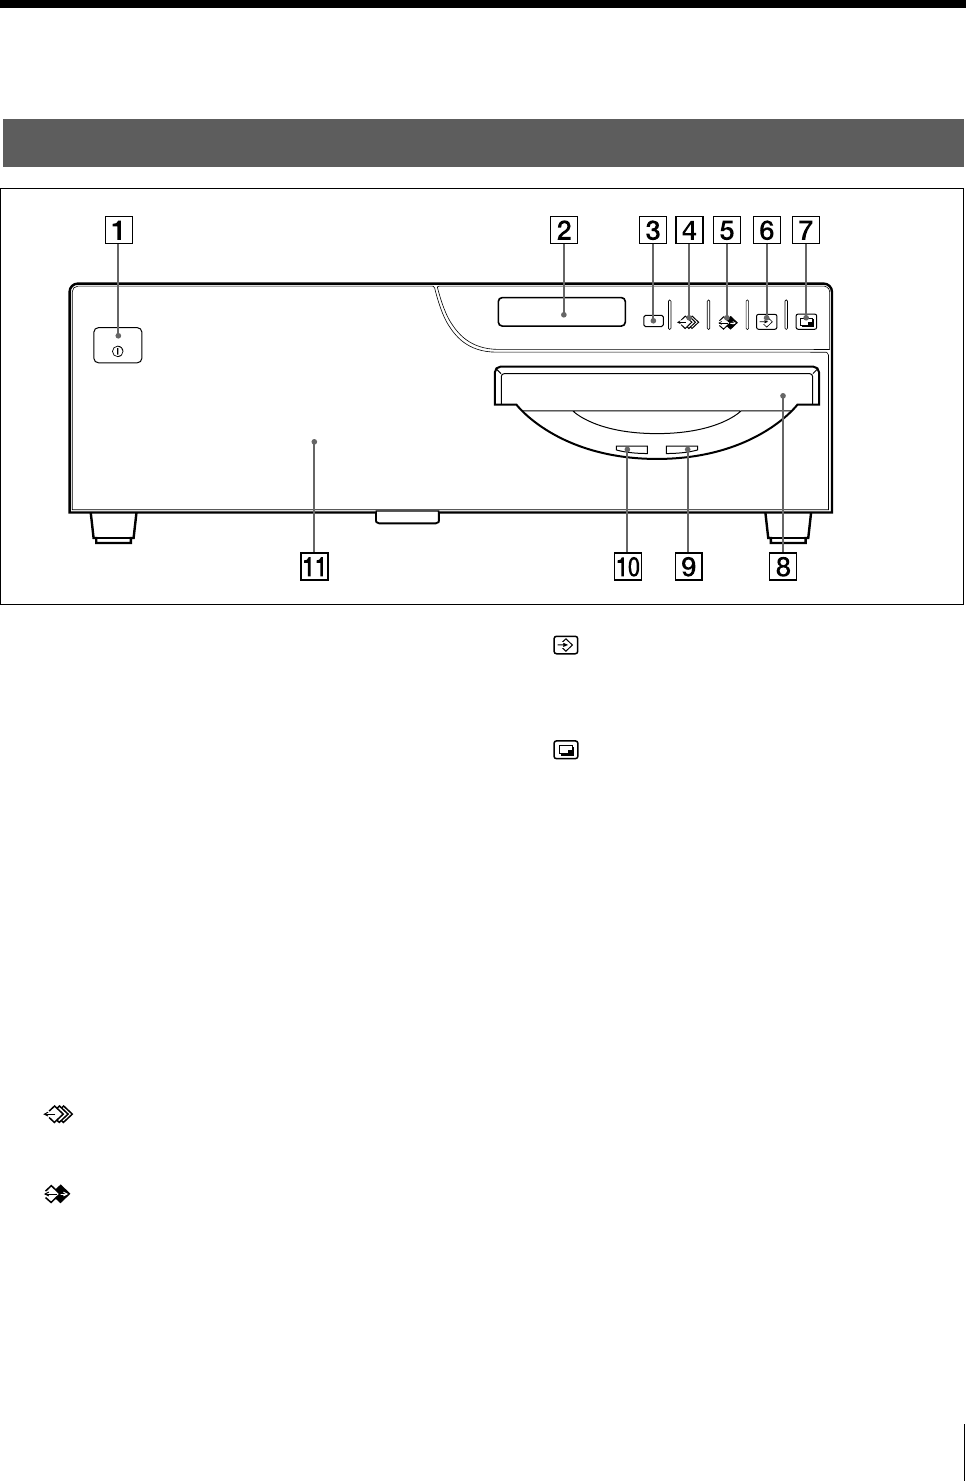
Location and Function of Parts and Controls
For details, refer to the pages given in parentheses.
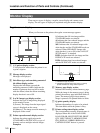
Main Panel
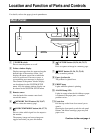
1 ! POWER switch
Press to turn the printer on or off.
2 Printer window display
Displays messages that also appear along the
bottom edge of the monitor screen. Also
displays the menu screen line at which the
cursor is positioned. If an error occurs, a
corresponding error message is displayed.
The contrast of the printer window display
can be adjusted on the SYSTEM SETUP
menu. Also, the printer window display can
be cleared on the SYSTEM SETUP menu.
3 Remote sensor
Aim the head of the remote control unit
toward this sensor.
4
MEMORY PAGE button (26, 39, 67)
Press to select the memory page.
5
SOURCE/MEMORY button (44, 67, 78,
98)
Press to select which signal is to be output to
the monitor.
The memory image and source image are
toggled each time you press this button.
6
CAPTURE button (18, 26, 44, 51, 52,
100)
Press to capture an image in a memory page.
7
PRINT button (19, 26, 51, 53, 63)
Press to make a printout.
8 Paper ejection slot
The printout is ejected here.
9 PRINT lamp
Lights while the printer is printing.
0 ALARM lamp (129)
Lights in orange when the ink ribbon or paper
is exhausted, the paper jams, or another
problem occurs.
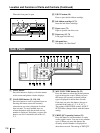
qa Front door
Pull the top on the front door toward you to
open it.
Opening the front panel reveals the sub panel
buttons, ink ribbon cartridge, paper tray and
paper cover.
Continue to the next page c


