183
Opération
F
PRN
UNCT I ON SETUP
FUNCTION SETUP COLOR : 200
PRN SETUP
AUTO LIVE : OFF / ON
: OFF / ON
RM2 FUNC : / C&PRINT /
RM3A FUNC : / PRINT&PAGE
RM3B FUNC : / BACK - SP /
RM3C FUNC : / CAP/SRC /
RM3E FUNC : / GRAB /
: PRESS [ > ]
: ALL /
Q1 A 1
S
IMMED. CAP.
CLEAR
SETUP
[
>
]
PRN SPEED : / HIGH
MOTION CHK
F
UNCT I ON :
PRINTER SETUP COLOR : 200
/ COL / LAY / PRN / IN / OUT /
PRINT QTY. : 1 [ 1 ~ 9 ]
: OFF / ON
GAMMA : S / NORMAL / H
: OFF / ON
LOAD USER : 1 / 2 / 3 [ EXEC ]
SYSTEM : PRESS [ > ]
: PRESS [ > ]
C - BALANCE : PRESS [ > ]
Q1 A 1
S
INTERVAL
FUNCTION
PRESS
[
>
]
PRN SPEED : / HIGH
MOTION CHK
I
off /ON
NTERVAL :
PRINTER SETUP COLOR : 200
/ COL / LAY / PRN / IN / OUT /
PRINT QTY. : 1 [ 1 ~ 9 ]
: OFF / ON
GAMMA : S / NORMAL / H
: OFF / ON
LOAD USER : 1 / 2 / 3 [ EXEC ]
SYSTEM : PRESS [ > ]
FUNCTION : PRESS [ > ]
C - BALANCE : PRESS [ > ]
Q1 A 1
S
INTERVAL
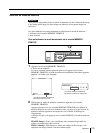
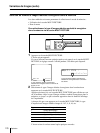
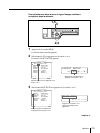
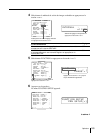
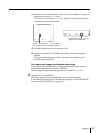
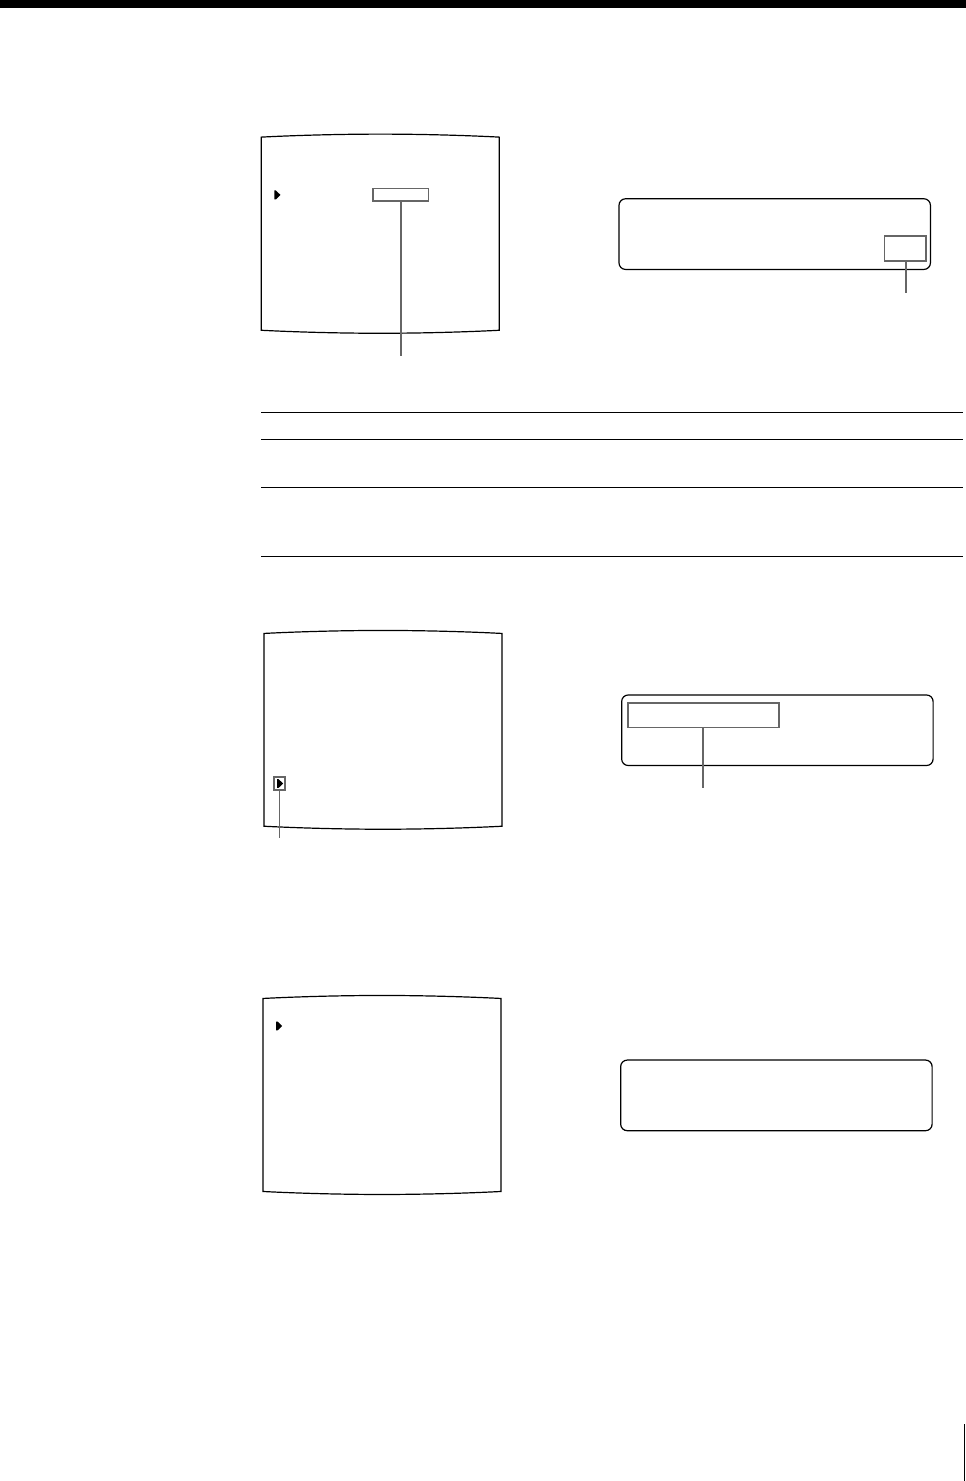
4 Sélectionnez la méthode de saisie des images souhaitée en appuyant sur la
touche G ou g.
Si vous sélectionnez
Mémoriser uniquement l’image affichée sur l’écran du moniteur vidéo
en appuyant sur la touche CAPTURE.
Mémoriser séquentiellement des images dans toutes les positions
d’une page mémoire à des intervalles réguliers en appuyant sur la
touche CAPTURE.
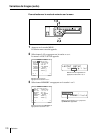
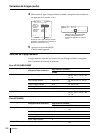
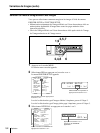
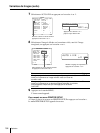
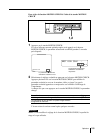
5 Sélectionnez FUNCTION en appuyant sur la touche F ou f.
6 Appuyez sur la touche g.
Le menu FUNCTION SETUP apparaît.
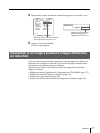
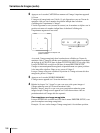
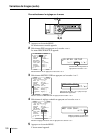
Faites passez en vert le réglage souhaité
en appuyant sur la touche G ou g.
Affichez le réglage en majuscules en
appuyant sur la touche G ou g.
Réglage
OFF
ON
Placez le curseur sur FUNCTION en
appuyant sur la touche F ou f.
Appuyez sur la touche F ou f jusqu’à
ce que FUNCTION apparaisse.
à suivre c


