99
Installation and Adjustment
B
C
Y Z
COLOR BALANCE
BAL X : 50 [1 – 50 – 99]
BAL Y : 50 [1 – 50 – 99]
BAL STEP : 05 [1 – 20]
TEST PRINT : PRESS [EXEC]
PRN SETUP : PRESS [ > ]
Q1 A 1
S
COLOR : 200
B
50
[
1-50-99
]
AL X :
B
C
Y Z
COLOR BALANCE
BAL X : 50 [1 – 50 – 99]
BAL Y : 50 [1 – 50 – 99]
BAL STEP : 05 [1 – 20]
TEST PRINT : PRESS [EXEC]
PRN SETUP : PRESS [ > ]
Q1 A 1
S
COLOR : 200
PRN SPEED : / HIGH
MOTION CHK
C
PRESS [ > ]
-BALANCE :
PRINTER SETUP COLOR : 200
/ COL / LAY / PRN / IN / OUT /
PRINT QTY. : 1 [ 1 ~ 9 ]
INTERVAL : OFF / ON
GAMMA : S / NORMAL / H
: OFF / ON
LOAD USER : 1 / 2 / 3 [ EXEC ]
SYSTEM : PRESS [ > ]
FUNCTION : PRESS [ > ]
: PRESS [ > ]
Q1 A 1
S
C - BALANCE
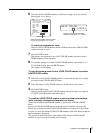
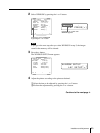
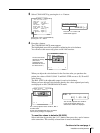
3 Select C-BALANCE by pressing the F or f button.
4 Press the g button.
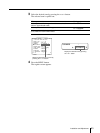
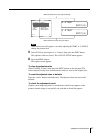
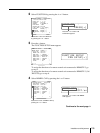
The COLOR BALANCE menu appears.
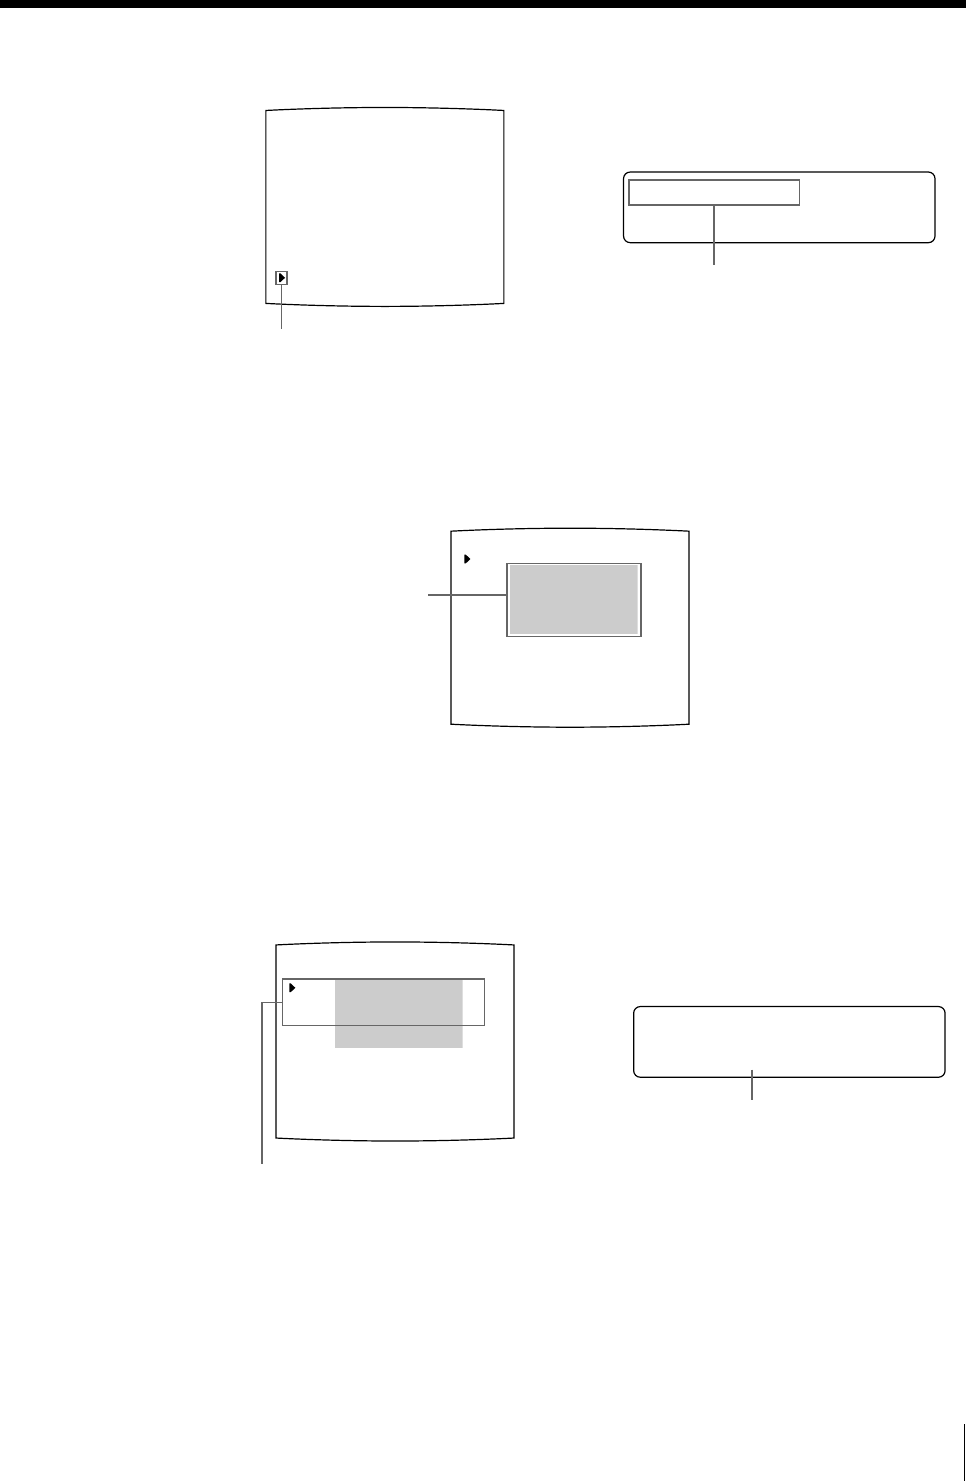
The highlighted area will be printed for adjusting the color balance.
You can move this area at any place on the video monitor.
When you adjust the color balance for the first time after you purchase the
printer, the values of BAL X, BAL Y and BAL STEP are set to 50, 50 and 05
at the factory.
The BAL STEP is the adjustable range for each color balance.
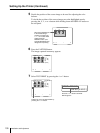
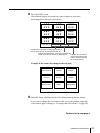
When you have adjusted color balance already, the values adjusted previously
are displayed on the COLOR BALANCE menu.
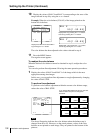
To reset the values to defaults (50/50/05)
Select each item by pressing the F or f button, then press the G and g buttons
at the same time. The currently selected item is reset to the default.
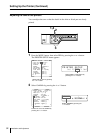
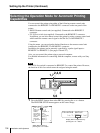
Position the cursor at C-BALANCE by
pressing the F or f button.
Press the F or f button until
C-BALANCE appears.
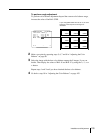
The area that will be
captured in memory
(This area is
highlighted and is
two thirds the size of
the whole screen.)
The currently adjusted values of BAL X, BAL Y
and BAL STEP
On this COLOR BALANCE menu, the default
values (factory settings) are displayed.
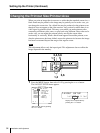
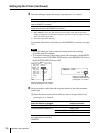
The currently adjusted value of BAL X
In this printer window display, the
default value of BAL X is displayed.
Continue to the next page c


