


14
Delta User’s Manual
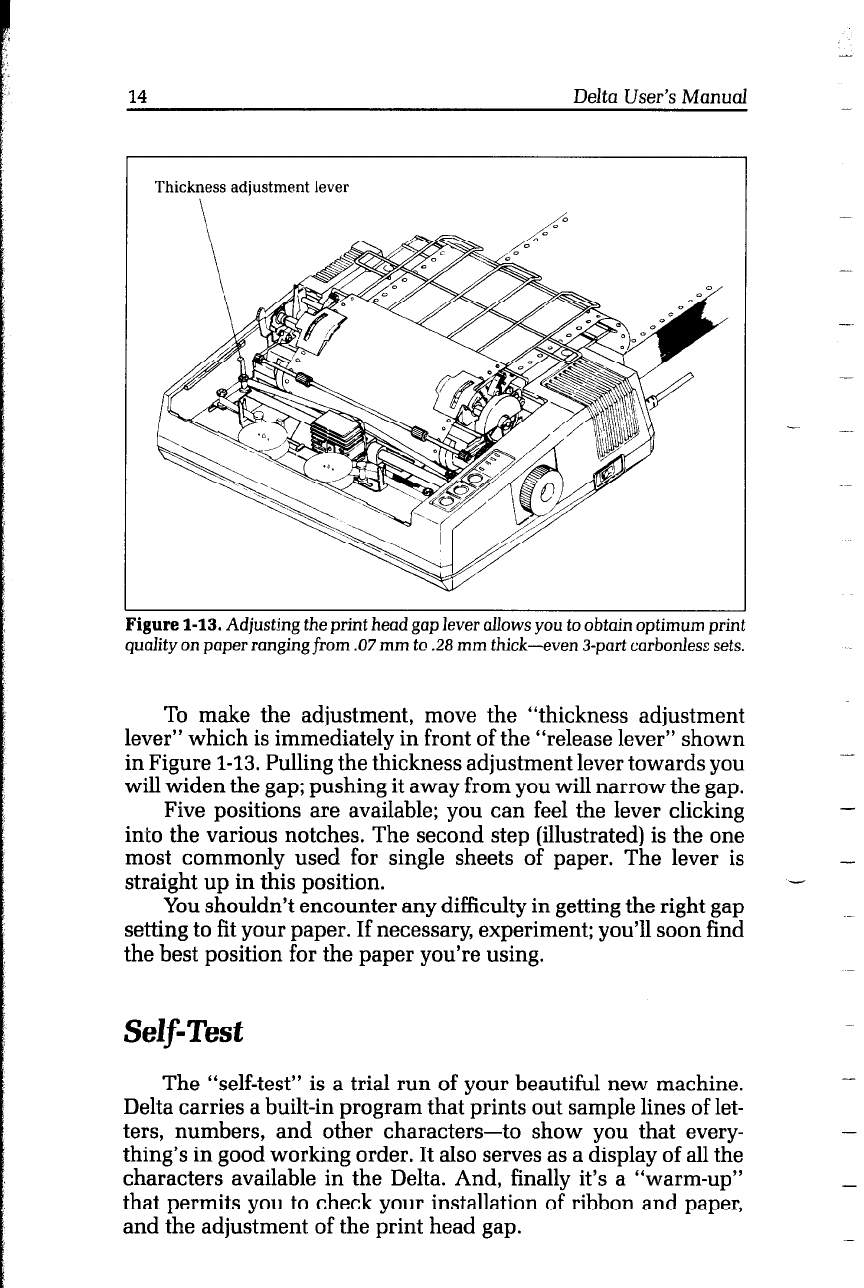
Thickness adjustment lever
I
I
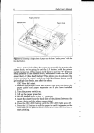
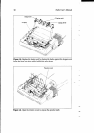
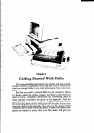
Figure l-13. Adjusting the print head gap lever allows you to obtain optimum print
quality on paper rongingfrom .07 mm to 28 mm thick-even ~-part carbonless sets.
To make the adjustment, move the “thickness adjustment
lever” which is immediately in front of the “release lever” shown
in Figure l-13. Pulling the thickness adjustment lever towards you
will widen the gap; pushing it away from you will narrow the gap.
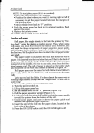
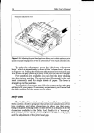
Five positions are available; you can feel the lever clicking
into the various notches. The second step (illustrated) is the one
most commonly used for single sheets of paper. The lever is
straight up in this position.
1
You shouldn’t encounter any difficulty in getting the right gap
setting to fit your paper. If necessary, experiment; you’ll soon find
the best position for the paper you’re using.
Self-Test
The “self-test” is a trial run of your beautiful new machine.
Delta carries a built-in program that prints out sample lines of let-
ters, numbers, and other characters-to show you that every-
thing’s in good working order. It also serves as a display of all the
characters available in the Delta. And, finally it’s a “warm-up”
that permits you to check your installation of ribbon and paper,
and the adjustment of the print head gap.
-
-
-
-