


21
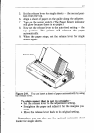
TESTING THE PRINTER
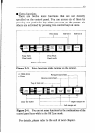
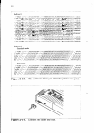
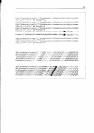
Your printer has two built-in programs that printout sample
lines of letters, numbers, and other characters - to show you
that everything’s in good working order. Self-test 1 is the long
version, and self-test 2 is the short one. You can use either one
to show the characters available in the printer, to check the in-
stallation of the ribbon and paper, and to check the adjustment
of the head-to-platen gap.
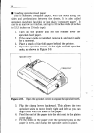
You can print the self-test without hooking up the printer to
your computer. Simply:
1. Plug in the printer (don’t turn it on yet).
2. Insert a sheet of paper (or sprocket paper, either one).
3. While holding down one of the following keys, turn on
the power switch:
Paper Feed key - Self-test 1 (long)
On Line key - Self-test 2 (short)
When you want to terminate the long self-test function, turn
off the power switch.
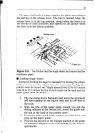
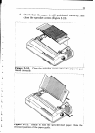
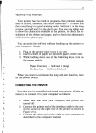
CONNECTING THE PRINTER
Now that you’ve assembled and tested your printer, all that re-
mains is to connect it to your computer as follows:
1. Make sure that both your computer and printer are
turned off.
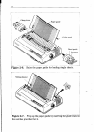
2. Connect the printer end of the interface cable to the con-
nector socket at the right rear of the printer as shown in
Figure 2-14.
3. Connect the other end of the cable to your computer as
described in the computer manual.
r