


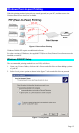
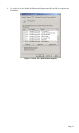
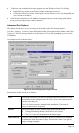


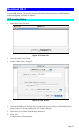
3. The printer port will be created, and a screen like the following will be displayed.
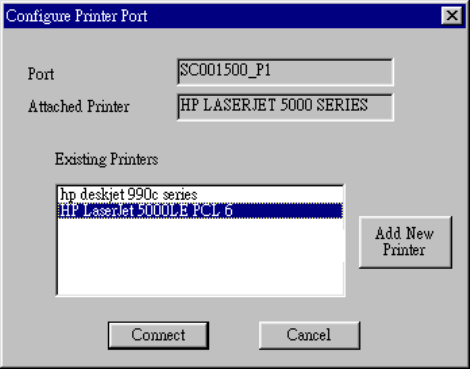
Figure 15: Configure Printer Port
4. Select the correct Windows printer in the Existing Printers list, and click the Connect
button.
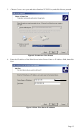
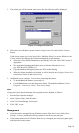
If the correct printer type is not listed, click "Add New Printer" to run the Windows Add
Printer wizard. Step through the Wizard and install the required printer:
• Select the correct Printer Manufacturer and Model, or use the "Have Disk" option if
appropriate.
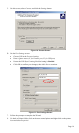
• We recommend changing the Printer name to indicate which device is on.
(e.g. HP2100 on SCA43600_P1)
• If prompted about Sharing the printer, do NOT enable Sharing.
• When the Printer installation is finished, it will be listed in the Configure Printer Port
screen above. Select it and click Connect.
5. Installation is now complete. You can now print using this printer.
• To install additional Printers, repeat steps 4.
• Use the Start menu to run this program in future. The default installation is Start -
Programs – Print Server Utility - Print Driver Setup.
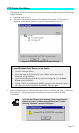
Note:
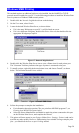
If using the Epson Spooler Manager, this program must be disabled, as follows:
1. Run the Epson Spooler Manager.
2. Select "Queue Setup" from the menu.
3. Click "Use Print Manager for this port".
4. Click "OK" to exit.
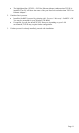
Management
• Print jobs can be managed like any Windows printer. Open the Printers folder (Start -
Settings - Printers) and double-click any printer to see the current print jobs.
• If the printer attached to the Wireless Print Server is changed, just run this program again,
and select the correct printer.
Page 18