8
TheNetDirectorConsoleKVMSwitchwithIPAccessisdesignedfor
mounting in a 1U rack system. For convenience, a rack mounting kit is
includedwithyourconsoleKVMswitchforquickinstallation.Thevarious
mounting options are explained in the sections that follow.
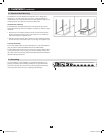
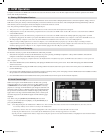
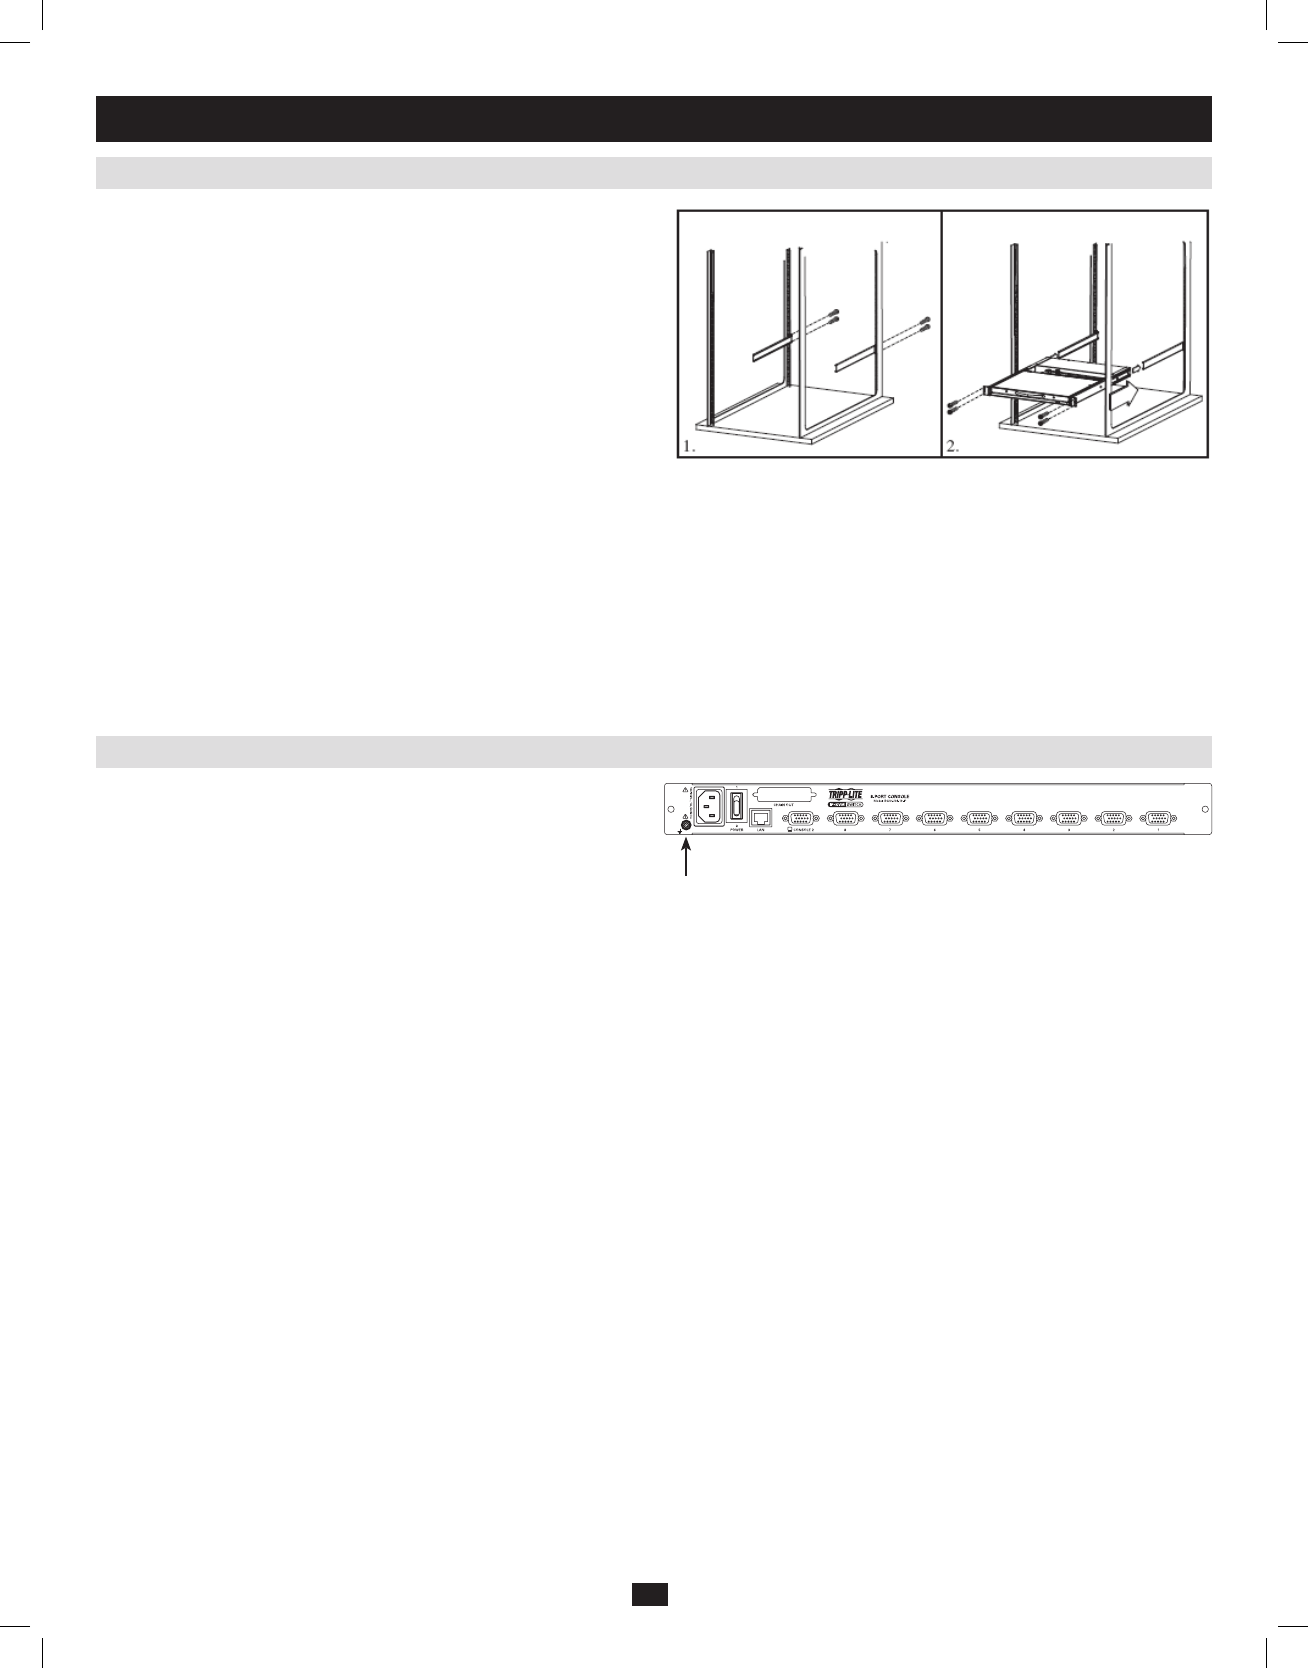
Standard Rack Mounting
The standard rack mounting brackets that come attached to the console
KVMswitchallowtheunittobeinstalledinastandard1Urackbyasingle
individual.
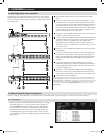
1. Slide out the rear mounting brackets from the console and mount both
brackets (separate from the console) to the inside rear of a standard 1U
racksystemusinguser-suppliedscrews.
2.Taketheconsoleandgentlyslideitintothetworear-mountedbracketsin
therackandsecuretheconsoleinplacebyinsertinguser-suppliedscrews.
2-Post Rackmounting
TheconsoleKVMswitchcanalsobemountedina2-postrackinstallation
usingtheoptional2-PostRackMountKit(model#:B019-000).
The mounting hardware allows for the console to be opened with the drawer
inanyposition.Heavy-duty14-gaugesteelprovidesstabilityandprevents
theconsoleframefromtwisting.SeetheB019-000instructionalmanualfor
detailed mounting instructions.
5.2 Standard Rack Mounting
5.3 Grounding
5. Installation
(
continued
)
To prevent damage to your installation it is important that all devices are
properlygrounded.UsetheincludedgroundingwiretogroundtheKVM
switch by connecting one end of the wire to the grounding terminal on the
unit, and the other end of the wire to a suitably grounded object.
201009236 93-2985.indd 8 11/18/2010 4:21:34 PM


