2
3
4
5
6
7
9
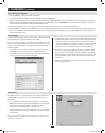
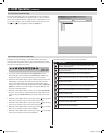
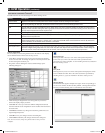
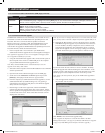
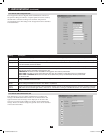
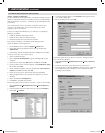
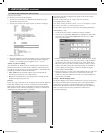
5.6 LCD OSD Configuration
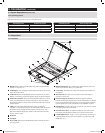
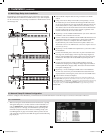
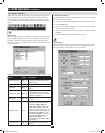
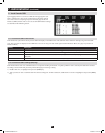
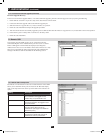
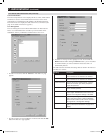
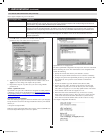
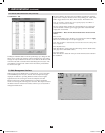
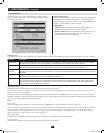
5.7 Single Stage Installation
5. Installation
(
continued
)
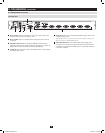
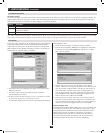
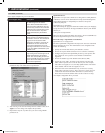
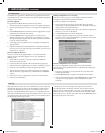
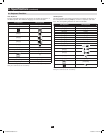
The LCD Buttons
TheLCDOSDallowsyoutosetupandconguretheLCDdisplay.
Four buttons are used to perform the configuration, as described in the
table below:
Button Function
MENU
When you have not entered the LCD OSD
Menu function, pressing this button invokes the
Menu function and brings up the Main Menu.
When navigating through the menus, this button
moves you right or up. When making an adjust-
ment, it increases the value.
When navigating through the menus, this but-
ton moves you left or down. When making an
adjustment, it decreases the value.
EXIT
• When you have not entered the LCD OSD
Menu function, pressing this button performs
an auto adjustment. An auto adjustment
automatically configures all the settings for
the LCD panel to what the OSD considers
their optimum values to be.
• When you have entered the LCD OSD
Menu function, pressing this button exits the
current menu and returns you to the previous
menu. Use it to leave an adjustment menu
when you are satisfied with the adjustment
you have made.
• When you are at the Main Menu, pressing
this button exits the LCD OSD.
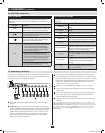
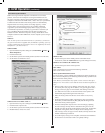
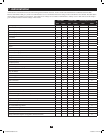
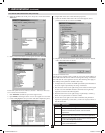
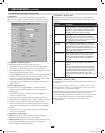
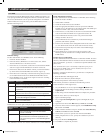
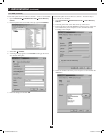
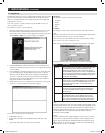
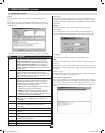
The Adjustment Settings
AnexplanationoftheLCDOSDadjustmentsettingsisgiveninthe
table below:
Setting Explanation
Brightness
Adjusts the background black level of the screen
image.
Contrast
Adjusts the foreground white level of the screen
image.
Phase Adjusts the vertical size of the screen image.
Clock Adjusts the horizontal size of the screen image.
H-Position
Positions the display area on the LCD panel
horizontally (moves the display area left or right).
V-Position
Positions the display area on the LCD panel
vertically (moves the display area up or down).
Color Temperature
Adjusts the color quality of the display. You can
adjust the “warmth” value, color balance, etc. The
Adjust Color selection has a further submenu
that lets you fine tune the RGB values.
Language
Selects the language that the LCD OSD displays
its menus in (English, French, German, Spanish
or Italian).
OSD Duration
Lets you set the amount of time that the OSD
displays on the screen. If there is no input for the
amount of time you choose, the OSD display
turns off.
Reset
Resets the menu and submenu adjustments
(except for language settings) to the original
factory default settings.
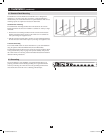
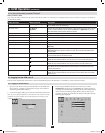
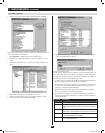
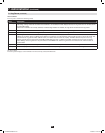
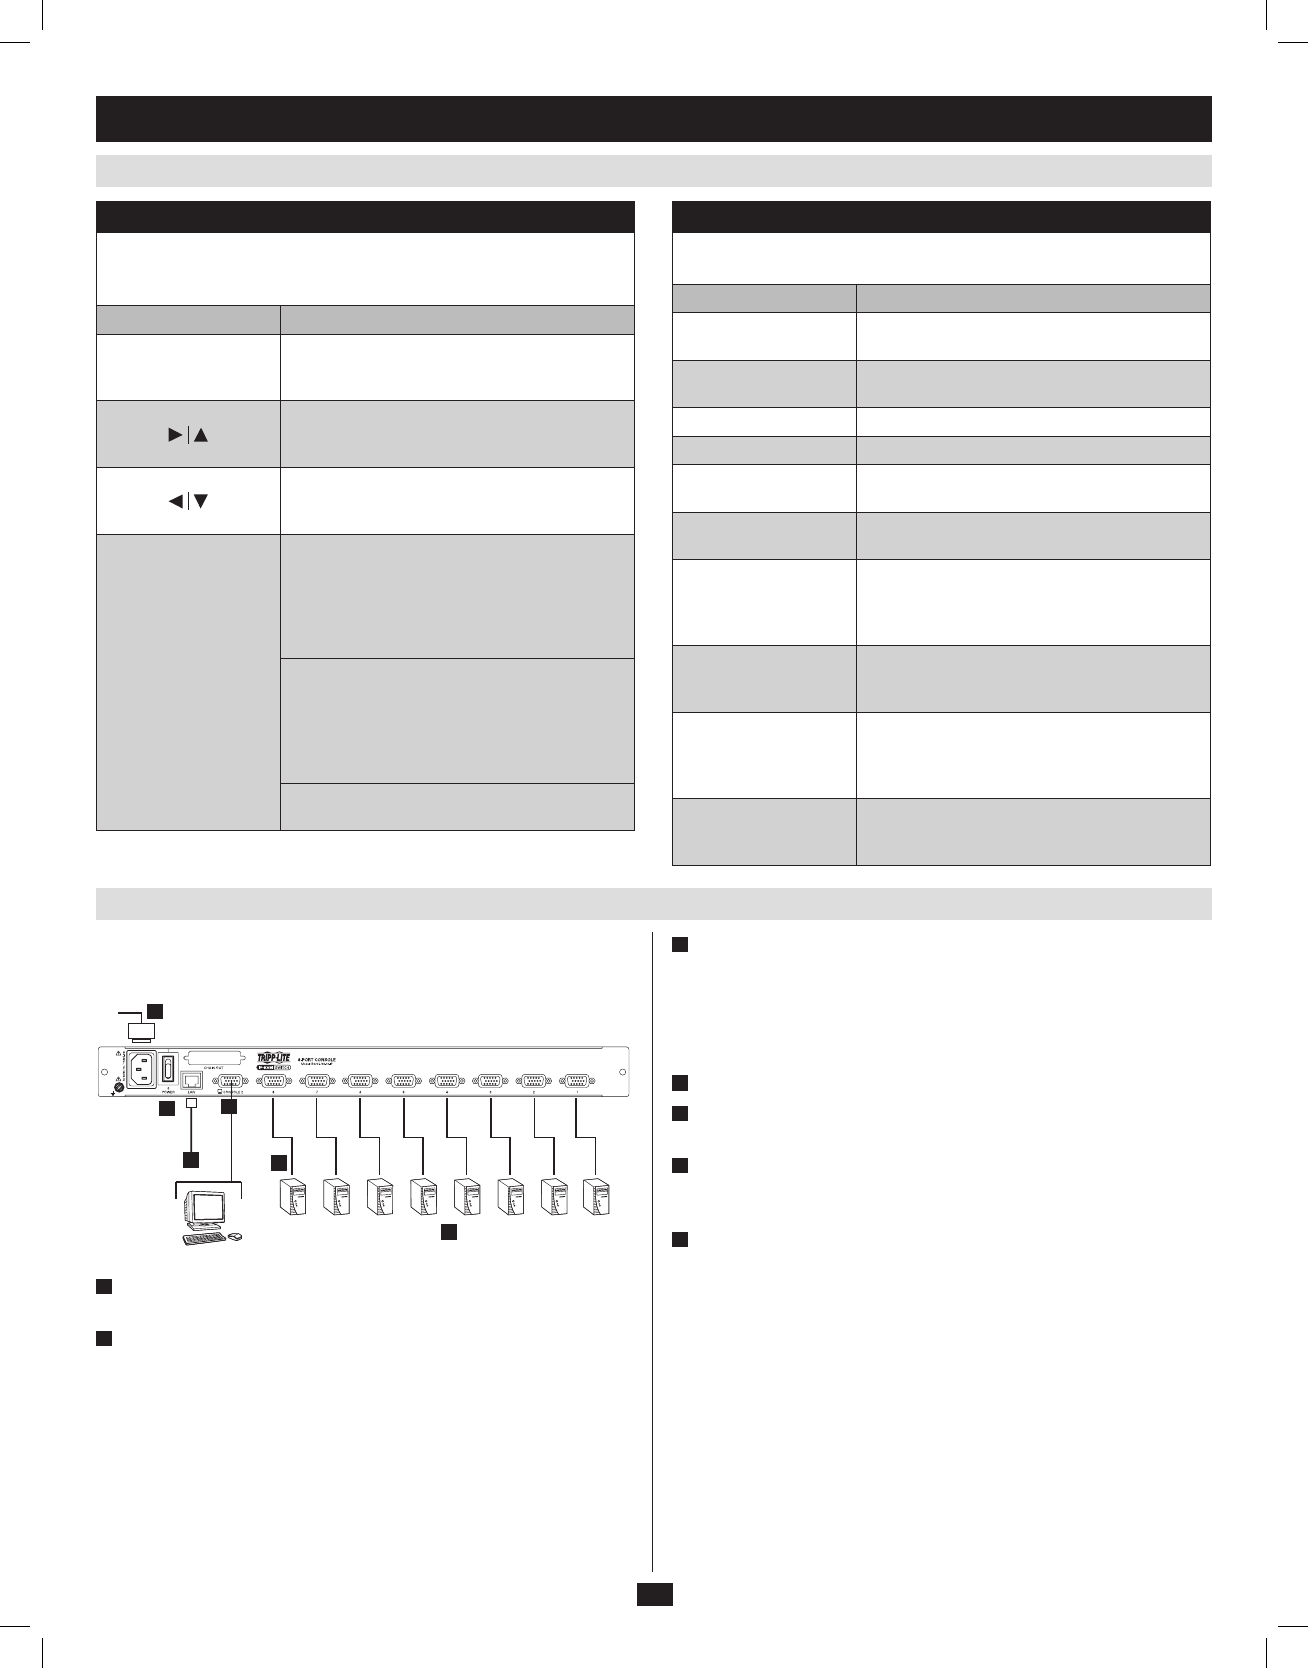
Inasinglestageinstallation,therearenoadditionalKVMswitchesdaisy-
chainedfromthemasterKVM.Tosetupasinglestageinstallation,refer
to the following steps and installation diagram.
1
PowerOFFallcomputersthatarebeingconnectedtotheKVM
switch.
2
(Optional)AddanexternalconsoletotheKVMbyconnectingthe
included USB/PS2 console cable kit to the console port on the back of
theunit,andthenconnectinganexternalmonitor(HD15),keyboard
(USB or PS/2) and mouse (USB or PS/2) to the connectors on the
cable kit. An additional USB port is located on the front keyboard
panel of the unit as a more convenient alternative to the external
mouse port on the back of the unit.
3
ConnectaP778-SeriesUSB/PS2ComboKVMCableKitbetween
anavailableKVMportonthebackoftheunitandacomputer/server.
P778-SeriesCableKitsallowyoutoconnecttoacomputerwitheither
USB or PS/2* keyboard/mouse ports, without the need for separate
cables. Note: The distance between the KVM and the connected
computer must not exceed 33 ft. (10 m).
4
Repeatstep3foreachadditionalcomputeryouwishtoconnect.
5
Connect the LAN port on the back of the unit to the network using
Cat5e/6cable.
6
Connect the included power cord to the C14 jack on the back of the
unit,andthenplugitintoaTrippLiteSurgeSuppressor,PDUor
Uninterruptible Power Supply (UPS).
7
FirstpowerONtheKVMswitch,andthenpowerontheconnected
computers.
*WhenconnectingtocomputersusingthePS/2connectorsofaP778-SeriesCableKit,the
Mouse Sync ModesettingmustbesettoManualinordertoaccessthecomputeroverIP.If
Mouse Sync Mode is set to Automatic, you will not have mouse functionality when accessing
that computer over IP. This setting is set to Manual by default. (See page 51 for details on
changing this setting via the Web Management Interface, or page 41 to change it via the
Remote OSD.)
201009236 93-2985.indd 9 11/18/2010 4:21:34 PM