


26
Port Access
Port Configuration
Port Naming
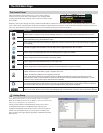
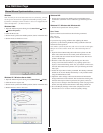
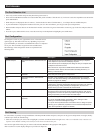
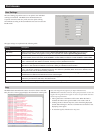
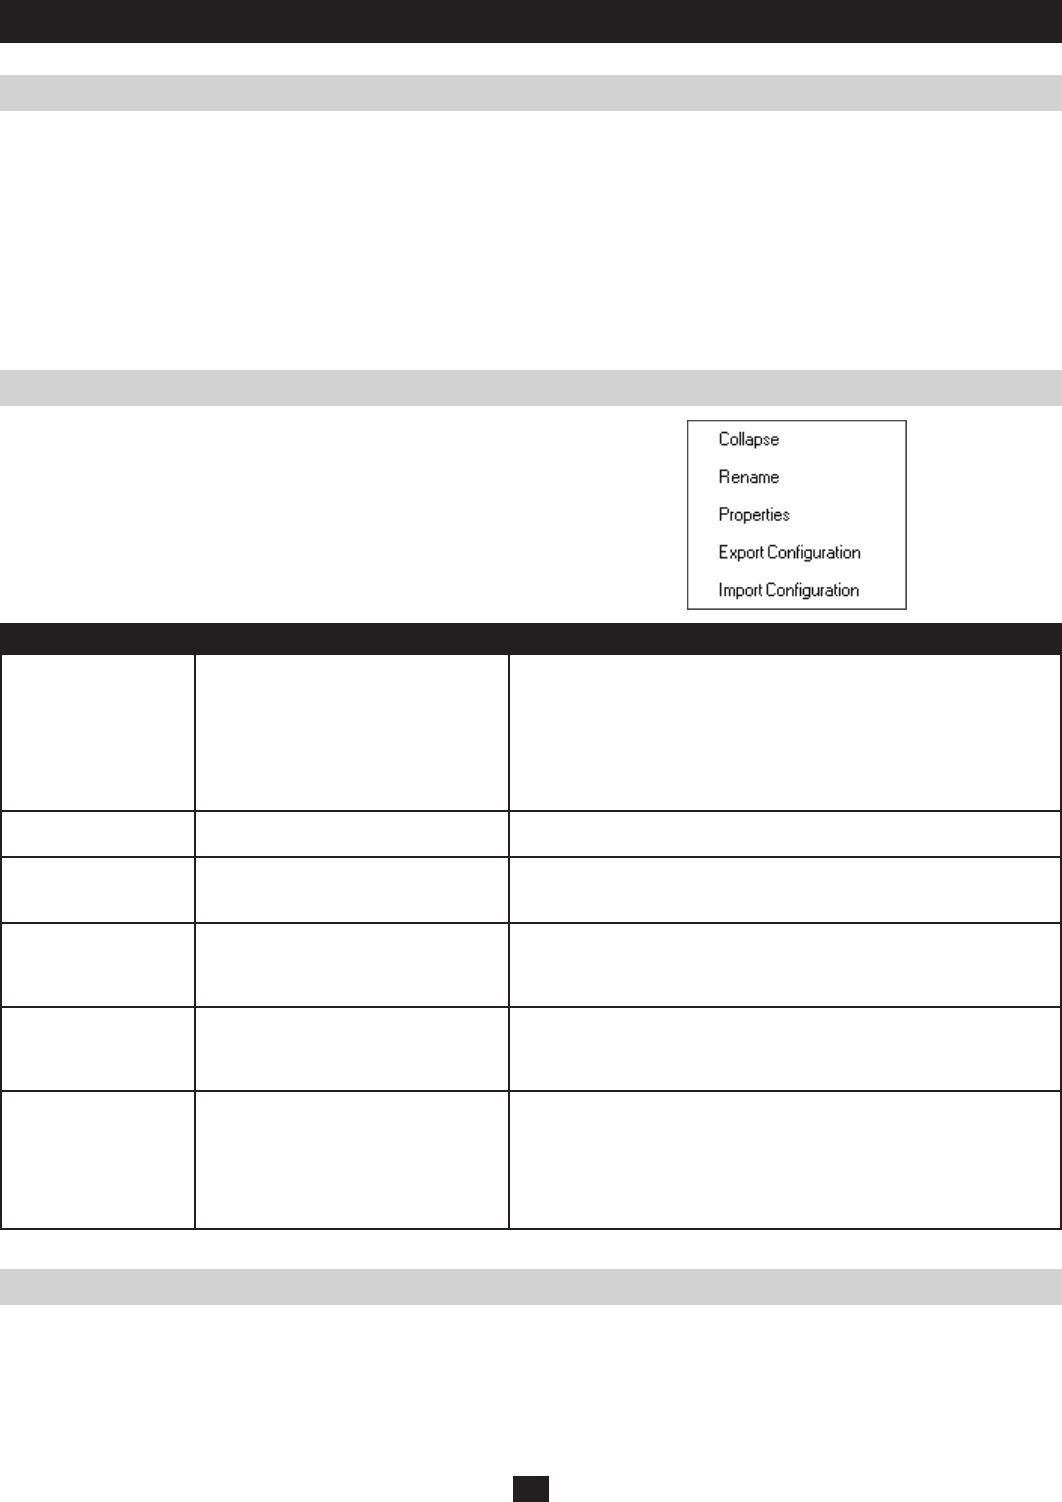
To configure a switch or port, right click its icon. A list with various
options pops up. The items in the list vary depending on your user
type and whether you selected a cascaded KVM switch or a computer/
server port. The screenshot at right shows the available items:
The meanings of the configuration items are explained in the
following table:
Item Access Type Description
Expand/ Collapse Super Administrators, Administrators and
Users
• If the device’s ports are not displayed, the dialog box entry is Expand.
Click Expand to open the tree and display the ports.
• If the device’s ports are displayed, the dialog box entry is Collapse. Click
Collapse to close the tree view.
Note: This item is only active for KVM switches that have child devices
connected to them. This has the same effect as clicking the Plus (+) or
Minus (-) in the tree view.
Rename Super Administrators, Administrators
and Users
For convenience, especially in large installations with many switches and
ports, each port can be given a unique name.
Copy Super Administrators, Administrators
and Users
This item is only available for ports with computers/servers connected
to them. It is used when creating a Favorites bookmark. (See Adding a
Favorite on page 29 for details)
Export Configuration Super Administrators and Administrators This item is only available for ports with KVM switches connected to them.
It allows you to save the configuration settings for the switch in an external
file (SysConfig.cfg). Simply click Export Configuration, browse to the
location where you want to save the file and click Save.
Import Configuration Super Administrators and Administrators This item is only available for ports with KVM switches connected to them.
This feature imports previously saved configuration settings. Click Import
Configuration, browse to the previously saved configuration file, select the
setting components you wish to import and click Import.
Properties Super Administrators, Administrators
and Users
This item allows you to configure the properties of the port.
• For ports with KVM switches connected to them, clicking this item
takes you to the Device Management page.
• For ports with computers/servers connected to them, a dialog box opens
allowing you to update the properties for the connected computer/server.
(See Port Properties on page 27 for details)
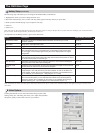
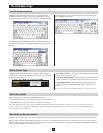
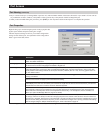
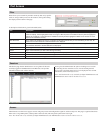
For convenience, especially in large installations with many KVM switches and ports, each port can be given a unique name. To assign, modify
or delete a port name, do the following:
1. Click once on the port you want to edit to highlight it, wait one second and click on it again. Note: This is not a double-click; it involves two
separate clicks. Double-clicking will switch you to the device attached to the port.
You can also right-click on the port you want to edit and select Rename in the popup box that appears.
After a second or two, the display changes to provide a text input box.
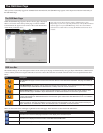
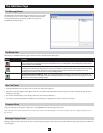
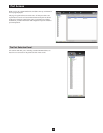
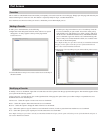
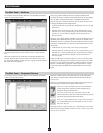
The Port Selection List
• Usersonlyseetheswitchesandportstheyhavebeengivenaccessto.
• PortsandcascadedKVMswitchesarelocatedundertheirparentswitches.ClickthePlus (+) in front of a switch to expand the tree and see the
ports underneath it.
• Whentheportsaredisplayed,thereisaMinus (-) before the device name. Click the Minus (-) to collapse the tree and hide the ports.
• Aport’sIDnumberisdisplayedinbracketsnexttotheporticon.Forconvenience,youcangiveeachportauniquename.
• KVMswitchesandportsthatareonlinehavetheirmonitorscreeniconslitgreen.Themonitorscreensaregrayfordevicesandportsthatare
offline.
• Toaccessaport,doubleclickitsicon,orusethearrowkeysonthekeyboardtohighlightaportandhitEnter.