


54
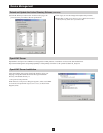
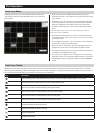
Date/Time
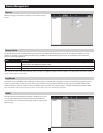
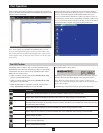
The Date/Time dialog page sets the B064-Series KVM Switch’s time
parameters:
Device Management
Set the parameters according to the information below.
Time Zone
•ToestablishthetimezonethattheB064-SeriesKVMSwitchis
located in, choose the appropriate time zone from the drop-down
list.
•IfyourcountryorregionemploysDaylightSavingTime(Summer
Time), check the corresponding checkbox.
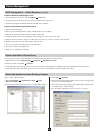
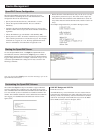
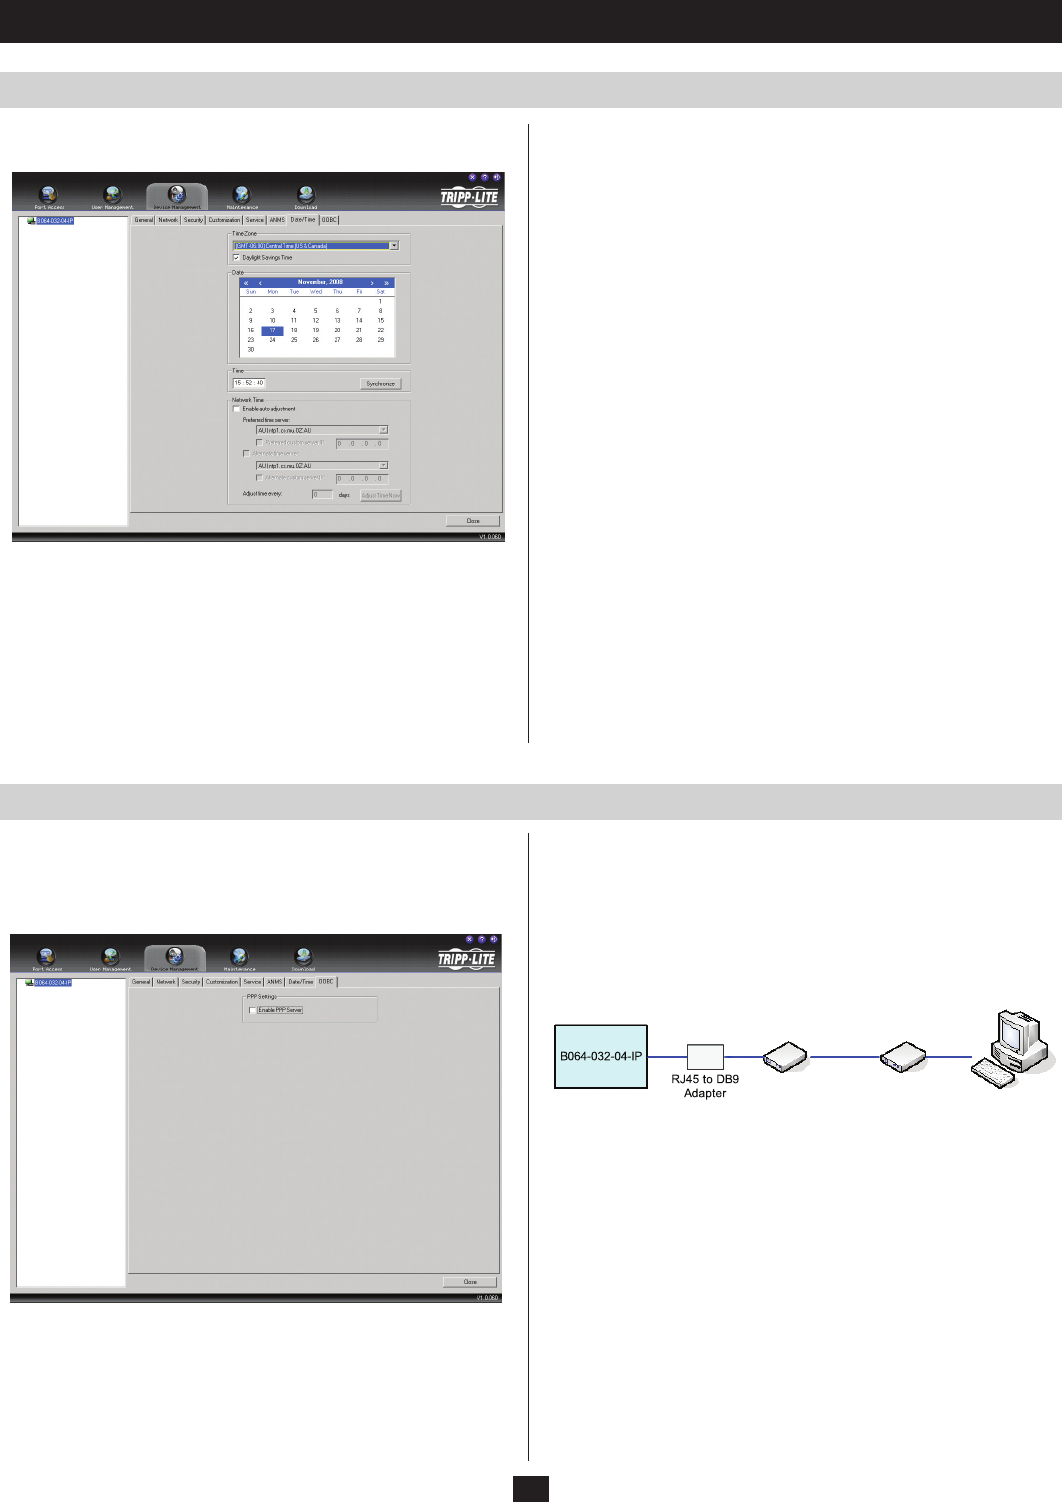
Follow the steps below to setup and access the B064-Series KVM
Switch via dial-in modem:
1. Set up your hardware configuration to match the diagram below.
You will need to use Cat5e cable and the included RJ45 to DB9
Adapter to connect the B064-Series KVM Switch’s modem port to
the modem.
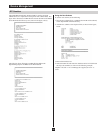
2. From your computer, use your modem terminal program to dial
into the B064-Series KVM Switch’s modem.
Note: If you don’t know the B064-Series KVM Switch modem’s serial
parameters, get them from the system administrator. An example of
setting up a modem terminal program under Windows XP is provided
on the next page.
3. Once the connection is established, open your browser, and specify
192.168.192.1 in the URL box.
Note: The default username and password are blank.
From here, operation is the same as if you had logged in from a
browser or with the AP programs.
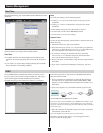
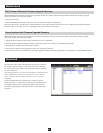
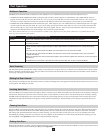
In case the B064-Series KVM Switch cannot be accessed via the
LAN, it can be accessed via the switches modem port. This page is
used to enable support for PPP (modem) dial-in operation.
To enable this function, check the Enable PPP Server checkbox.
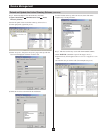
Date
To set the year and day, use the Calendar graphic.
•Clicking<<or>>movesyoubackwardorforwardbyoneyear
increments.
•Clicking<or>movesyoubackwardorforwardbyonemonth
increments.
•Inthecalendar,simplyclickonadesireddaytoselectit.
•Tosetthetime,usethe24hourHH:MM:SSformat.
•ClickSynchronize to save your settings.
Network Time
To have the time automatically synchronized to a network time server,
do the following:
1. Check the Enable auto adjustment checkbox.
2. Drop down the Preferred time server list and select your preferred
timeserver;or,checkthePreferred custom server IP checkbox and
key in the IP address of the time server of your choice.
3. If you want to configure an alternate time server, check the
Alternate time server checkbox and specify the alternate time
server per the same instructions as in step 2.
4. Key in your choice for the number of days between synchronization
procedures.
5. If you want to synchronize immediately, click Adjust Time Now.
OOBC