ID Number Setting
When using more than one of these displays, this function sets ID
numbers so that operation of the remote control does not cause
multiple monitors to operate at the same time.
Example: Setting “2”
Perform the following operations.
Press the MENU button on the remote control to display the
MAIN MENU on the screen, then...
1. Use the and buttons to select “SETTING 3”, then press
the MENU button. The “SETTING 3” screen appears.
2. Use the and buttons to select “ID NUMBER”.
3. To set the ID NUMBER to “O2”...
Use the and buttons to select “2”.
The mode switches as follows each time the and button is
pressed:
ALL 1 2 .... 255 256
* To reset back to ALL
Press the CLEAR button.
To set the ID number for the remote control (requires special
remote control available only from Vidikron factory Service
Department)
Example: Setting “2”
1. Use the and buttons to select “ID NUMBER”.
2. To set the ID NUMBER to “2” ...
Use the and buttons to select “2”. The mode switches as
follows each time the and button is pressed:
ALL 1 2 .... 255 256
67
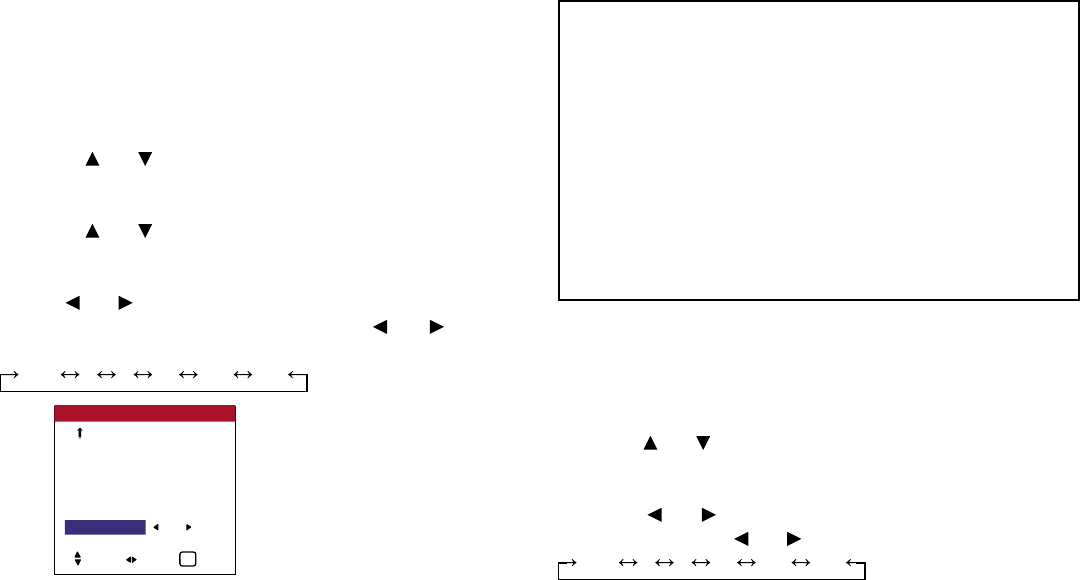
OSD (On Screen Display) Controls
TIMER
INPUT SELECT : LAST
CONTROL LOCK : ON
IR ENABLE : OFF
LOOP OUT : OFF
ID NUMBER : 2
VIDEO WALL
SETTING 3 3 / 3
PREVIOUS PG.
SEL. ADJ. EXIT
EXIT
Information
■ ID NUMBER settings
ALL ............. ID NUMBER will not be set.
1 to 256 ........ ID NUMBER will be set.
■ When the ID NUMBER has been set
You can also set ID NUMBER for each remote control to operate the
plasma display individually. To do so, requires special remote control
available only from Vidikron factory Service Department.
■ Restoring the factory default settings
Select “FACTORY” under the SETTING 1 menu.
Note that this also restores other settings to the factory defaults.


