68
OSD (On Screen Display) Controls
* To reset back to ALL
Press the CLEAR button.
4. Once the setting is completed...
Press the EXIT button to delete the SELECT ID screen.
Video Wall Setting
Use this feature to congure a 2×2 or 3×3 video wall.
Perform the following operations.
Press the MENU button on the remote control to display the
MAIN MENU on the screen, then...
1. Use the and buttons to select “SETTING 3”, then press the
MENU button. The “SETTING 3” screen appears.
2. Use the and buttons to select “VIDEO WALL”, then press
the MENU button. The “VIDEO WALL” screen appears.
3. Set the VIDEO WALL using and buttons.
See page 69 to set DIVIDER.
See page 69 to set POSITION.
See page 70 to set DISP. MODE.
See page 70 to set AUTO ID.
See page 71 to set IMAGE ADJUST.
See page 72 to set P. ON DELAY.
See page 73 to set LUM SET LINK.
See page 74 to set REPTR TIME.
4. Once the setting is completed...
Press the EXIT button to return to the SETTING 3 menu.
5. Press the EXIT button to return to the main menu. To delete the
main menu, press the EXIT button once more.
NOTE:
A contingency method of shutting off the electric power should be
used in cases of emergency during video wall setup.
DIVIDER : 1
POSITON
DISP. MODE : SPLIT
AUTO ID : OFF
IMAGE ADJUST
P.
ON DELAY : OFF
LUM SET LINK : OFF
REPTR TIME : OFF
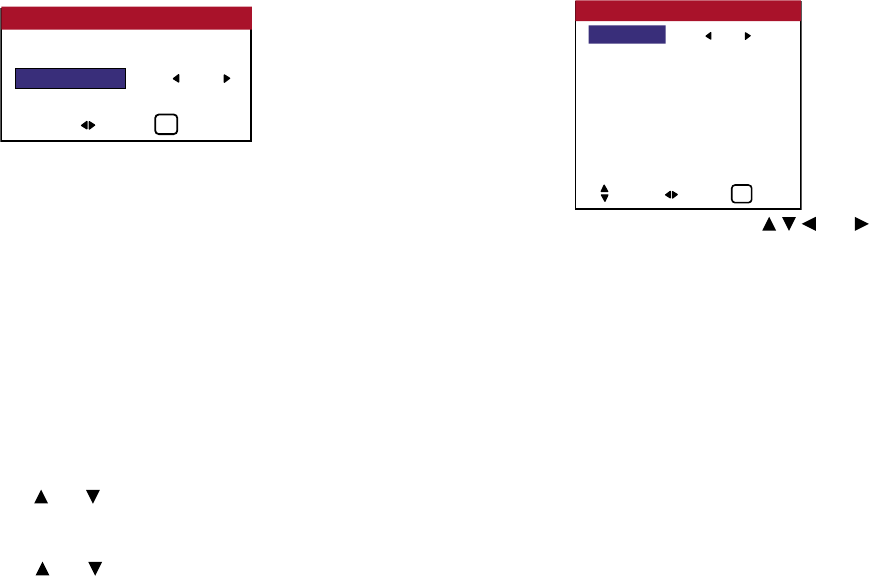
VIDEO WALL
SEL. ADJ. EXIT
EXIT
POSITION 1: 1
ID NUMBER : OFF
SELECT ID
ADJ. EXIT
EXIT


