THE TWO TWAIN INTERFACE OPTIONS 121
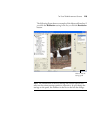
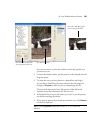
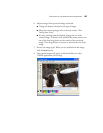
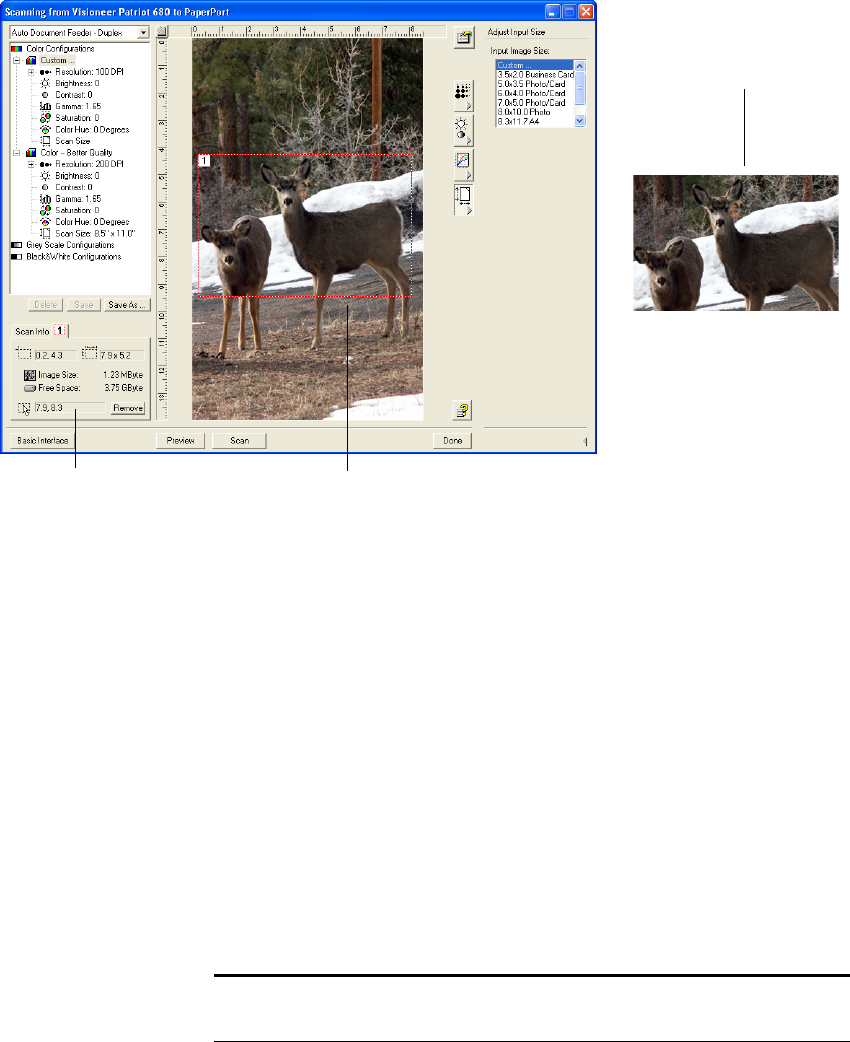
You can now move or resize the outline to select the specific area
you want to scan.
2. To move the dotted outline, put the pointer in the selected area and
drag the mouse.
3. To resize the area, put the pointer on a dotted line and drag it.
As you drag a dotted line, the menu selection for the image size
changes to Custom to indicate you are customizing the size.
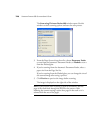
The Scan Info box on the lower left portion of the Advanced
Interface shows the information for the new area.
4. If the dotted line is not exactly where you want it, put the pointer
on the line and drag the mouse.
5. If you want to remove the selected area and start over, click Remove
on the Scan Info box.
The Scan Info box shows the
size and position of the area.
The selected scan area.
This is the image that appears
when scanning is finished.
Note: Clicking Remove causes the entire 8.5" x 14" area to be
selected.


