


Submitting print jobs from Quick Print for Windows NT 4.0
6-24 Guide to Submitting Jobs from the Client
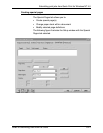
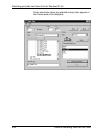
Using the document name as the job name
Follow these steps:
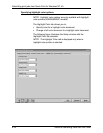
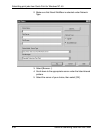
1. From the Setup window, click the [Preferences] tab.
2. Click to check the Use Document Name as the Job Name
check box.
NOTE: With this option selected, the Job Name field under the
job Notes tab cannot be modified.
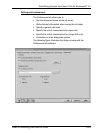
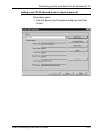
Writing Account information when saving the job ticket
Follow these steps:
1. From the Setup window, click the [Preferences] tab.
2. Click to check the Write the Account When Saving the Job
Ticket check box.
NOTE: With this option selected, Account information is saved
with the job ticket when saving the job ticket (1) to a file; and (2)
with the active document.
Clear the check box if you do not want Account information to be
saved with the job ticket.
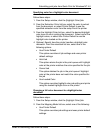
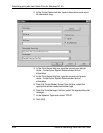
Specifying a generic job ticket
Follow these steps:
1. From the Setup window, click the [Preferences] tab.
2. Click to check the Use Generic Job Ticket check box. This
gets all parameters to their default settings for the selected
printer model.
Specifying the unit of measurement for paper size
Follow these steps:
1. From the Setup window, click the [Preferences] tab.
2. Click Inches or Millimeters under Custom Size Paper Units.
Specifying the unit of measurement for image shift units
Follow these steps:
1. From the Setup window, click the [Preferences] tab.
2. Click Inches or Millimeters under Image Shift Units.