


Setting up workstations
Guide to Submitting Jobs from the Client 2-5
Verifying your
installation
To verify that the software installation was successful:
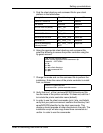
1. Enter listq to display the status of available queues.
2. Go to the directory containing Golden Print Job masters
(\usr\xerox\NPS/IPS\client\gpj) or any directory that contains
a sample file.
3. Enter
print -p
<queue name> <sample file name>. The
system should respond with “Print request forwarded.”
4. Enter
listjob
to make sure your job is being printed.
NOTE: “Print” is a common command name for printing, and
you might accidentally execute a different print command. For
this reason, you may wish to verify that the installed Xerox
print command is in use. You can verify that the DocuPrint
NPS/IPS print command is being executed by typing print
<Enter> at the command line. The DocuPrint command
always gives a usage statement describing its syntax.
Installing the PPD file
You need to install the PostScript Printer Description (PPD) file
for your specific printer model. Because different software
applications require the PPD file to reside in different locations,
first determine the appropriate directory for installing the PPD file
by referring to your application software documentation. Then
enter the following:
In the example above, <PPDfile> is the file for your printer model.
The files are stored in the PPD directory and named
XDP####.PPD, where #### is your printer model number; for
example, XDP4890.PPD or XDP4635.PPD.
NOTE: For the DocuColor 2060 NPs/IPS, use the Xerox driver
for the DocuPrint 180 NPS/IPS, and use the 2060 PPD.
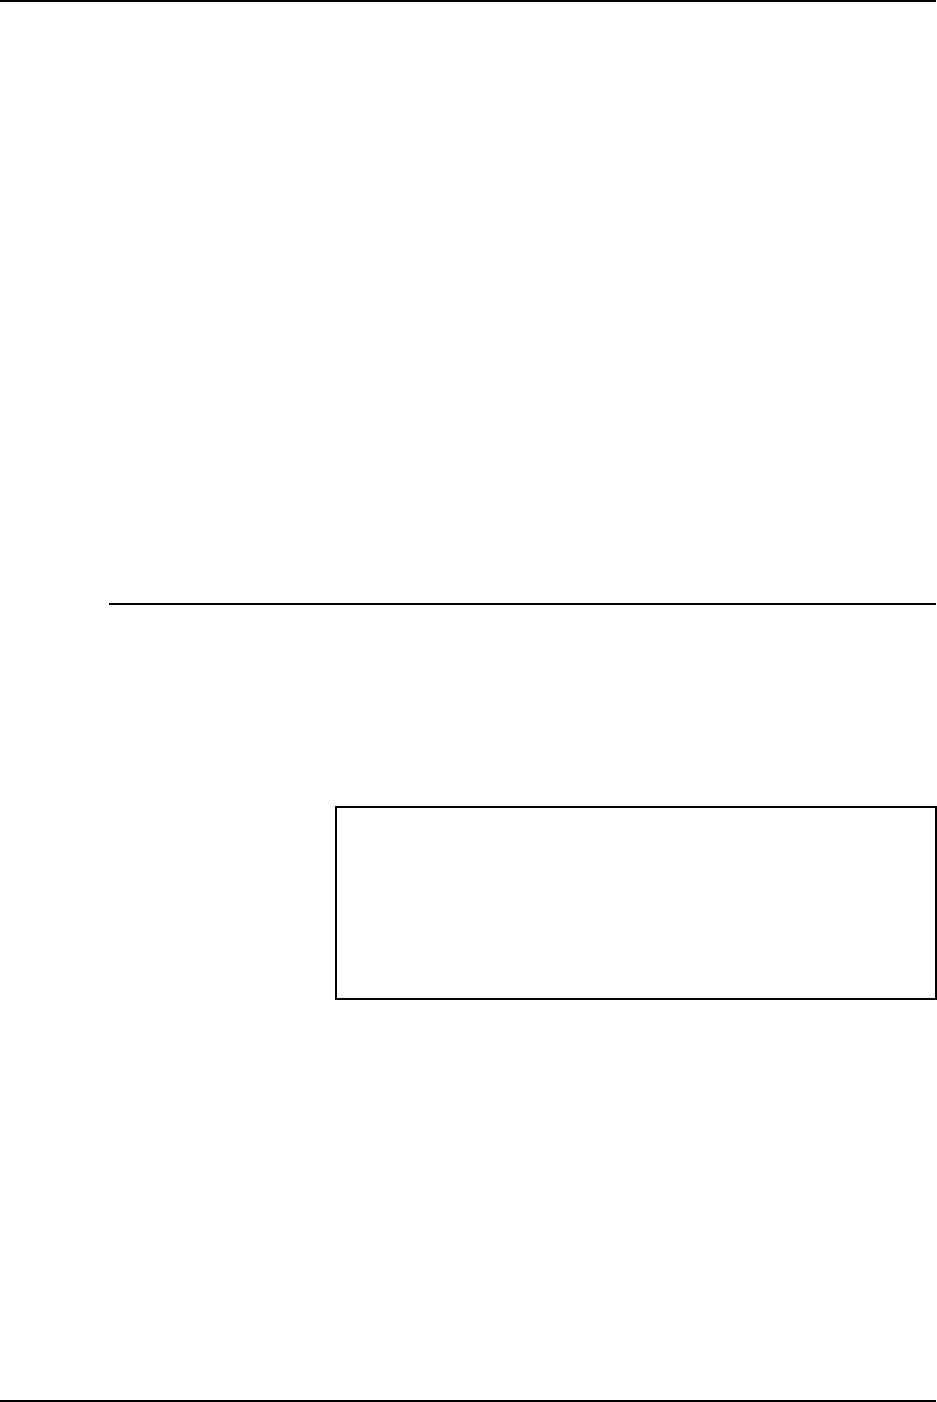
For FTP PC/TCP client installation, enter any character string
and <RETURN> at the “Password” prompt.
cd <DOS directory for PPD files>
ftp <DocuPrint printer controller>
Name: ftp
Password: <RETURN>
ftp> ls
ftp> cd PPD
ftp> get <PPDfile>
ftp> quit