Xerox Mobile Scanner
User’s Guide
25
Android
®
Devices (Smartphones and Tablets)
You can connect the scanner to an Android mobile technology based Smartphone or tablet and scan directly to the
device's memory card.
Before proceeding, please note the following requirements for scanning:
• Scanning to a mobile device using a USB cable is only supported when the phone or tablet is able to be used as
a disc drive.
To test this function for your device, attach it to your computer using its USB cable. If the device is detected as
a disc drive you should be able to scan directly to it when it is attached to the scanner. If it is not detected as a
disc drive, you will not be able to attach it to the scanner and scan. However, as indicated in the
troubleshooting steps in this section of the user guide, the device may have several USB connection options
(including auto-sync, disc drive, and charging). Please refer to your device’s user documentation for
information about the USB connection types.
• An external memory card must be installed in the mobile device for the scanner to detect it as a storage device.
Tip: the scanner automatically powers off after 2 minutes to conserve battery power. Tap the function button
occasionally to keep the scanner powered on while initiating the connection between your mobile device and the
scanner.
Note: If a memory card is in the scanner, remove it before proceeding with these instructions.
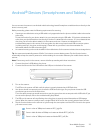
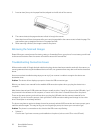
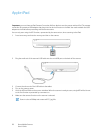
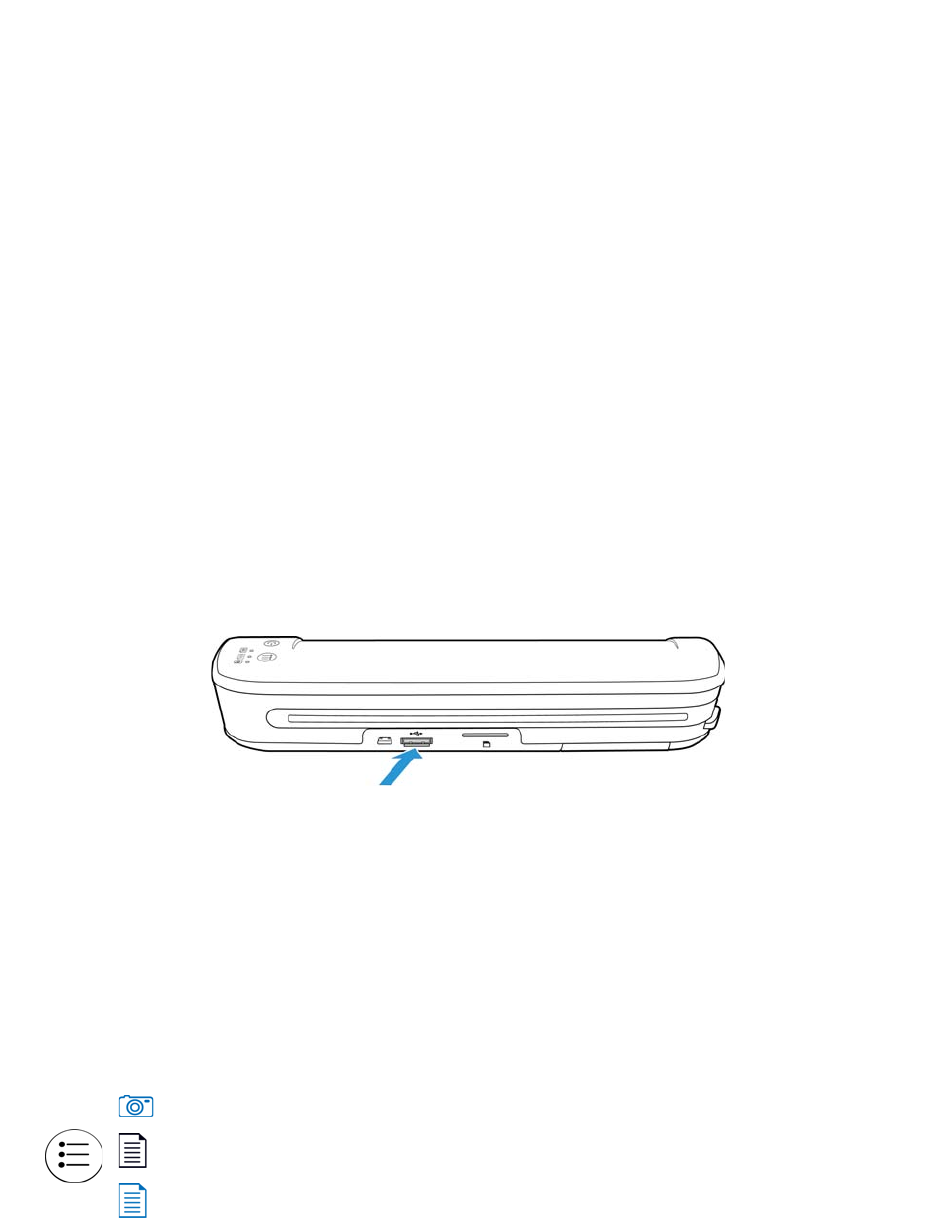
1. Connect the phone’s USB cable to the phone.
2. Connect the other end of the USB cable to the USB port in the back of the scanner.
3. Turn on the scanner.
The LEDs on the scanner will flash until the phone is properly detected as a USB flash drive.
4. Your phone should now prompt you to choose the USB connection type. On your phone choose the USB
connection type to mount it as a disc drive.
This is the same prompt you would receive when you plug your phone into a computer with a USB cable. If you
do not see this prompt, refer to the troubleshooting steps below.
5. The LEDs on the scanner will stop flashing when the phone is properly set and detected as a USB storage
device. When the scanner is ready to scan, a single LED will be lit next to the currently selected scan function.
6. Tap the function button on the scanner to cycle through the scan options until the LED is lit next to the option
you want to use to scan.
Scans in color at 300dpi and creates a JPG (*.jpg) file.
Scans in black & white at 300dpi and creates an Adobe PDF (*.pdf) file.
Scans in color at 300dpi and creates an Adobe PDF (*.pdf) file.


