Xerox Mobile Scanner
User’s Guide
76
Calibrating Your Scanner
The scanner needs to be calibrated as part of your monthly maintenance of the scanner. If your scanned images
have black or colored vertical lines this may be a sign that you need to perform a calibration. If calibrating the
scanner does not resolve the problem, please go to the next section and follow the steps for cleaning the scanner.
You will need to have the calibration page ready.
Important: The top of the page is covered with a blue protective film to prevent damage during shipping. You need
to remove the calibration page from the plastic bag and then peel off and discard the blue film. The calibration
page is now ready to use.
1. Make sure the LED is lit next to the JPG scan function represented by the camera icon.
2. Press and hold down the function button on the scanner for at least 2 seconds.
This starts the hardware calibration routine.
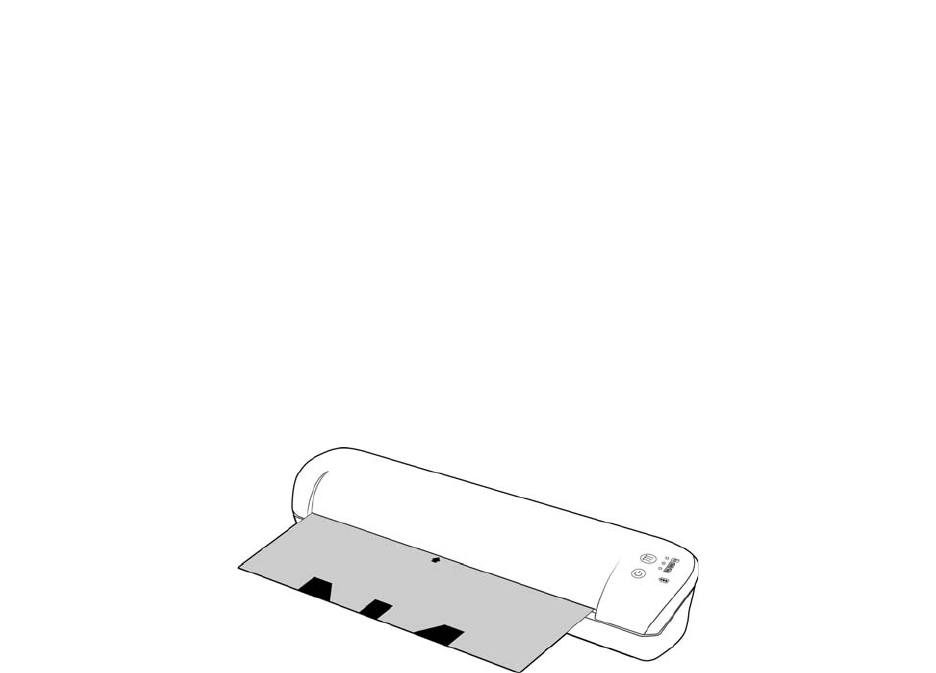
3. Insert the Calibration page in the scanner, in the direction of the arrow(s) on the page.
4. When calibration is complete the scanner will eject the page out of the scanner. Do not forcefully pull the page
out, the scanner will release the page when the calibration process is completed.
Place the calibration page back in the clear plastic bag and keep it in a safe place. The calibration page needs to be
kept clean and in good condition. Calibrating the scanner with a dirty or creased calibration page may cause the
image quality to worsen.
Note: if calibration fails, the function LEDs will start blinking. Simply insert the calibration page while the lights are
still flashing to try the calibration again.
