


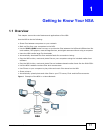

Chapter 1 Getting to Know Your NSA
Media Server User’s Guide
19
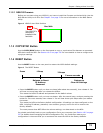
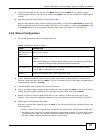
1.1.2.1 NSA210 Firmware
Before you can start using your NSA210, you have to install the firmware on the hard disk. Use the
NAS Starter Utility to do this. See Chapter 3 on page 31 for more information on the NAS Starter
Utility.
Figure 2 NSA210 Hard Disk Partition
1.1.3 COPY/SYNC Button
Use the COPY/SYNC button on the front panel to copy or synchronize files between a connected
USB device and the NSA. See Section 10.10 on page 215 for more details on how to configure the
copy/sync settings.
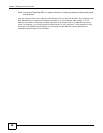
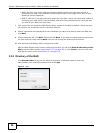
1.1.4 RESET Button
Use the RESET button on the rear panel to restore the NSA’s default settings.
Figure 3 The RESET Button
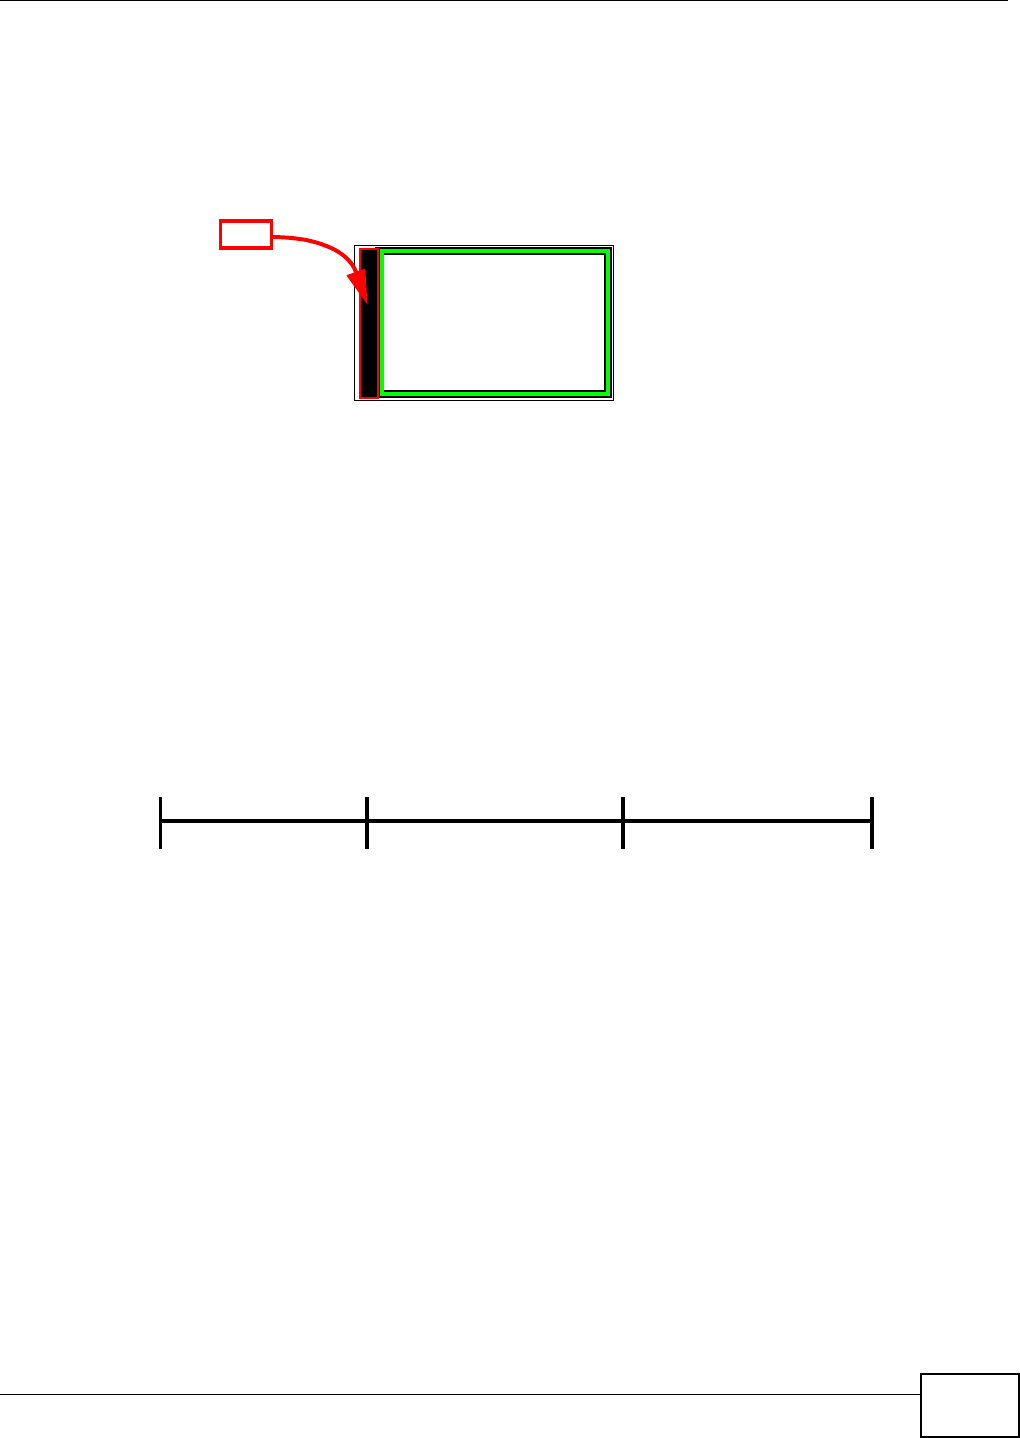
• Press the RESET button until you hear one beep (after about two seconds), then release it. You
will hear one more beep after you release the button.
This resets the NSA’s IP address and password to the default values.
• Press the RESET button until you hear two beeps. After the second beep, continue pressing the
button for five more seconds, then release it. You will hear three quick beeps after you release
the button.
This resets the NSA to the factory default configuration. All settings you have configured on the
NSA, including IP address, password, user accounts, groups, and so on will be reset to the
factory defaults.
The reset process does NOT affect the volume settings, nor data stored on the NSA.
You should periodically back up your configuration file to your computer (see Section 18.5 on page
327 for details about managing the NSA’s configuration file). You could then restore your
configuration in the event that you or someone else reset the NSA to the factory defaults.
Hard disk
Your NSA210’s
firmware is
installed in the
hard disk.
FW
Press
1 Beep
2 Beeps
IP Address
Password
Clear All Settings
5 more seconds
Release to
Release to Reset