Startup and check the Aastra CNX
ATP-CNX-040-01 Rel. 1.3, Doc. Rev. 01.07 1-9
Aastra CNX Installation and Setup Procedures
Startup and check the Aastra CNX
Apply power to the Aastra CNX
To start up the Aastra CNX, insert the CompactFlash card into slot 1 of the unit
and apply power from the power source.
Powering up a new Aastra CNX:
• Starts diagnostic test routines on the Aastra CNX.
• Checks for a flash memory card in CompactFlash slot 1 of the Aastra CNX
chassis.
• Initializes the Aastra CNX and, if successful, resets all LEDs to their normal
state.
• Starts a one-time software script that allows you to setup your network
settings (See Step 7, “Configure the network settings.”)
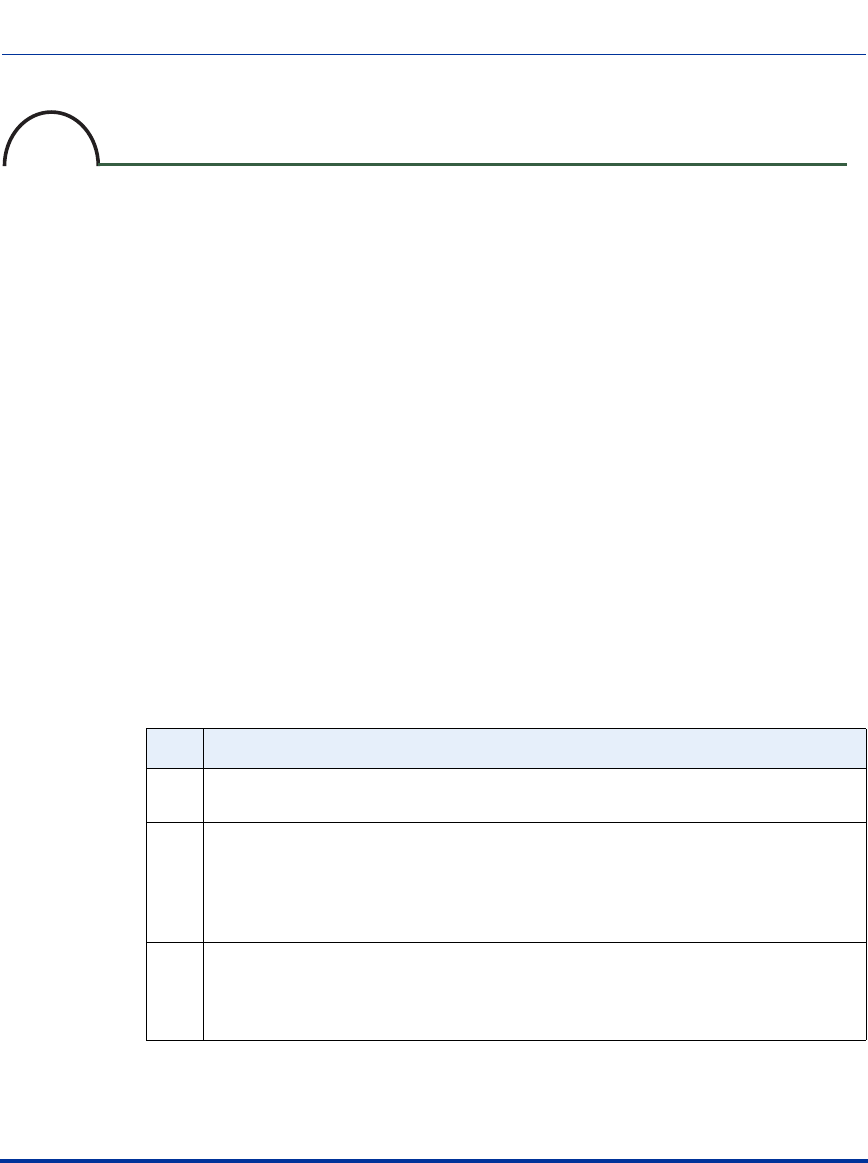
Check the LEDs
To check the Aastra CNX LEDs:
Step Action
a Check the common LEDs on the front panel. The Power and Status LEDs should
be ON (green) indicating the Aastra CNX is ready to take calls.
b Check the ENET LEDs on the front panel. If your Aastra CNX has a physical
Ethernet link to your network from the 10/100 ENET ports 1 or 2 on the back
panel, and no alarms are present, the ENET LEDs 1 and/or 2 should be ON
(green).
Note: The ENET LEDs FLASH (green) when there is Rx/Tx activity.
c The T1/E1 ports are disabled by default in the Aastra CNX software configuration.
The top row of T1/E1 LEDs should be OFF. To enable these ports and check the
LEDs, the System Administrator must enable the T1/E1 ports using the Aastra
CNX GUI.
6


