


Service Guide 6-7
6.5.4 Removing/Replacing the Keyboard Assembly
The procedure for removing and replacing the keyboard assembly is as follows:
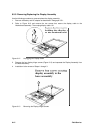
1. Turn off the computer; disconnect the AC power adapter (if it is attached), and remove the
battery pack as described in Paragraph 6.5.1.
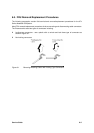
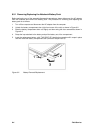
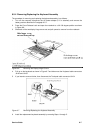
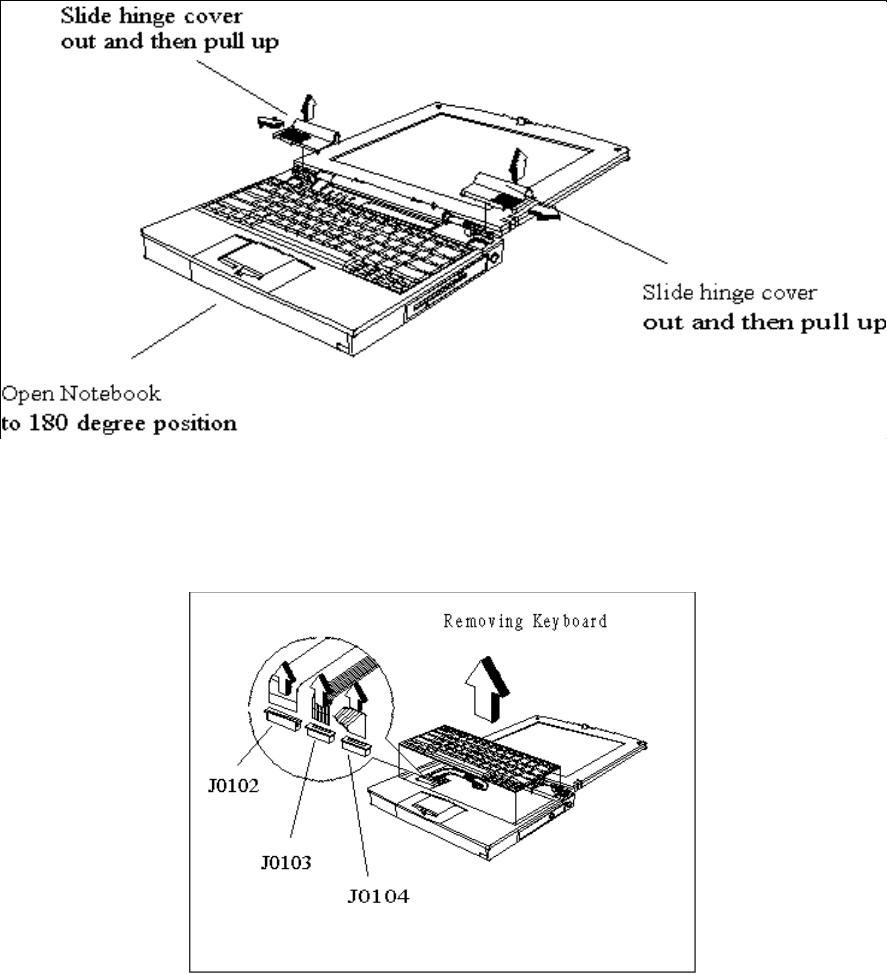
2. Press the Cover Release Latch and open the notebook to a full 180 degree position as shown
in Figure 6-6.
3. Slide each of the two display hinge covers out and pull upward to remove from the notebook.
Figure 6-6 Removing the Display Hinge Covers
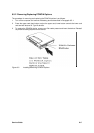
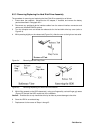
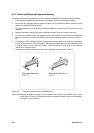
4. Pull up on the keyboard as shown in Figure 6-7 and disconnect the Keyboard cable connectors
J0102 and J0103.
5. If you intend to remove further, then disconnect the Touchpad cable connector J0104.
Figure 6-7 Removing/Replacing the Keyboard Assembly
6. Install the replacement keyboard assembly by reversing Steps 1 through 5.