


3 System upgrade
64
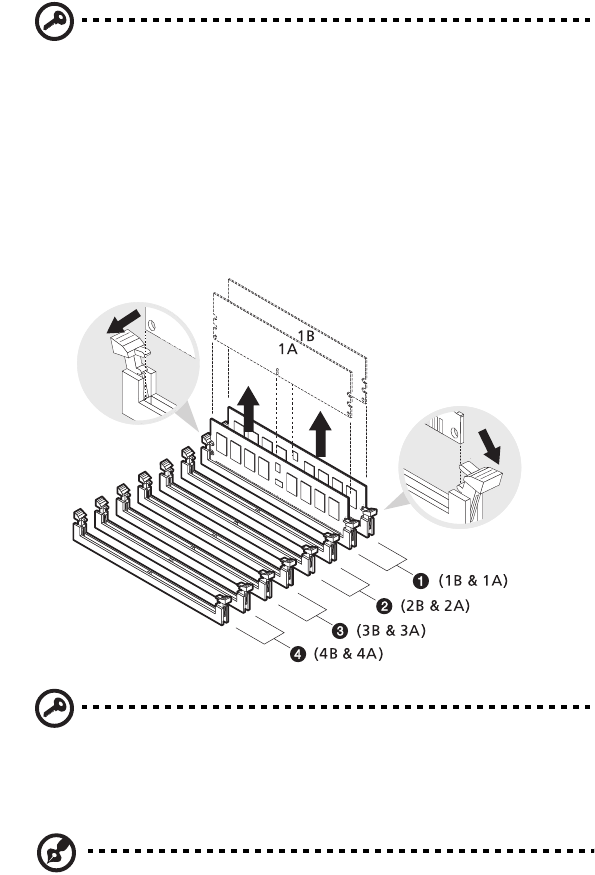
Important: Before removing any DIMM from the mainboard,
make sure to create a backup file of all important data.
1 Observe the ESD precautions and pre-installation procedures
described on page 39.
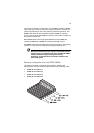
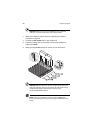
2 Locate the DDR2 DIMM slots on the mainboard.
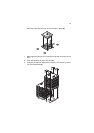
3 Press the holding clips on both sides of the socket outward to
release the DIMM.
4 Gently pull the DIMM upward to remove it from the socket .
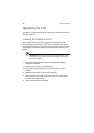
Important: Remove identical memory modules at the same time
and in the following sequence: 1B and 1A, 2B and 2A, 3B and 3A,
and 4B and 4A. Refer to the illustration above for the
recommended DIMM sequence.
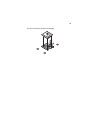
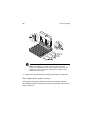
Note: Place your forefingers on the top of the DIMM before
pressing the holding clips to gently disengage the DIMM from the
socket.