


1-16 User’s Manual
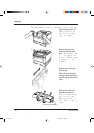
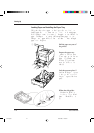
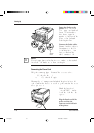
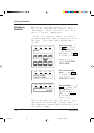
2. Fasten the feeder to the
printer. Insert the left and
right supports and hooks of
the multi-function feeder
into the corresponding
openings at the front of the
printer so that the hooks
catch the pins firmly.
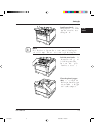
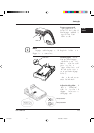
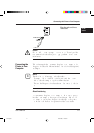
3. Connect the feeder cable.
Connect the feeder cable to
the connector at the right
side of the printer. Orient
the arrow mark of the
cable’s connector right.
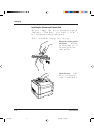
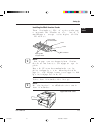
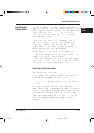
Notice:
To avoid paper jams or other feeding errors, make sure that each of
the left and right hooks securely hangs on the pin.
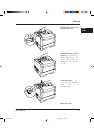
Connecting the Power Cord
This printer comes equipped with one of the two voltage ratings:
• 120 VAC (such as for the USA)
• 220 to 240 VAC (such as for Europe)
The manufacturer’s nameplate on the back of the printer indicates this
rating. Confirm that the rated voltage of your printer matches the voltage
of your power outlet.
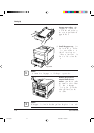
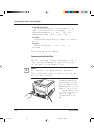
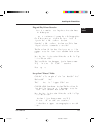
1. Check that the printer is
turned off. The “O”-marked
side of the switch should be
depressed.
2. Plug the female end of the
power cord into the
connector on the left back
of the printer.
Setting Up
Arrow
mark
☞
04 Chapter 1 07.08.1997, 11:39 Uhr16