


COMSPHERE 3550 Series Data Service Units
4-18 February 1995 3550-A2-GB20-10
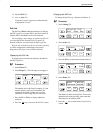
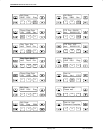
10. Press the key to return to the Enter Dir
screen.
11. Press the F3 key to Save the entry.
12. Verify that the number was loaded by pressing the
key again and selecting Load (F2).
The telephone number should appear as entered, or you
can repeat the procedure to edit/correct your entry.
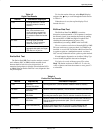
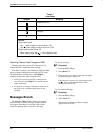
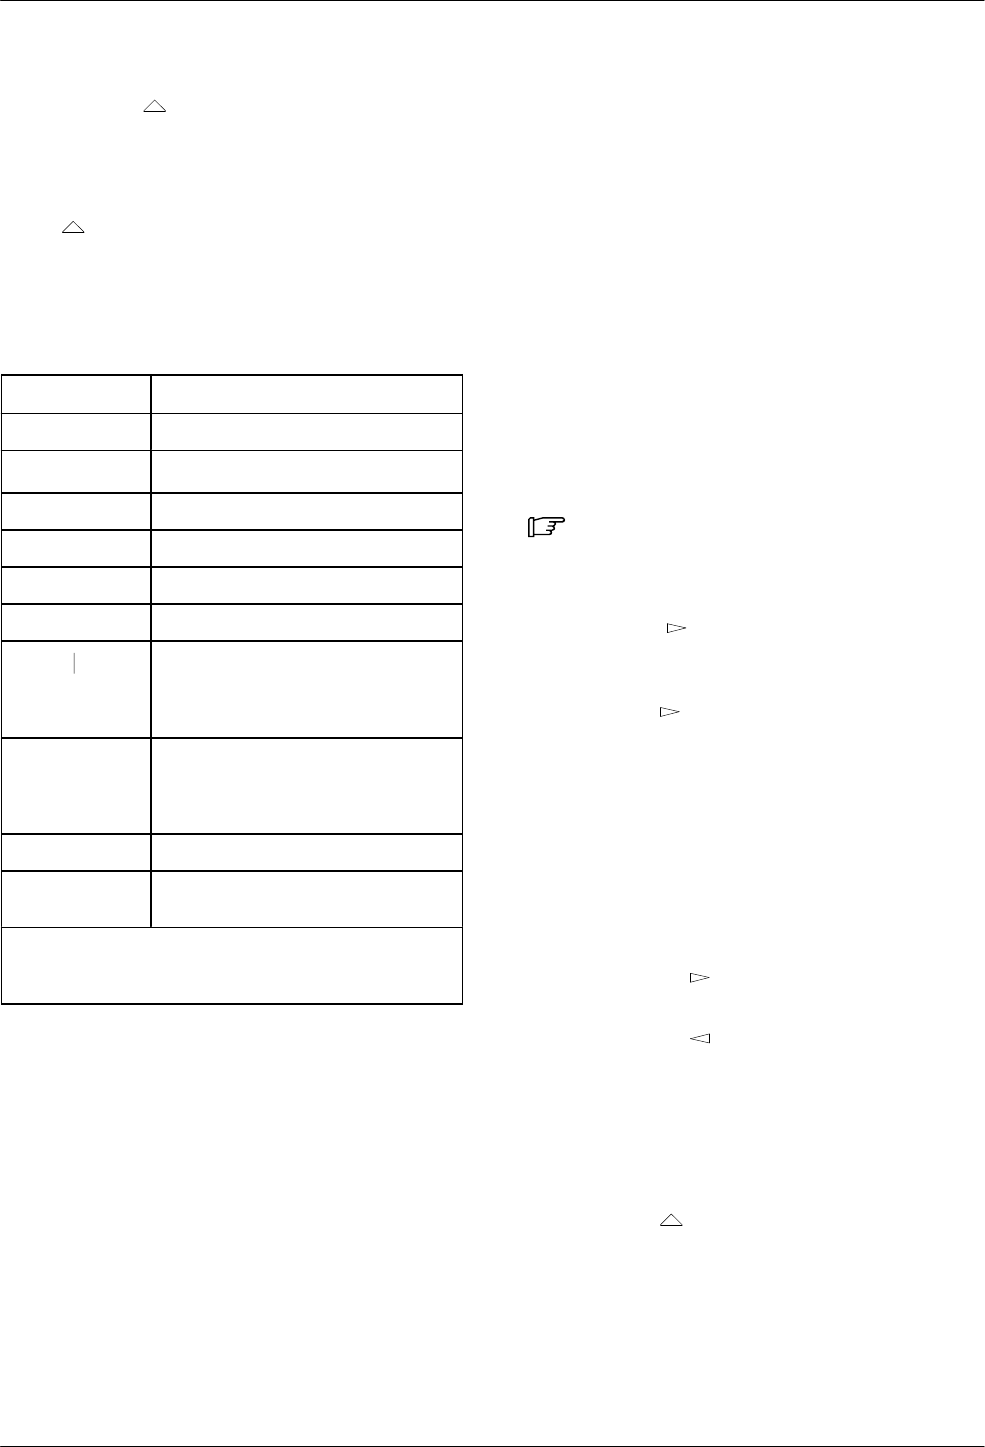
Table 4-6
Directory Entry and Password Characters
Character
1
Use
0—9 Dialing digit
*
Tone-dialing character *
# Tone-dialing character #
t Tone dial
p Pulse dial
w Wait for dial tone
Delimiter, separating telephone
number and callback directory
pointer (for use with callback
security)
, (comma) In a dial string: a 2-second pause at
the beginning of a password;
suppresses display of all following
characters (invisible mode)
( ) (space) Space (readability character)
2
_ (underscore) Required character for end-of-string
marker (erases end-of-line)
1
The colon (:) character should not be entered from
the NMS.
2
Space is not used for directory entries.
Phone
The local telephone number (Phone) feature stores the
local DBM’s telephone number if a DBM is installed.
Refer to Table 4-6 to see all available telephone
number characters.
Network Address
The network address (Addr) is the network address of
the local DSU. It is only available from the Local branch.
The DSU’s network address is a number in the range of
1 to 254 if the DSU has a DBM installed. The DBM
automatically acquires an address equal to the DSU’s
plus 1.
Assigning an Address
The Addressing the Unit sections of the installation
chapters, Chapters 2 and 3, provide guidelines for
assigning an address to the DSU based upon its position in
the network – control or tributary. Follow the steps below
to assign a network address to a DSU. Refer to the menu
in Appendix A, if necessary.
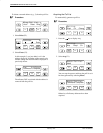
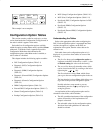
Procedure
1. Select Confg (Configuration branch) from the
menu.
(Press the
key to scroll Confg into view, then
press the function key (F3) directly below the
branch name to select it.)
2. Press the
key until Addr (Address) appears,
then select Addr.
3. Select Load.
Net Address appears, with the current network
address displayed. (The DSU is shipped with its
network address set to 254.)
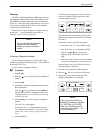
4. Change the DSU’s network address by moving the
blinking cursor and incrementing or decrementing
the digits (1 through 9).
Press the
key – moves the cursor 1
position to the right.
Press the
key – moves the cursor 1
position to the left.
Press the F1 (↑) key – increments the digit by
1 (e.g., 1, 2, 3 ...).
Press the F2 (↓) key – decrements the digit by
1 (e.g., 1, 2, 3, ...).
5. Press the
key to return to the Net Address
screen when finished entering the DSU’s address.