


The User Interface
Issue 5 October 2007 19
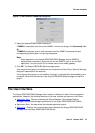
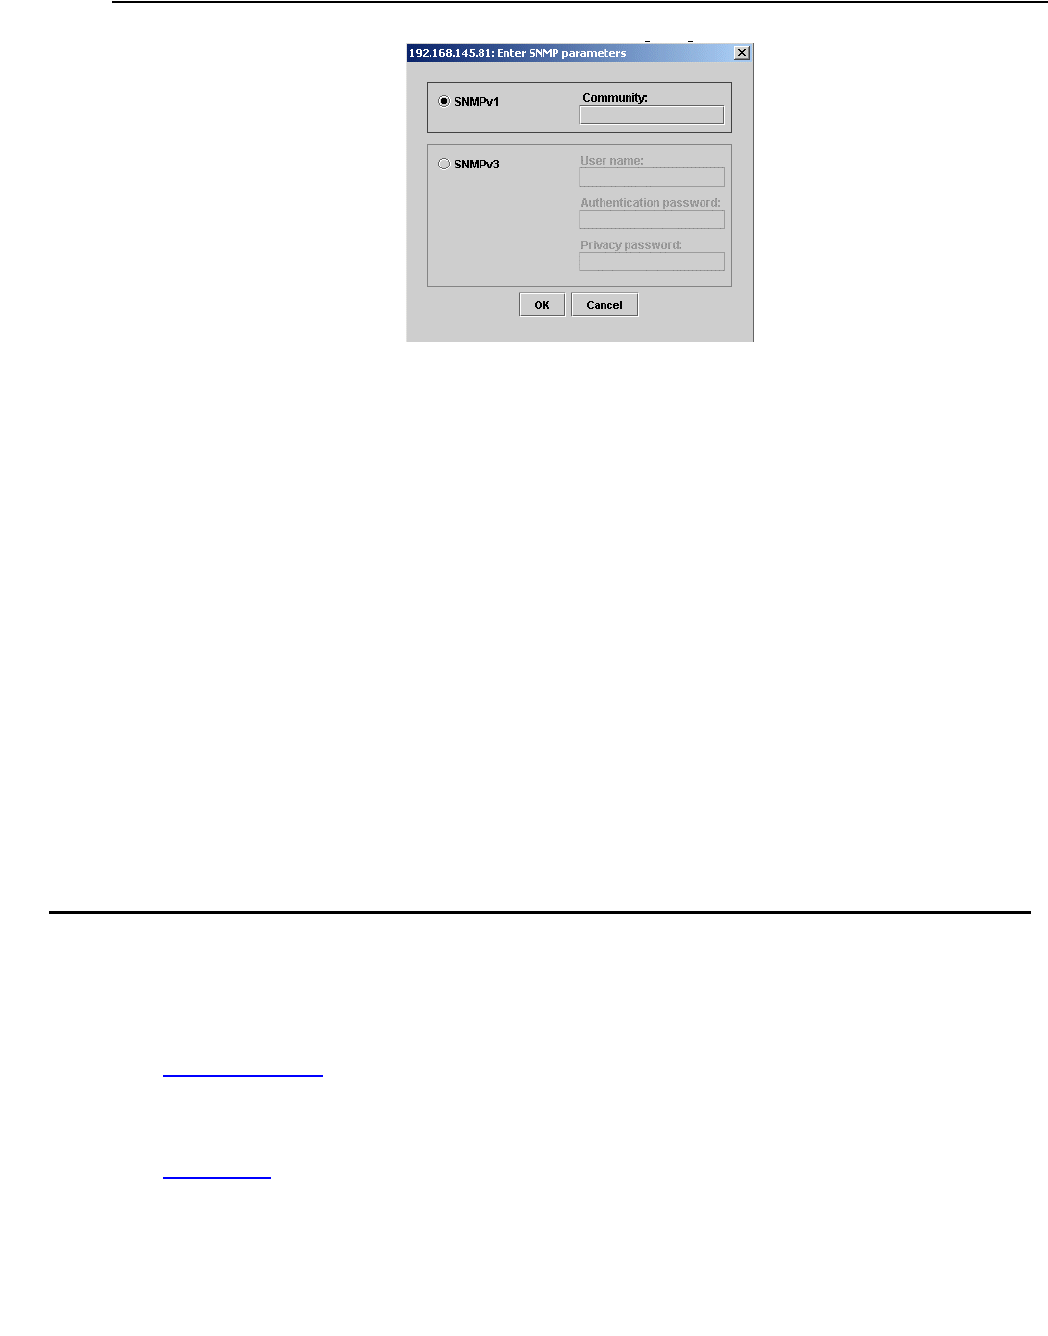
Figure 1: Enter Network Password Dialog Box
2. Select the desired SNMP mode of operation.
If SNMPv1 is selected, enter the correct SNMPv1 community string in the Community field.
Or
If SNMPv3 is selected, enter a valid username from the SNMPv3 username list and
corresponding authentication and privacy passwords.
Note:
Note: Some operations in the Avaya G250/G350/G450 Manager require SNMPv3
authentication credentials. Verify that you are an SNMPv3 user or use the SAA
application. You can use the CLI to create users on the media gateway.
3. Click OK. The Avaya G350/G450 Welcome page opens.
If the required Java plug-in is installed on your computer, the Java Plug-in Security Warning
dialog box opens after a few seconds.
If the required Java plug-in is not installed, the plug-in is automatically downloaded to your
computer. Follow the instructions on the Avaya G350/G450 Welcome page to install the
plug-in.
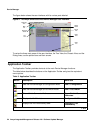
The User Interface
The Avaya G250/G350/G450 Manager user interface is different for each of its management
applications. However, the following elements of the user interface are common to all views:
● Application Tabs - Tabs for accessing the Device Manager, Policy Based Routing
Manager, and Routing Manager applications for the Avaya G250/G350/G450 Device.
● Application Area - An area where the selected application opens.
● Status Line - Displays the communication status between the Avaya G250/G350/G450
Manager and the Avaya G250/G350/G450 Device.