3. Physical installation
1/3 to 1/2
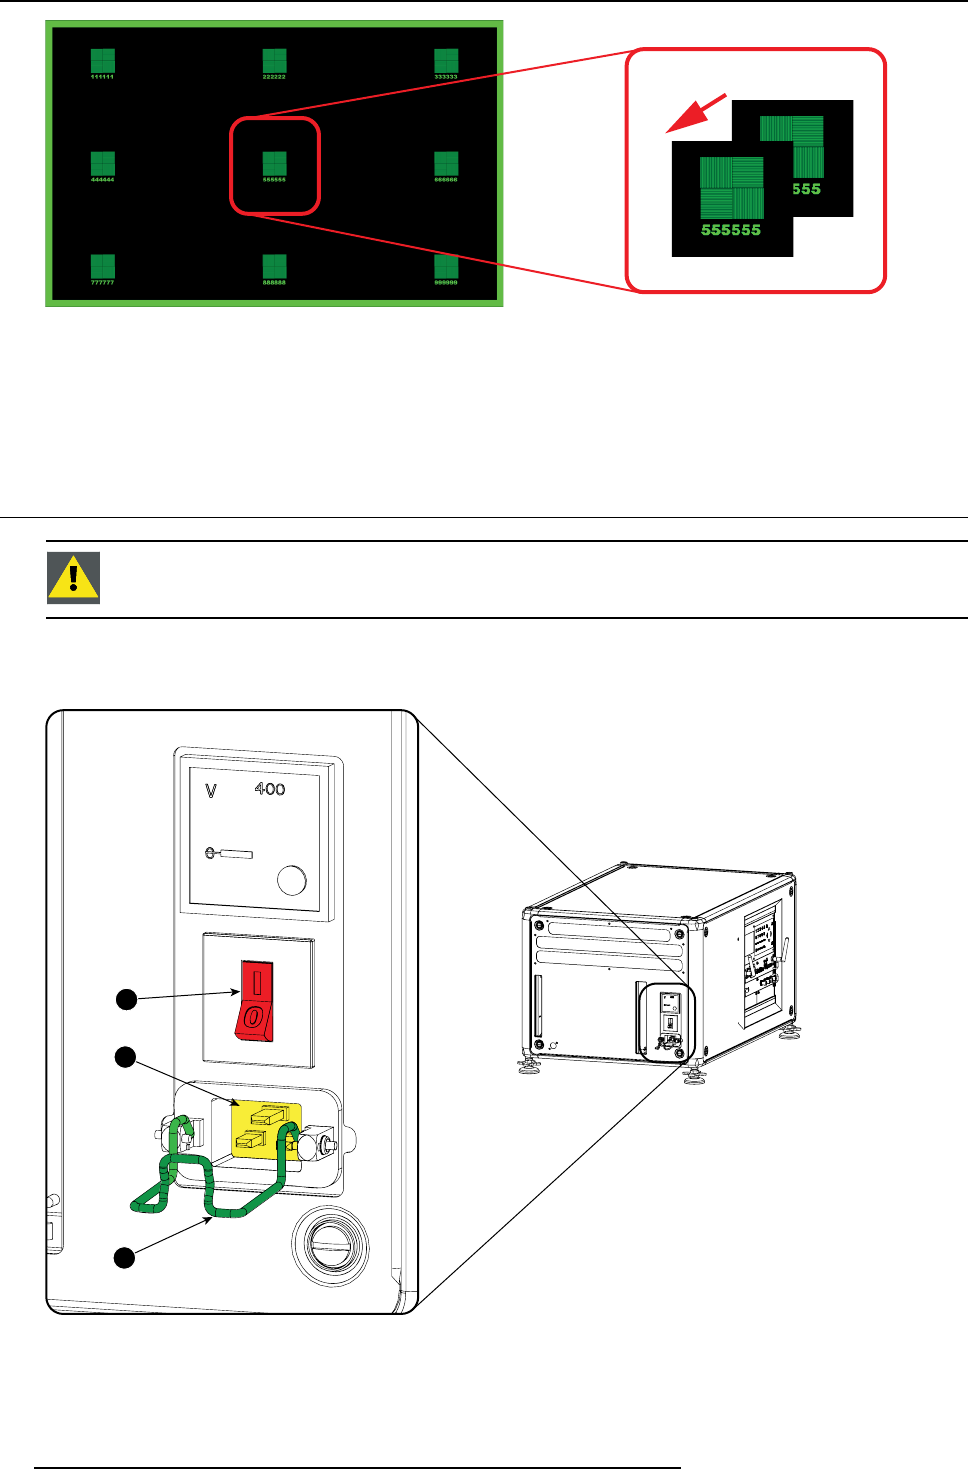
Image 3-41
4. Fasten lock nut d.
5. Tighten nut 4 until the offset of the image movement created in step 3 is canceled.
Tip: The amount of image movement in step 3 will determine how tight the nut in step 5 will need to be turned to return the
image to its original p osition.
3.3 Connecting the projector with the power net
CAUTION: Use only the power cord provided with the projector.
How to connect with local power net
1. Ensure that the power switch stands in the ’0’ (OFF) position (1).
1
2
3
Image 3-42
Power input
2. Connect the female side of the power cord with the power input socket of the projector (2).
3. Secure the power plug by locking the plug holder clamp (3).
38
R5905032 HDX SERIES 02/03/2015


