


2-6
Cisco MDS 9100 Series Hardware Installation Guide
OL-16187-01
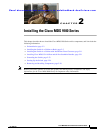
Chapter 2 Installing the Cisco MDS 9100 Series
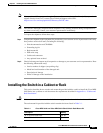
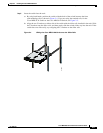
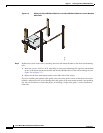
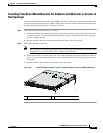
Installing the Switch in a Cabinet or Rack
Front-Facing Installation
To install the switch in a cabinet or rack using the rack-mount kit provided with the switch, follow these
steps:
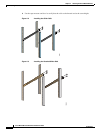
Step 1 Install the front rack-mount bracket as follows.
a. Position one of the front rack-mount brackets against the side of the switch and align the screw holes
as shown in Figure 2-1. Then attach the bracket to the switch with the three M4 screws originally
provided with the bracket.
b. Repeat with the other front rack-mount bracket on the other side of the switch.
Step 2 Install the C brackets as follows:
Note Two C brackets are shipped preinstalled on the switch, using three M3 screws per bracket. This
installation step is only necessary if the C brackets were removed.
a. Position one of the C brackets against the side of the switch and align the screw holes as shown in
Figure 2-1. Then attach the bracket to the switch with the three M3 screws originally provided with
the bracket.
b. Repeat with the other C bracket on the other side of the switch.
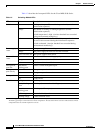
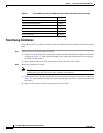
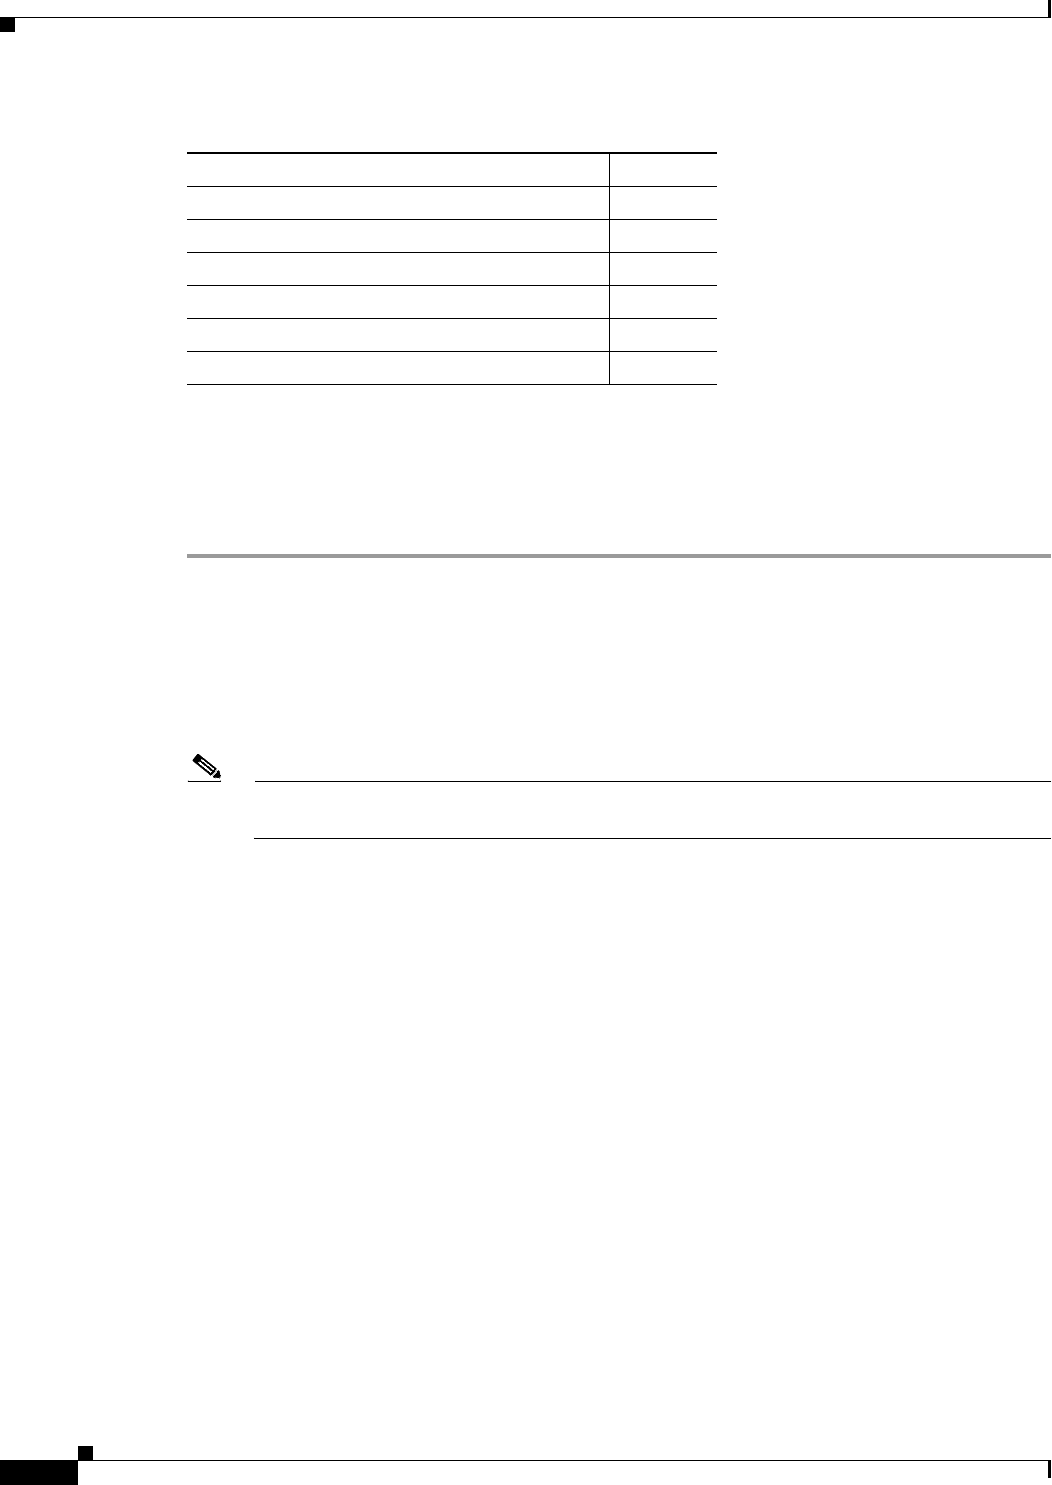
18- to 24-inch slider rails 2 per kit
Front rack-mount brackets 2 per kit
12-24 x 3/4-inch Phillips binder-head screws 10 per kit
10-32 x 3/4-inch Phillips binder-head screws 10 per kit
M4 x 6-mm Phillips flat-head screws 6 per kit
12-24 Cage nuts 10 per kit
Table 2-1 Cisco MDS 9134 and Cisco MDS 9124 Fabric Switch Rack-Mount Kit (continued)
Description Quantity