


2-13
Cisco MDS 9100 Series Hardware Installation Guide
OL-16187-01
Chapter 2 Installing the Cisco MDS 9100 Series
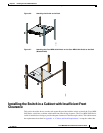
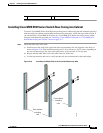
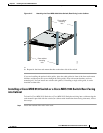
Installing the Switch in a Cabinet with Insufficient Front Clearance
Installing Front Rack-Mount Brackets for Cabinets with 26 Inches or Greater of
Rail Spacings
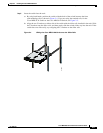
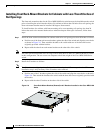
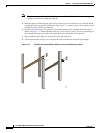
The front rack-mount brackets for the Cisco MDS 9100 Series switch must be installed onto the switch
prior to installing the switch into the cabinet. Follow these steps for cabinets with front-mounting rail to
rear-mounting rail spacings greater or equal to 26 inches.
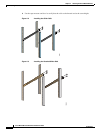
Step 1 Install the front rack-mount brackets as follows:
a. Position one of the front rack-mount brackets against the side of the switch and align the screw holes
as shown in Figure 2-8. Then attach the bracket to the switch with the three M4 screws originally
provided with the bracket.
b. Repeat with the other front-rack mount bracket on the other side of the switch.
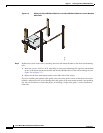
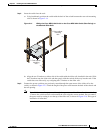
Step 2 Install the C brackets as follows:
Note Two C brackets are shipped preinstalled on the switch, using three M3 screws per bracket. This
installation step is only necessary if the C brackets were removed.
a. Position one of the C brackets against the side of the switch and align the screw holes as shown in
Figure 2-8. Then attach the bracket to the switch with the three M3 screws originally provided with
the bracket.
b. Repeat with the other C bracket on the other side of the switch.
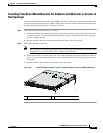
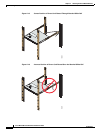
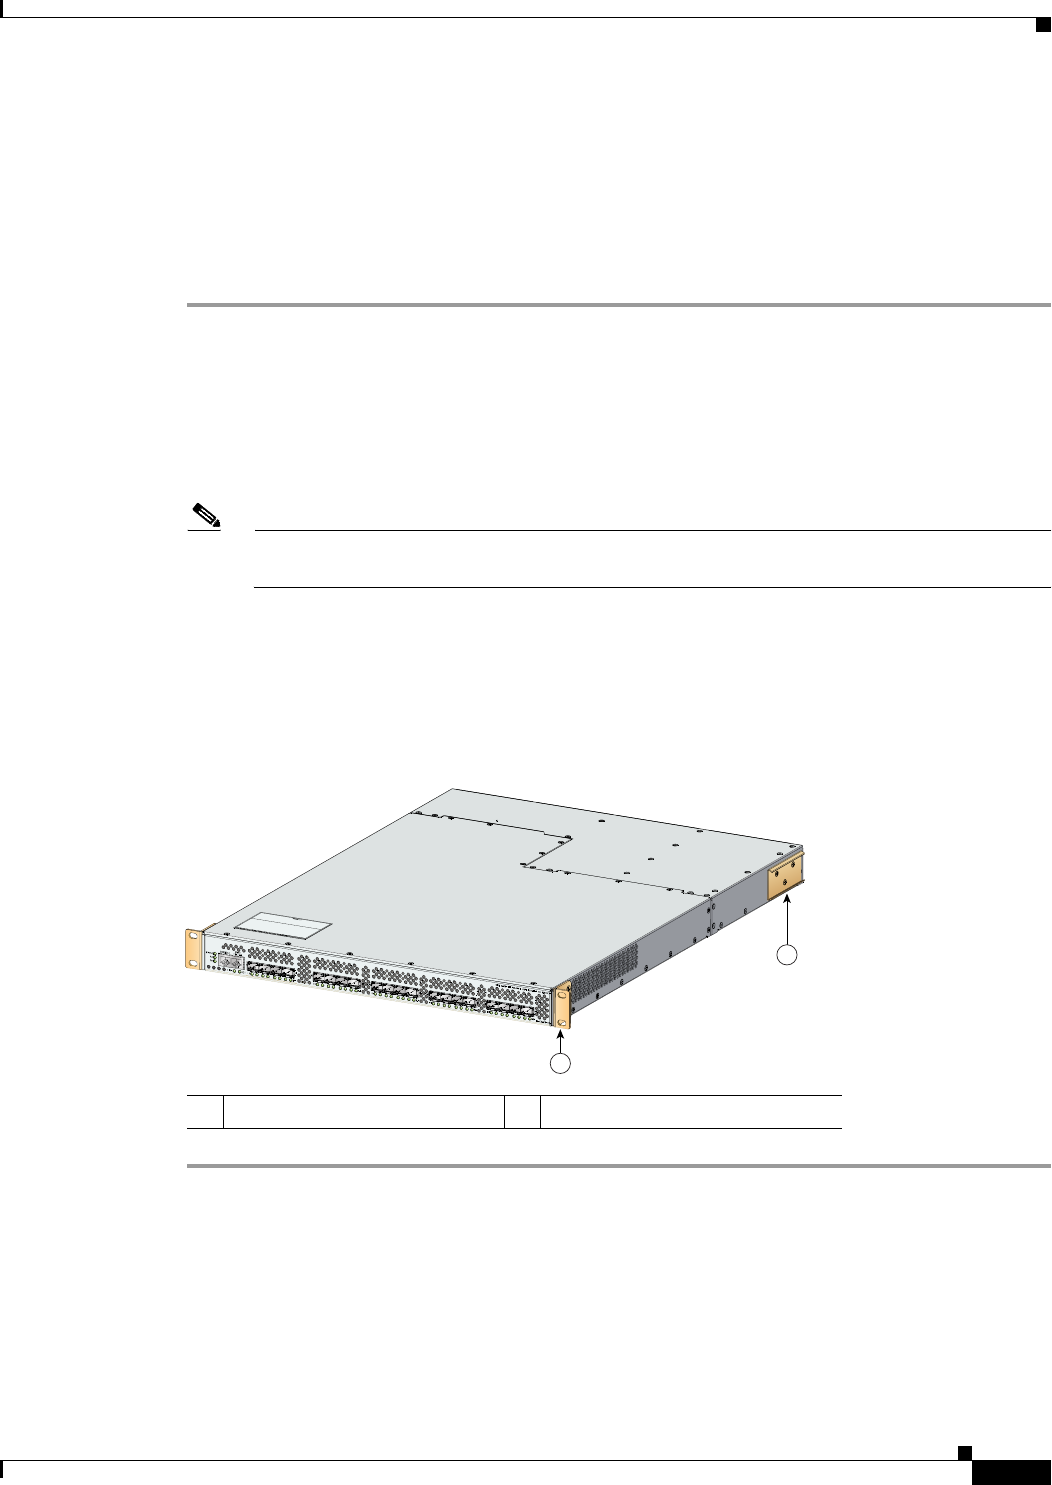
Figure 2-8 Front Rack-Mount Brackets and C Brackets Installed on the Cisco MDS 9100 Series
1 Front rack-mount bracket 2 C bracket
96616
1
2