


3-6
Cisco MDS 9100 Series Hardware Installation Guide
OL-16187-01
Chapter 3 Connecting the Cisco MDS 9100 Series
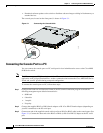
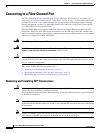
Connecting to a Fibre Channel Port
Removing an SFP Transceiver
To remove an SFP transceiver, follow these steps:
Step 1 Attach an ESD-preventive wrist strap and follow its instructions for use.
Step 2 Perform these steps if cable is installed in the transceiver:
a. Record the cable and port connections for later reference.
b. Press the release latch on the cable, grasp the connector near the connection point, and gently pull
the connector from the transceiver.
c. Insert a dust plug into the connector on the cable.
d. Insert a dust plug into the cable end of the transceiver.
Tip If the transceiver does not remove easily in the next step, push the transceiver all the way back
in and then ensure that the latch is in the correct position before continuing.
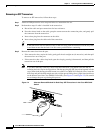
Step 3 Remove the transceiver from the port:
• If the transceiver has a mylar tab latch, gently pull the tab straight out (do not twist), and then pull
the transceiver out of the port.
• If the transceiver has a bale-clasp latch, open the clasp by pressing it downwards, and then pull the
transceiver out of the port.
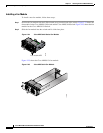
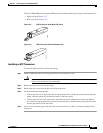
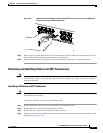
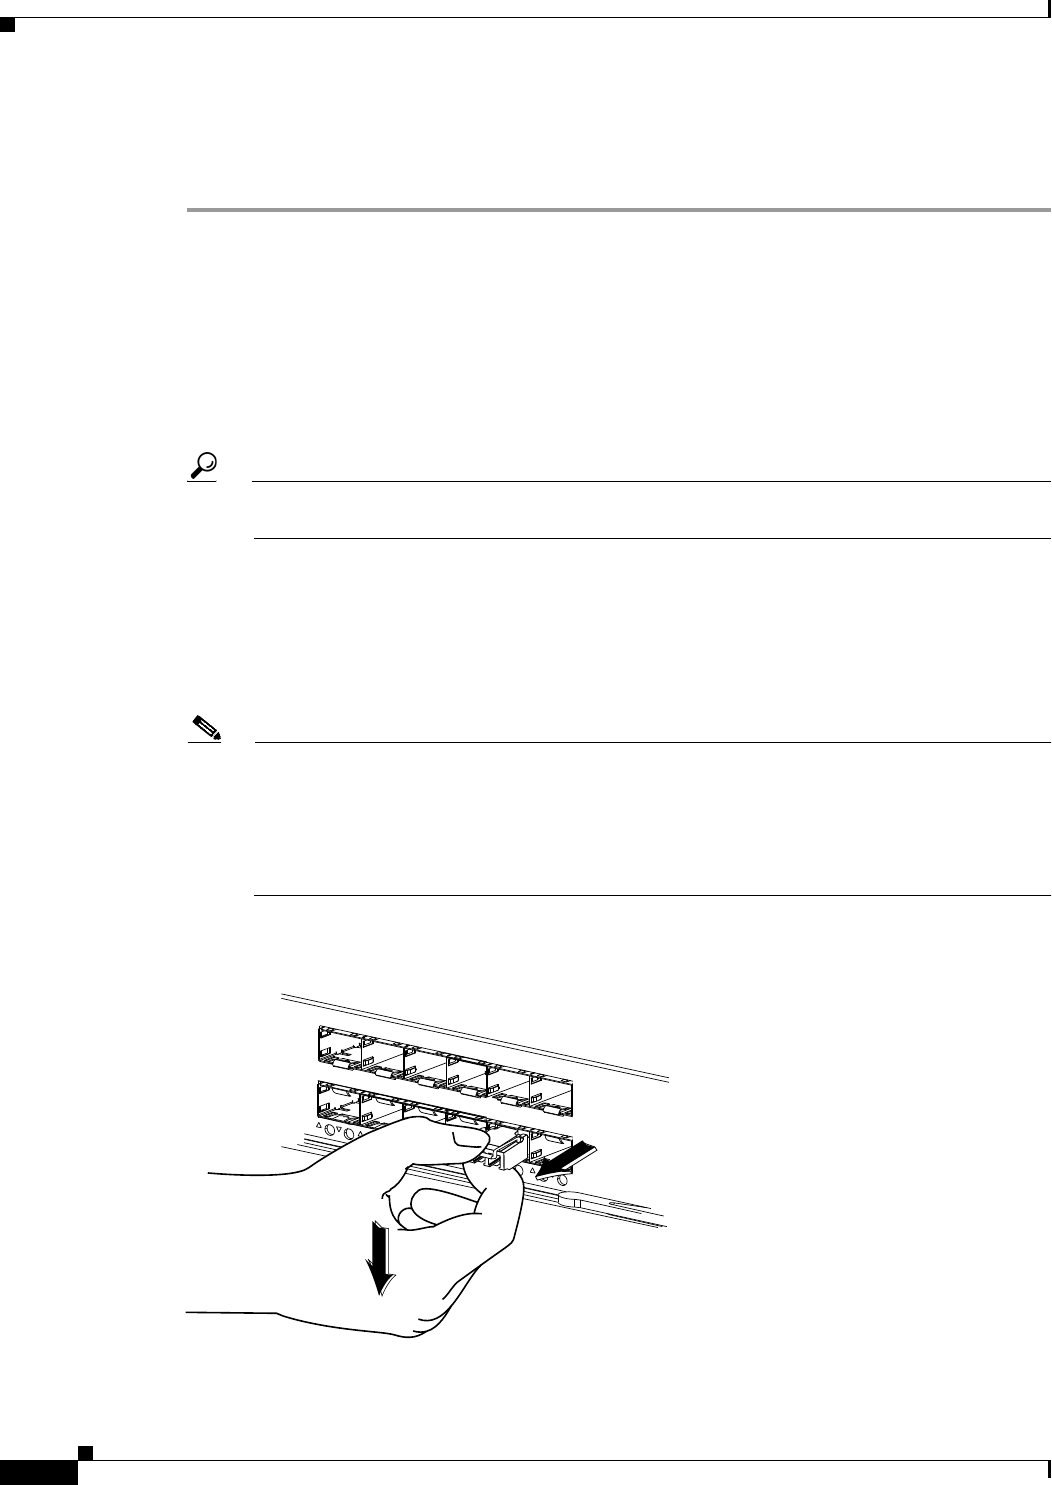
Note If you have difficulty removing a bale clasp SFP transceiver, you should reseat the SFP by
returning the bale clasp in the up position, and then pressing the SFP inward and upward into the
cage (inward and downward on the bottom row of the Cisco MDS 9124 Switch). Next, lower the
bale clasp and pull the SFP straight out with a slight upward lifting force (slight downward force
on the bottom row of the Cisco MDS 9124 Switch). (See Figure 3-4 and Figure 3-5.) Be careful
not to damage the port cage during this process.
Figure 3-4 Alternate Removal Method for Bale Clasp SFP Transceivers in the Cisco MDS 9124
Switch
1
3
1
415
16
1
71
8
1
9
20 21
2
2
2
3
24
181494