


98
Access of Multiple VLANs over a SSL VPN Tunnel
4-Port SSL/IPSec VPN Router
Appendix N
Appendix N:
Access of Multiple VLANs
over a SSL VPN Tunnel
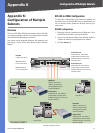
Overview
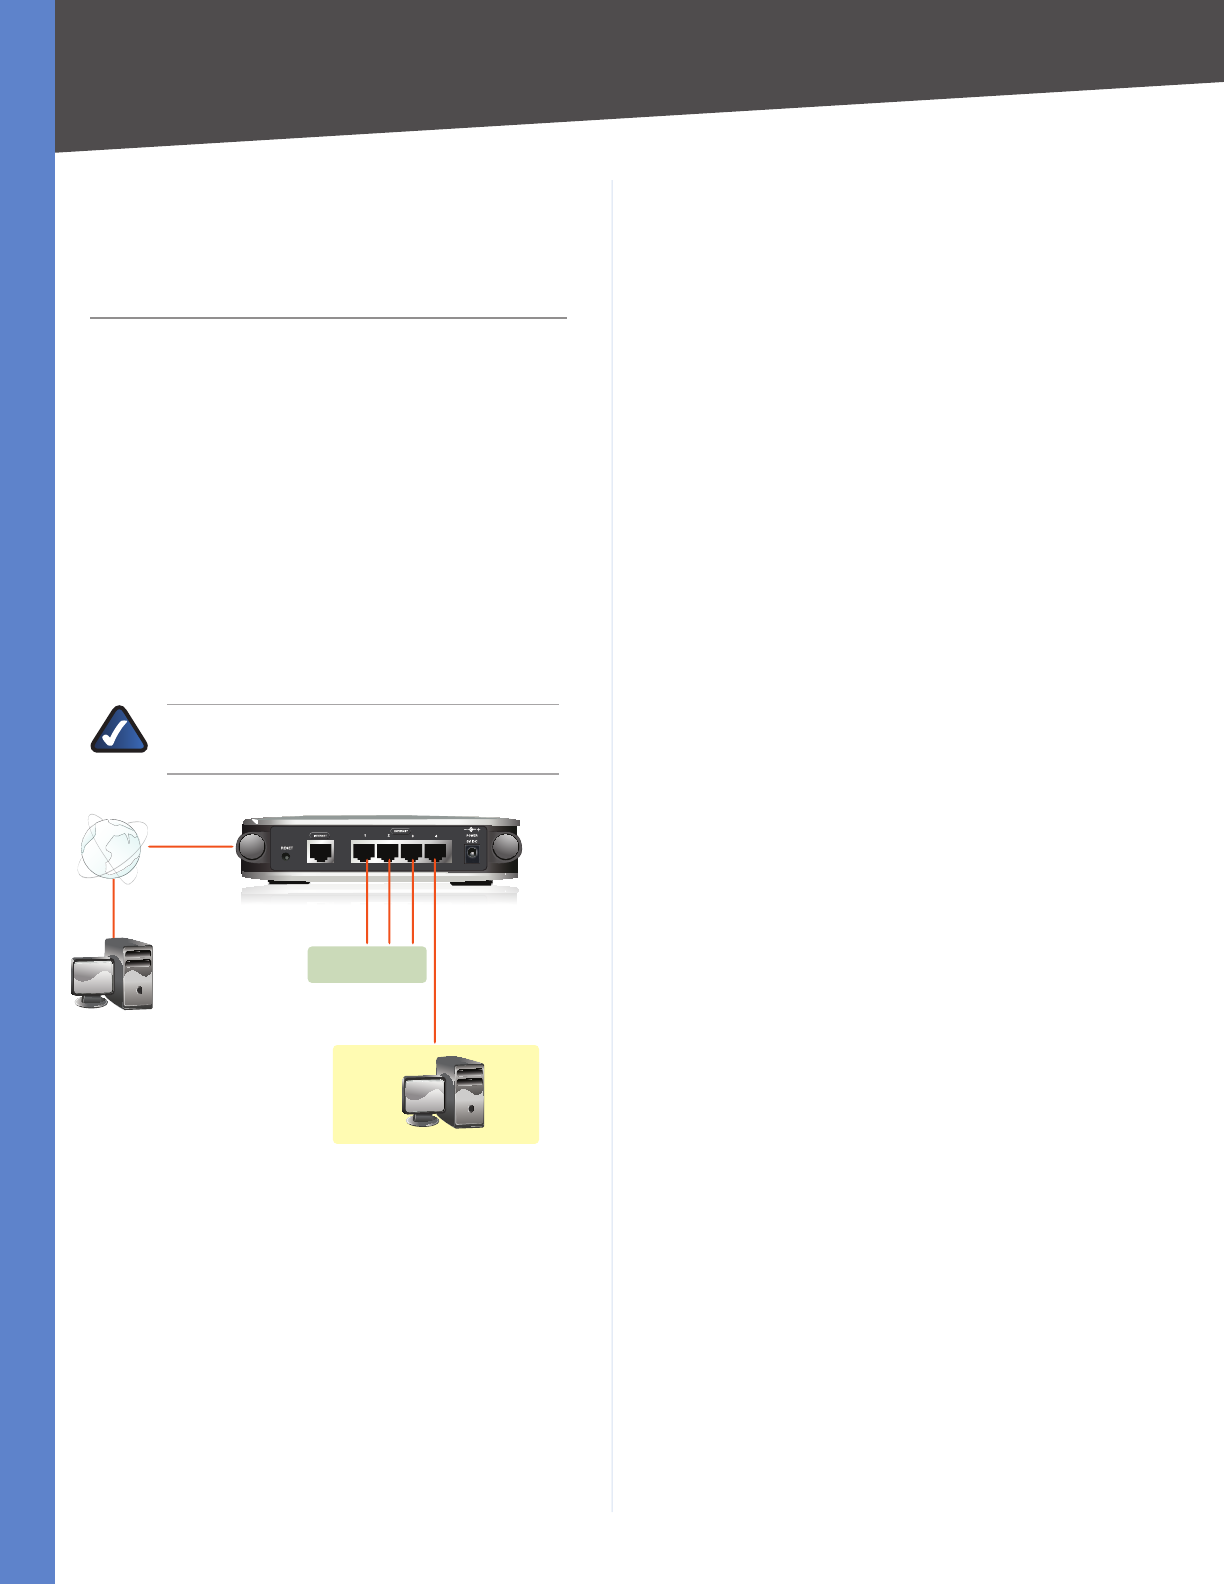
The 4-Port SSL/IPSec VPN Router (model number: RVL200)
can allow a computer on the Internet to communicate with
a local computer, even though they belong to different
Virtual Local Area Networks (VLANs).
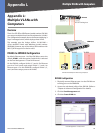
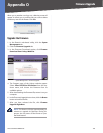
SSL VPN Connection
Establish an SSL VPN connection between the computer
on the Internet, designated PC 1, and the RVL200. (Refer to
“Appendix B: Virtual Passage SSL VPN Client” for details.)
In the configuration example, the RVL200 assigns
192.168.1.201 to PC 1.
NOTE: By default, the SSL VPN client is a member
of default VLAN1.
RVL200
192.168.3.201
Default VLAN1
VLAN2
WAN
192.168.1.201
SSL VPN Client Communicating with a Client Belonging to a
Different VLAN
Static Route
On the local computer, designated PC 2, configure a static
route to access a member of a different VLAN.
Follow the instructions for the operating system of PC 2.
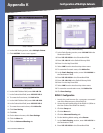
Windows Operating System (OS)
Click Start.
Select Programs > Accessories > Command
Prompt.
1.
2.
At the cmd prompt, enter the following:
route add <destination ip> mask 255.255.255.0
<gateway ip>
Example:
route add 192.168.3.0 mask 255.255.255.0
192.168.1.201
Press the Enter key.
Mac OS X
Click Finder.
Select Applications > Utilities > Terminal.
Enter one of the following:
sudo route add -net <destination ip> <gateway ip>
<subnet mask>
Example #1:
sudo route add -net 192.168.3.0 192.168.1.201
255.255.255.0
or
sudo route add -net <destination network> <gateway
ip>
Example #2:
sudo route add -net 192.168.3.0/24 192.168.1.201
Press the Enter key.
Linux OS
Enter the following:
route add -net <destination ip> netmask 255.255.255.0
gw <gateway ip>
Example:
route add -net 192.168.3.0 netmask 255.255.255.0 gw
192.168.1.201
3.
4.
1.
2.
3.
4.