Essential Configuration Tasks
3-DNS
®
Administrator Guide 5 - 11
Important
Auto-configuration automatically collects the virtual server configuration
information for any load-balancing hosts you may have in your network
(with the exception of Cisco
®
LocalDirectors). For more information about
auto-configuration, see Overview of auto-configuration, on page 5-15.
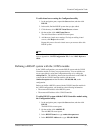
To define a host using the Configuration utility
1. In the navigation pane, expand the Servers item, and then click
Host.
2. On the toolbar, click Add Host.
The Add New Host screen opens
3. Add the new host settings. Note that if you want the 3-DNS
Controller to discover the host’s virtual servers, select ON for the
Discovery setting. (For help on defining hosts, click Help on the
toolbar.)
4. Click Add when you have finished configuring the initial settings
for the host.
The controller adds the host information to the configuration.
Important
Auto-configuration collects the virtual server information for any host
systems you have in your network, if you turn on Discovery when you add
the host to the configuration. For more information about
auto-configuration, see Overview of auto-configuration, on page 5-15.
If you do not turn on Discovery (step 3, in previous procedure) when you
add the host to the configuration, then use the following procedure to add
virtual servers to the host definition.
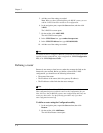
To add more virtual servers using the Configuration utility
1. In the navigation pane, click Host.
2. In the table, find the host that you just added, and click the entry in
its Host Virtual Servers column.
3. On the toolbar, click Add Host Virtual Server.
The Add Virtual Server to Host screen opens.
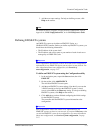
4. Add the new virtual server settings. For help on adding virtual
servers, click Help on the toolbar.
Repeat this process for each virtual server you want to add to this
host.
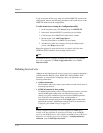
Note
For details on how to configure a host from the command line, refer to
Appendix A, 3-DNS Configuration File, in the 3-DNS Reference Guide.


