


Installation 12
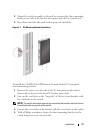
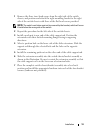
3 Mount the switch assembly to the rack by inserting the three mounting
hooks on one side of the bracket into square holes in the vertical rack.
4 Press down until the blue push button pops out and clicks.
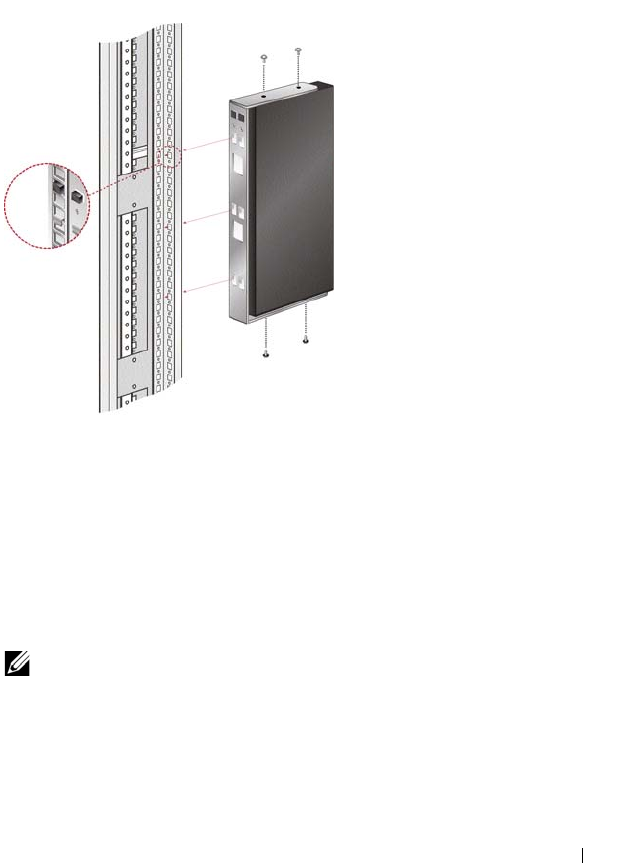
Figure 2-1. OU Mounting Bracket Installation
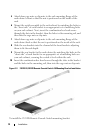
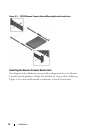
To install the 2161DS-2/4161DS Remote Console Switch 1U four point
switch mounting bracket:
1 Remove the screws on each side of the 1U four-point switch and set
them aside to attach to the front 1U bracket pieces later.
2 Line up the vent holes in the “long side” of the kit’s front brackets with
the vent holes in the switch.
NOTE: The switch vent holes must not be covered by the bracket, which will occur
if installed on the wrong side of the switch.
3 Line up the screw holes in the bracket with the screw holes in the switch.
4 With a Phillips screwdriver, fasten the front mounting brackets to the
switch using two screws on each side.