


Connecting Your Printer 31
WPS-PBC (Wi-Fi | WPS Button)
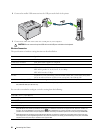
You can start WPS-PBC (Wi-Fi Protected Setup-Push Button Configuration) by pressing the (Wi-Fi | WPS)
button.
NOTE: WPS-PBC is available only when the wireless LAN access point (Registrar) or router supports WPS-PBC.
NOTE: Before starting WPS-PBC with the (Wi-Fi | WPS) button, confirm the position of the WPS button (button name may
vary) on the wireless LAN access point (Registrar) or router. For information about WPS operation on the wireless LAN access
point (Registrar) or router, refer to the manual supplied with the product.
NOTE: For more information on the (Wi-Fi | WPS) button, see "Status of Wi-Fi | WPS Button Backlight" on page 78.
If a problem occurs or error messages are displayed on the operator panel, see "Wireless Problems" on page 224.
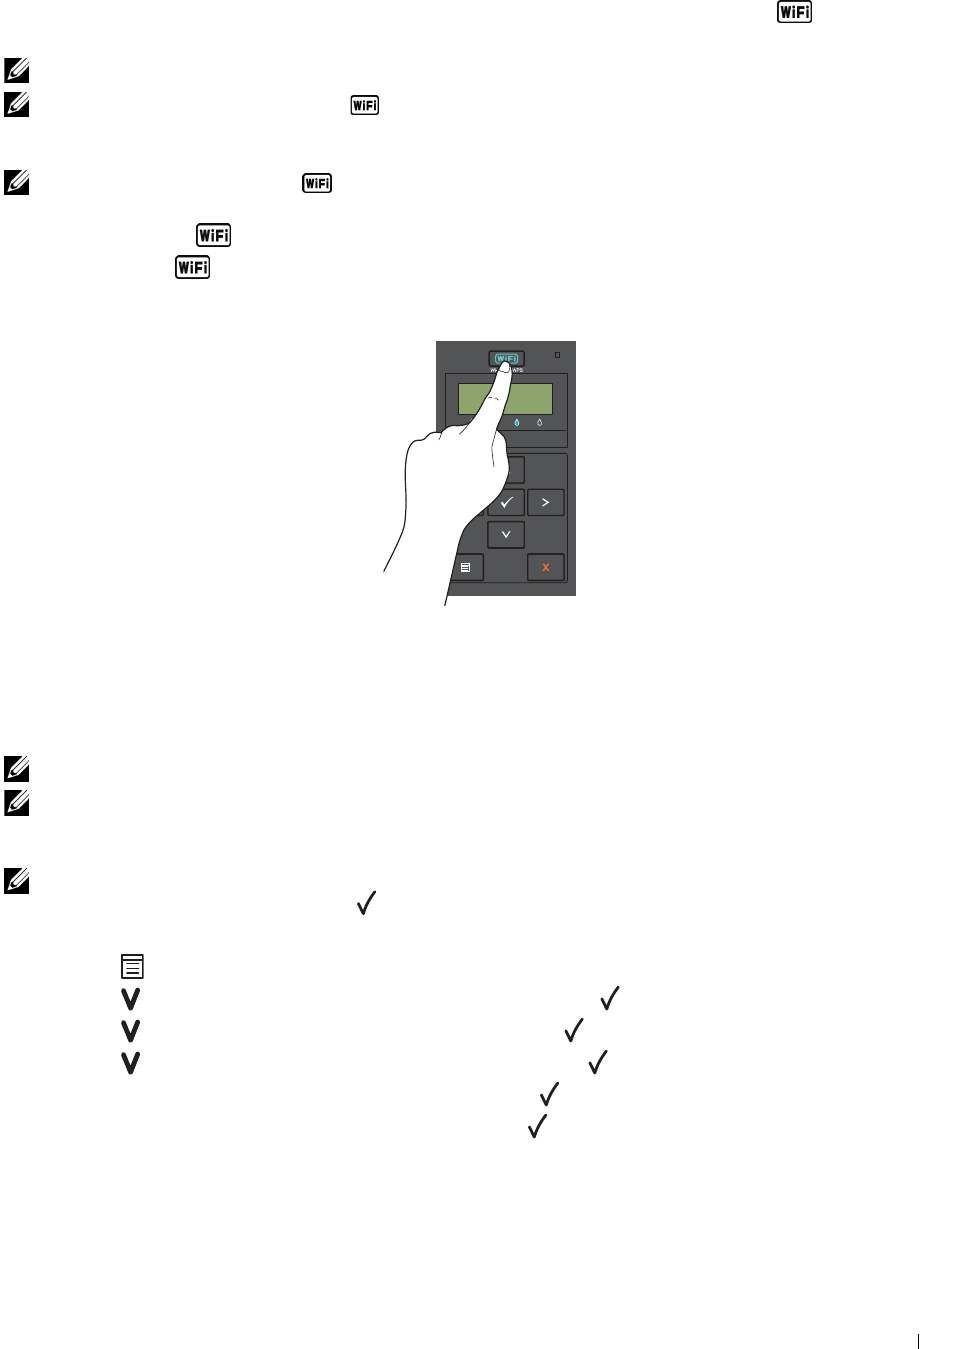
1
Press and hold the
(Wi-Fi | WPS) button on the printer for 2 seconds.
Ensure that the
(Wi-Fi | WPS) button starts to flash and
Press WPS Button on Router
appears on
the operator panel.
2
Start the WPS operation on the wireless LAN access point (Registrar) or router within two minutes.
3
When the WPS operation is successful and the printer is rebooted, wireless LAN connection setting is completed.
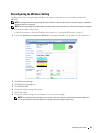
WPS-PBC (Operator Panel Menu)
You can start WPS-PBC (Wi-Fi Protected Setup-Push Button Configuration) from the operator panel.
NOTE: WPS-PBC is available only when the wireless LAN access point (Registrar) or router supports WPS-PBC.
NOTE: Before starting WPS-PBC, confirm the position of the WPS button (button name may vary) on the wireless LAN access
point (Registrar) or router. For information about WPS operation on the wireless LAN access point (Registrar) or router, refer to
the manual supplied with the product.
NOTE: A Password is required to enter Admin Menu when Panel Lock Set is set to Enable. In this case, enter
the password you specified, and press
the
(Set) button.
1
Press the
(Menu)
button.
2
Press the button until
Admin Menu
appears, and then press the
(Set)
button.
3
Press the button until
Network
appears, and then press the
(Set)
button.
4
Press the button until
WPS Setup
appears, and then press the
(Set)
button.
5
Ensure that
Push Btn. Ctrl
appears, and then press the
(Set)
button.
6
Ensure that
Are you sure?
appears, and then press the
(Set)
button.
Ensure that
Press WPS Button on Router
is displayed, and start the WPS-PBC on the wireless LAN
access point (Registrar) or router within two minutes.
7
When the WPS operation is successful and the printer is rebooted, wireless LAN connection setting is completed.