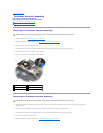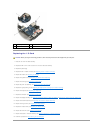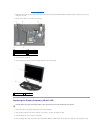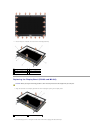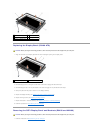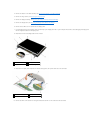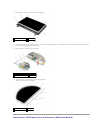
channel, including the tabs on the back of the base assembly.
5. Depending on the cards in your computer configuration, connect the antenna cables to their respective card:
For WWAN, see Replacing a WWAN Card.
For WPAN, see Replacing a WPAN (UWB/BT) Card.
For WLAN, see Replacing the WLAN/WiMax Card.
Place any unused antenna cables in the base assembly cable holders next to the card slot.
6. Connect the display cable to the display cable connector on the system board.
7. Connect the touch screen cable to the touch screen connector on the system board.
8. Replace the two M2.5 x 5-mm screws on the hinges.
9. Replace the hinge covers (see Replacing the Hinge Covers).
10. Replace the bottom of the base assembly (see Replacing the Bottom of the Base Assembly).
11. Follow the procedures in After Working on Your Computer.
Removing the Display Bezel (E6400 and M2400)
1. Follow the instructions in Before Working on Your Computer.
2. Remove the bottom of the base assembly (see Removing the Bottom of the Base Assembly).
3. Remove the hinge covers (see Removing the Hinge Covers).
4. Remove the display assembly (see Removing the Display Assembly (E6400 and M2400)).
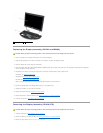
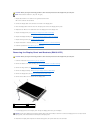
5. Starting with the middle of the right side of the bezel, push the bezel out or away from the display panel, and then pull up on the bezel to release the
side bezel snaps. See the arrows labeled "1" in the following illustration.
6. For the top right corner of the bezel, push out to release the corner bezel snap. See the arrow labeled "2" in the following illustration.
7. For the lower right corner, push out with force, then gently pull up to release the corner bezel snap. See the arrows labeled "3" in the following
illustration.
8. For the bottom of the bezel, push in toward the display panel starting with the lower right corner snap, then the middle bottom snaps, and then the
lower left corner snap. See the arrows labeled "4" through "6" in the following illustration.
9. For the left side of the bezel, push the bezel out or away from the middle of the display panel, then pull up on the bezel to release the side and corner
bezel snaps. See the arrows labeled "7" in the following illustration.
10. For the top of the bezel, push in toward the display panel to release the snaps along the top of the bezel. See the arrows labeled "8" in the following
illustration.
CAUTION: Before you begin the following procedure, follow the safety instructions that shipped with your computer.
NOTICE: Removal of the bezel from the display requires extreme care to avoid damage to the bezel. Special attention is required for the corners,
especially for the bezels used with the LED display panels. Follow the numbered arrows in the following illustration for the correct sequence for
releasing the bezel snaps.


