


Back to Contents Page
Hard Drive
Dell™Latitude™E6400andE6400ATGand
MobileWorkstationPrecision™M2400ServiceManual
Removing the Hard Drive
Replacing the Hard Drive
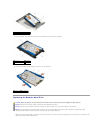
Removing the 1.8" Hard Drive (E6400 ATG)
Replacing the 1.8" Hard Drive (E6400 ATG)
Removing the Modular Hard Drive
Replacing the Modular Hard Drive
Removing the Hard Drive
1. Follow the procedures in Before Working on Your Computer.
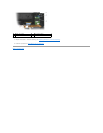
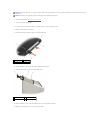
2. Close the display and turn the computer upside down.
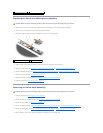
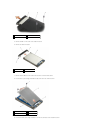
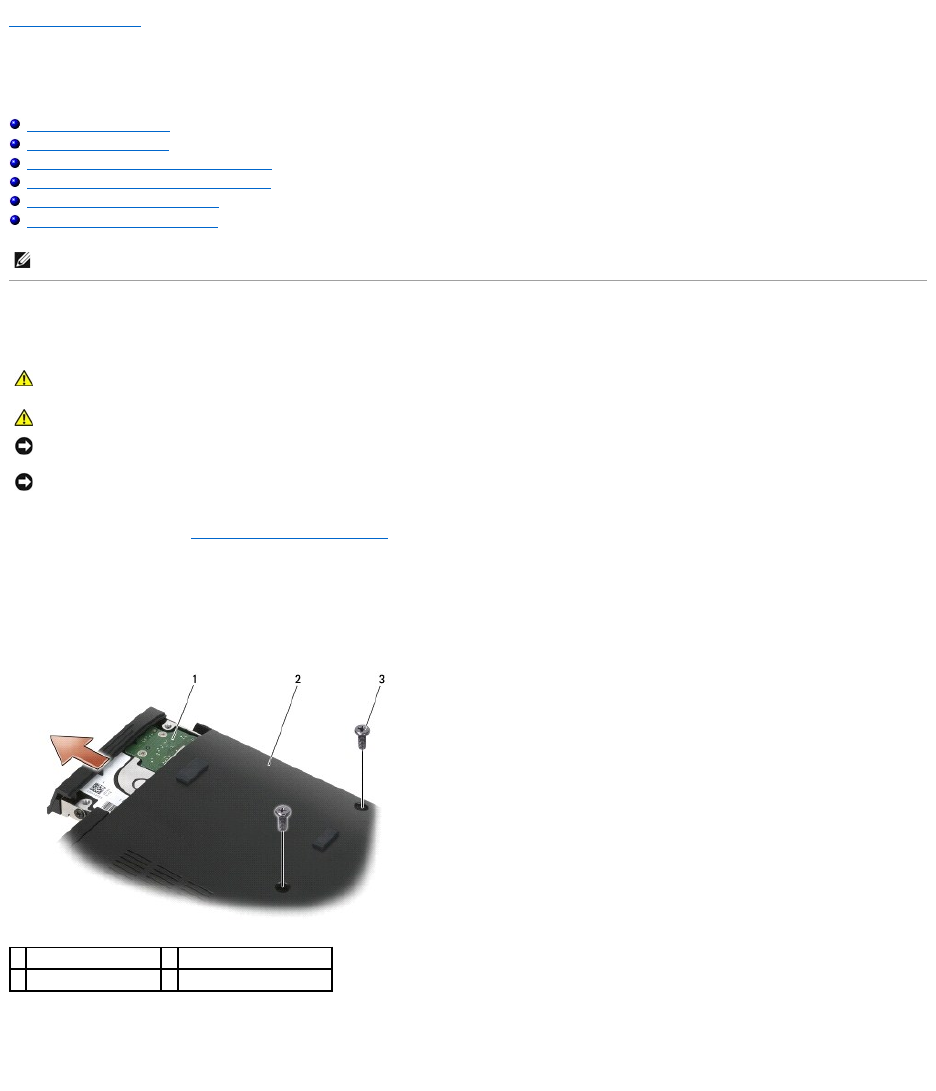
3. Remove the two M3 x 3-mm screws.
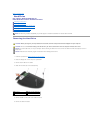
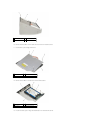
4. Slide the hard drive out of the base assembly.
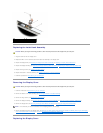
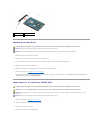
5. Remove the M3 x 3-mm screw on the hard drive bezel.
6. Remove the hard drive bezel.
NOTE: Dell does not guarantee compatibility or provide support for hard drives obtained from sources other than Dell.
CAUTION: Before you begin any of the procedures in this section, follow the safety instructions that shipped with your computer.
CAUTION: Do not touch the metal housing of the hard drive if you remove the hard drive from the computer while the drive is hot.
NOTICE: To prevent data loss, turn off your computer before removing the hard drive. Do not remove the hard drive while the computer is on or in
Sleep state.
NOTICE: Hard drives are extremely fragile. Exercise care when handling the hard drive.
1
hard drive
2
bottom of base assembly
3
M3 x 3-mm screws (2)