


Installing System Components 67
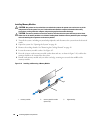
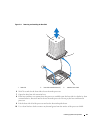
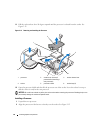
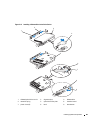
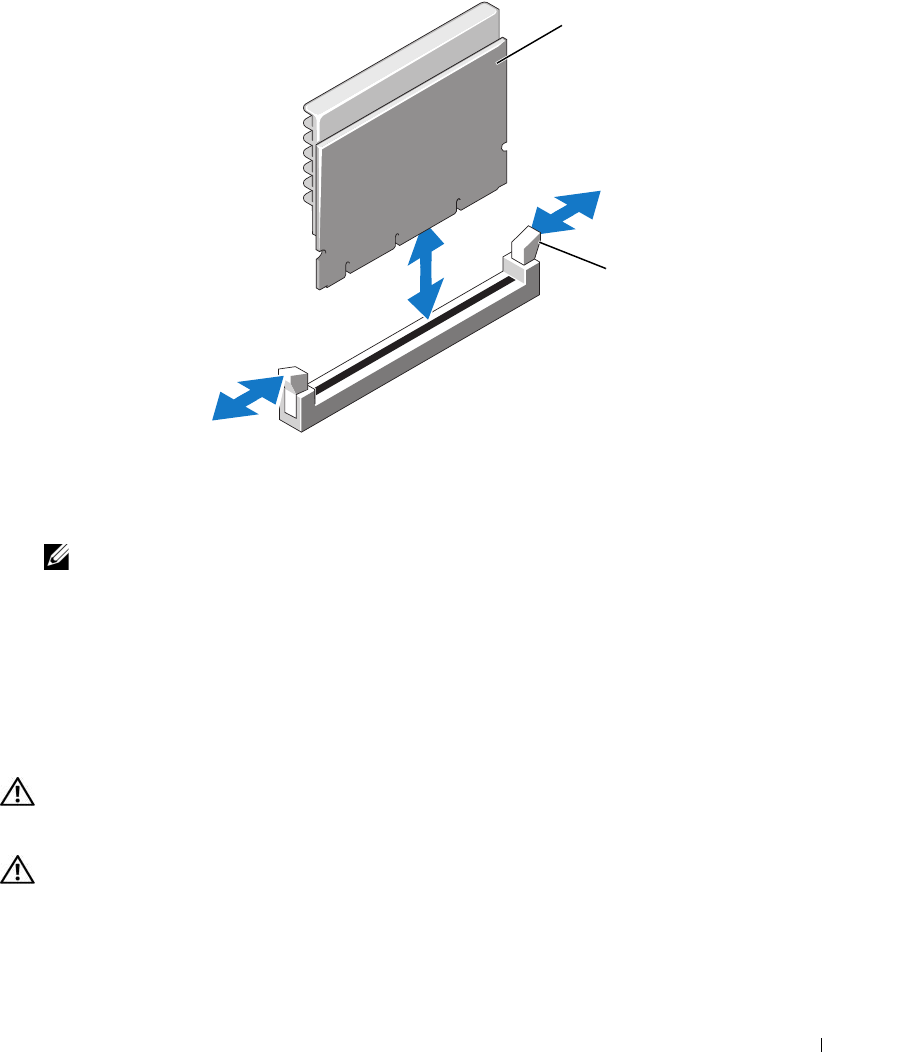
Figure 3-13. Installing and Removing a VRM
6
Holding the VRM by its edges, align the edge connector with the socket, and insert the VRM in the
socket.
NOTE: The VRM socket has an alignment key that allows you to install the VRM in the socket in only one way.
7
Press down on the VRM with your thumbs while pulling up on the ejectors with your index fingers to
lock the VRM into the socket.
8
Repeat step 5 through step 7 of this procedure to install the second VRM.
9
Replace the top cooling shroud. See "Replacing the Cooling Shrouds" on page 50.
10
Close the system. See "Closing the System" on page 47.
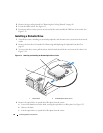
Removing a VRM
CAUTION: Only trained service technicians are authorized to remove the system cover and access any of the
components inside the system. See your Product Information Guide for complete information about safety
precautions, working inside the computer, and protecting against electrostatic discharge.
CAUTION: The VRMs are hot to the touch for some time after the system has been powered down. Allow time for
the VRMs to cool before handling them. Handle the VRMs by the card edges.
1
Turn off the system, including any attached peripherals, and disconnect the system from the electrical
outlet.
2
Open the system. See "Opening the System" on page 46.
1 VRM 2 socket ejectors (2)
2
1