Chapter 6 Motherboard Unit Replacement 6-5
Caution – To ensure that you and bystanders are not exposed to harm and to
prevent damage to the system, observe the ESD safety precautions. See Section 1.1,
“ESD Precautions” on page 1-1.
1. Power off the server.
This procedure includes the steps of turning the mode switch on the operator
panel to the Service position, verifying that the POWER LED is off, and
disconnecting the power cord. For details, see Section 4.5.1, “Powering off the
Server” on page 4-12.
2. Remove all the cables from the external interface block on the rear panel.
Caution – To prevent the equipment rack from tipping over, you must deploy the
antitilt feature, if applicable, before you slide the server out of the equipment rack.
Note – When the cable management arm is not mounted, remove the cable ties that
fix the PCI cable to the rear of the server, and slide the server out.
3. Pull the power supply unit out several centimeters to the rear side.
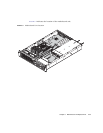
4. Slide the server out from the equipment rack.
For details, see Section 5.1.1, “Sliding the Server Out from the Equipment Rack”
on page 5-1.
5. Loosen the screws securing the cable management arm to the left rear of the
server.
6. Pull the cable management arm out from the equipment rack.
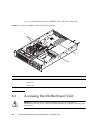
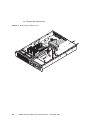
7. Remove the top cover.
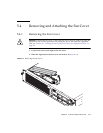
For details, see Section 5.2.1, “Removing the Top Cover” on page 5-3.
8. Remove the PCIe cards.
For details, see Section 8.2, “Removing a PCIe Card” on page 8-4.
9. Remove the air duct.
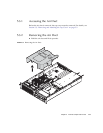
For details, see Section 5.3.2, “Removing the Air Duct” on page 5-5.
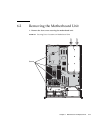
10. Disconnect all the cables from the motherboard unit.
11. Loosen the two screws securing the shutter unit, and slide the securing bracket
on the power supply unit.


