Replacing the system board 83
13
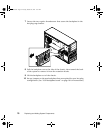
Remove the ten screws securing the system board to the support tray and
remove the board, then place it in an anti-static bag or container.
14 Install the replacement system board on the tray using the screws you
previously removed.
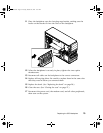
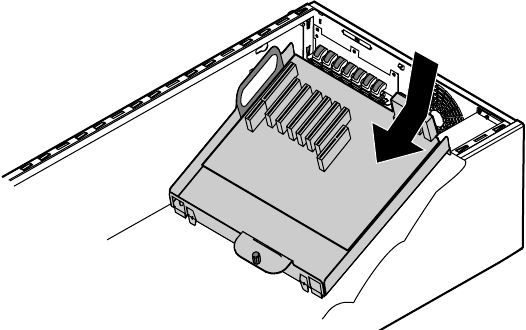
15 Holding the board support tray by the handles, place it in the chassis,
right edge first. Arrange the cables carefully to prevent tangling as you
install the board and tray assembly.
16 Holding the board support tray in place, tighten the retaining
thumbscrew on the right edge of the board support tray.
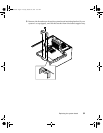
17 Replace the system board retaining bracket (if your system is so equipped)
and reinstall the retaining bracket thumbscrew.
18 Replace the back panel fan (see “Replacing the back panel and drive cage
fans” on page 73.)
19 Replace any expansion cards that you removed in Step 4 (see “Replacing
an expansion card” on page 63.)
20 Reconnect all cables on the system board to the correct connectors.
21 Return the chassis to an upright position.
22 Replace the bezel. (See “Replacing the bezel” on page 28.)
23 Close the case. (See “Closing the case” on page 27.)
24 Reconnect the power cord, the modem cord, and all other peripherals,
then turn on the system.
8508366.book Page 83 Tuesday, October 23, 2001 11:29 AM


