


Chapter 6 Replacing Parts
97
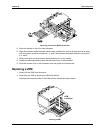
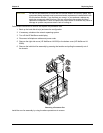
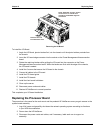
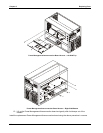
Note: Pedestal version shown
rack version is similar but
would be rotated 90 degrees
clockwise
Remove the I/O
board bottom first
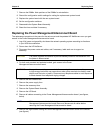
Removing the I/O Board
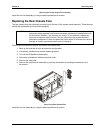
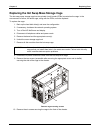
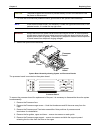
To install the I/O Board:
1. Angle the I/O Board, ejector latches first, into the chassis until the ejector latches protrude from
the chassis.
2. Insert the I/O board edge connector into the socket on the Power Management/Interconnection
board.
3. Rotate the retaining latches while guiding the I/O board into the connector on the Power
Management/Interconnection board. When the latches are flush with the edge of the chassis,
the I/O board is seated.
4. Install the 3 screws that secure the I/O board to the chassis.
5. Connect all cables to the I/O board.
6. Install the PCI board guide.
7. Install the PCI boards.
8. Install the front board hold-down.
9. Close up the server.
10. Reconnect power cords and cables.
11. Restore HP NetServer to normal operation.
This completes your I/O board installation.
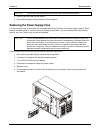
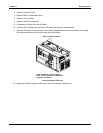
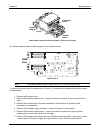
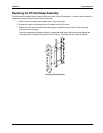
Replacing the Processor Board
The procedure is the same for the rack-mount and the pedestal HP NetServers once you gain access to the
system board assembly.
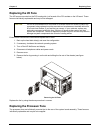
1. Log off all users and gracefully shut down the network operating system according to directions
in your NOS documentation.
2. Power down the HP NetServer.
3. Disconnect the power cords and cables, and if necessary, label each one to support re-
assembly.