HP OmniBook 2100/3000/3100 Removal and Replacement 2-11
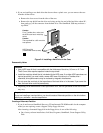
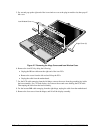
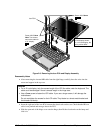
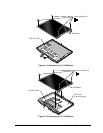
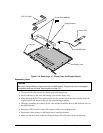
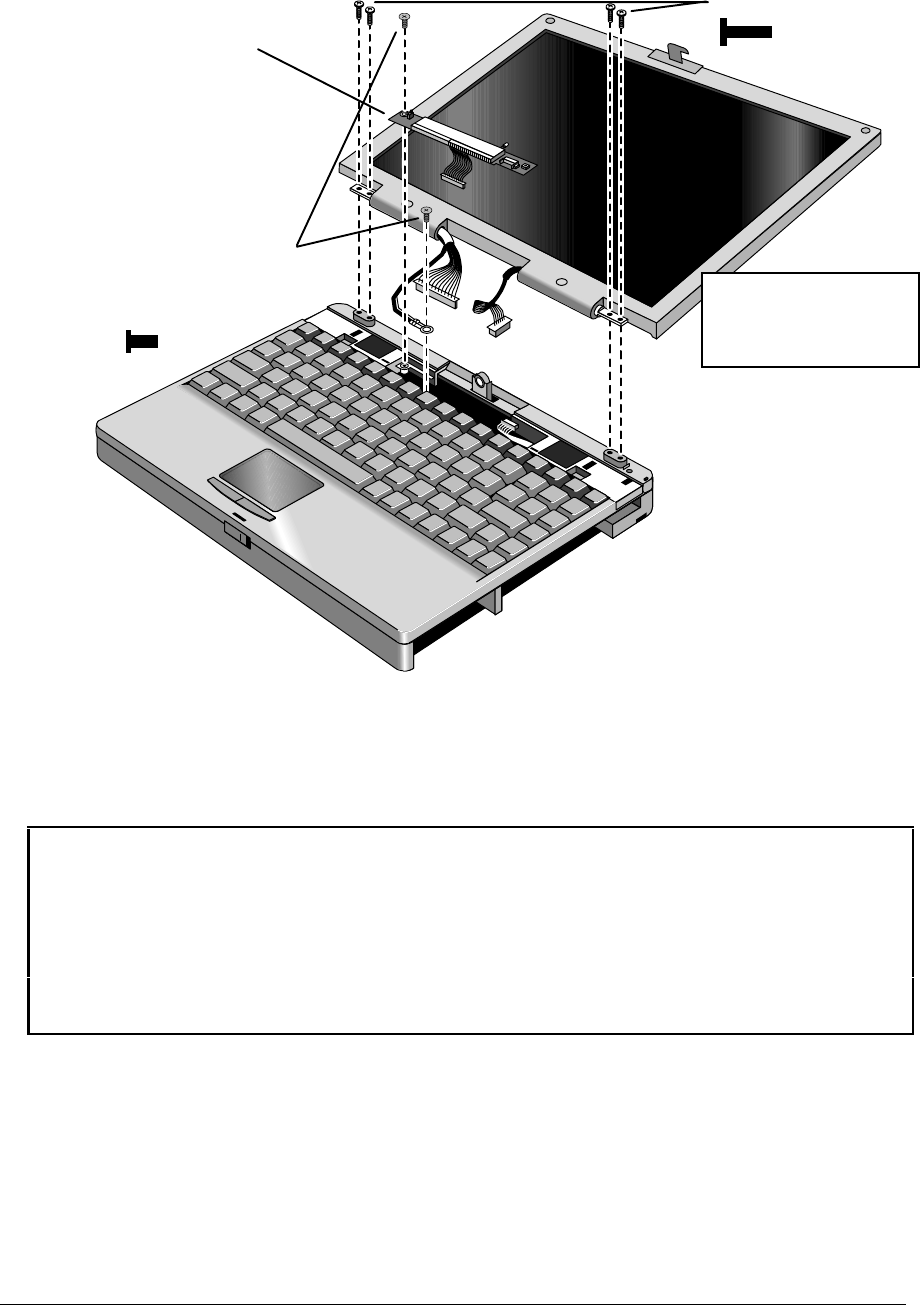
Figure 2-8. Removing the Icon PCA and Display Assembly
Reassembly Notes
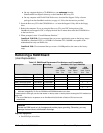
• After connecting the inverter/MB cable from the right hinge, carefully dress the wires into the
cutout and support in the top case.
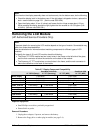
Caution
• For a 12-inch display, tuck the excess length of the LCD flex cable under the keyboard. The
cable could be damaged if there is excess length in the hinge area.
• Use a 5 mm screw to fasten the LCD cable. If you use a longer screw, it will damage the
motherboard.
Do not overtighten the screws for the LCD cable. They fasten to a sheet-metal bracket and
the threads could strip.
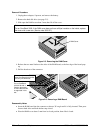
• Insert the right end of the icon PCA between the plastic tabs on the case. Check that the IR/icon
cable is not pinched and emerges above the PCA.
• Slide the open end of the hinge cover onto the hinge, then lift the closed end over the bump and
slide it in.
Icon PCA
Screw, M2.5×8mm
Screw, M2.5×5mm
Note: Two screws
secure the cable for
a 12" display.
Note:
13-inch display shown.
For a 12-inch display, the
display cables differ.


