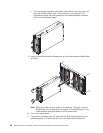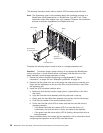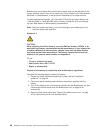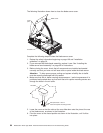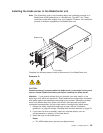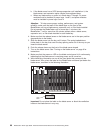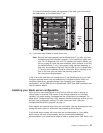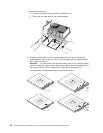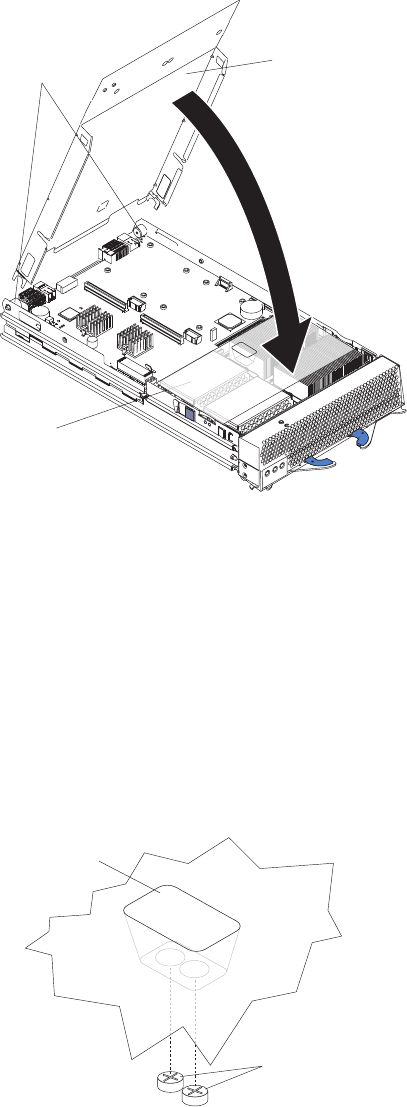
The
following
illustration
shows
how
to
close
the
blade
server
cover.
Blade cover
Cover
pins
Air baffle
Complete
the
following
steps
to
close
the
blade
server
cover:
1.
Review
the
safety
information
beginning
on
page
109
and
“Installation
guidelines”
on
page
33.
2.
If
you
removed
the
blade
bezel
assembly,
replace
it
now.
See
“Installing
the
blade
server
bezel
assembly”
on
page
62
for
instructions.
3.
Before
closing
the
cover,
check
that
all
components
are
installed
and
seated
correctly
and
that
you
have
not
left
loose
tools
or
parts
inside
the
blade
server.
Attention:
To
help
ensure
proper
cooling
and
system
reliability
the
air
baffle
must
be
correctly
positioned
and
fully
seated.
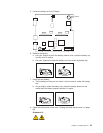
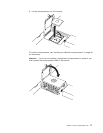
4.
Make
sure
that
the
air
baffle
covering
microprocessor
1
and
microprocessor
4
is
positioned
and
pushed
down
so
that
both
heat
sink
captive
mounting
screws
are
through
the
holes
in
the
air
baffle.
Air baffle
Microprocessor 1 and 4
heat sink captive mounting screws
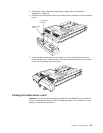
5.
Lower
the
cover
so
that
the
slots
at
the
rear
slide
down
onto
the
pins
at
the
rear
of
the
blade
server,
as
shown
in
the
illustration.
6.
Pivot
the
cover
to
the
closed
position
as
shown
in
the
illustration,
until
it
clicks
into
place.
64
BladeCenter
HS40
Type
8839:
Hardware
Maintenance
Manual
and
Troubleshooting
Guide


