Chapter 6. Operation (Models TF7 and TM7)
Operating Controls and Indicators ..................63
Paper Loading .........................63
Thermal Printhead Cleaning ....................66
Note: All covers must be installed on the SureMark printer during operation.
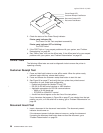
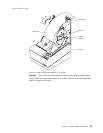
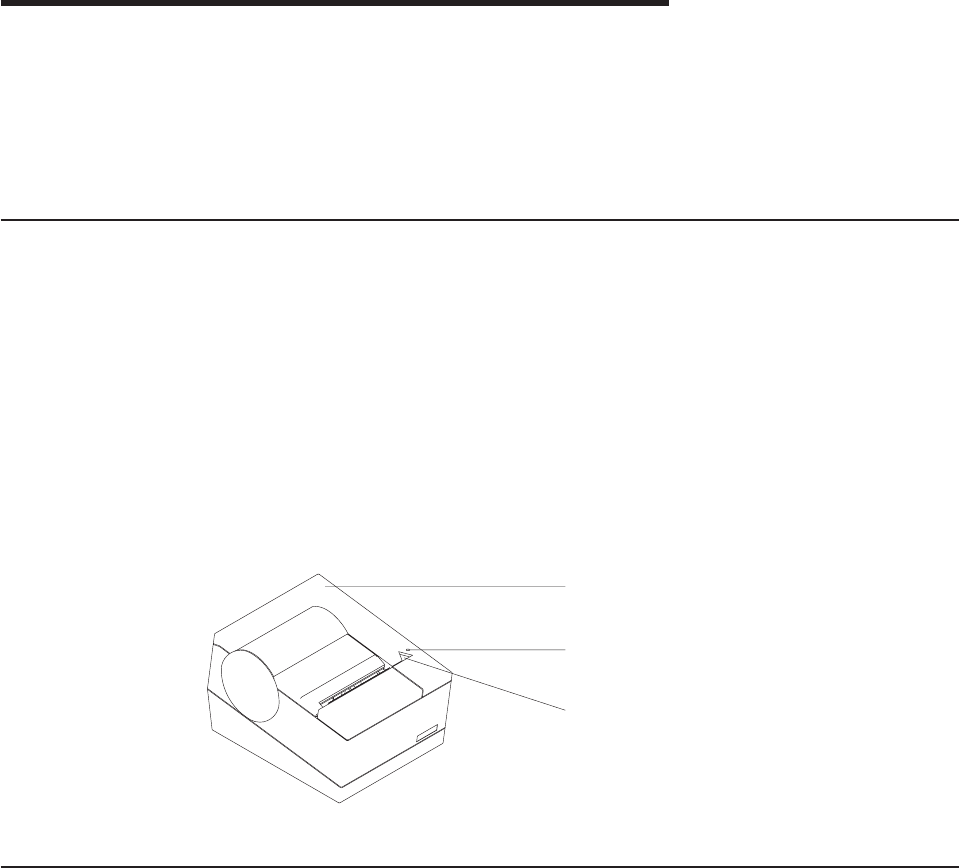
Operating Controls and Indicators
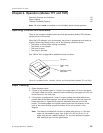
There is one triangular-shaped button and one light-emitting diode (LED) indicator
located on top of the printer.
When the LED indicator is on continuously, the printer is powered on and ready for
printing. When the indicator blinks, one of the following conditions exists:
v The printer is offline (offline testing is enabled).
v The printer is out of paper.
v The cover is open.
v The cutter is jammed.
See “Offline Test” on page 68 for additional button functions.
Paper Loading
1. Open the paper cover.
2. If there is any unused paper or if there is an empty paper roll core in the paper
roll holder inside the printer, remove it before inserting a new paper roll. You can
throw the core in the trash can.
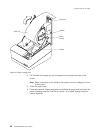
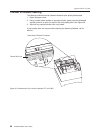
3. If the printer is configured for ″snap in″ paper loading (two white spheres are
present behind the metal springs), then place the paper roll onto the paper roll
holder as shown in Figure 28 on page 64; otherwise, drop the roll into the
bucket. The leading edge of the paper should come from the direction of the
back of the printer and go across the bottom of the roll as shown in the
diagram.
Note: The thermal printhead will not print on paper with glue on it. If the new
paper roll was sealed by glue, tear off the 15 to 20 cm (6 to 8 in.) of
paper with glue on it before loading it. Or, you can advance the paper
after loading to get rid of the glued paper.
Top cover
Printer ready
LED
Customer receipt
feed button
Figure 27. SureMark Printer - Indicator, Control, and Printing Station (Models TF7 and TM7)
updated March 18, 2002
© Copyright IBM Corp. 1999,2001 63
|
|
|
|
|
|
|
|
|
|
|


