6-2. Registering Destinations
III Scanner 160
Chapter 6 Using the Scanner Functions
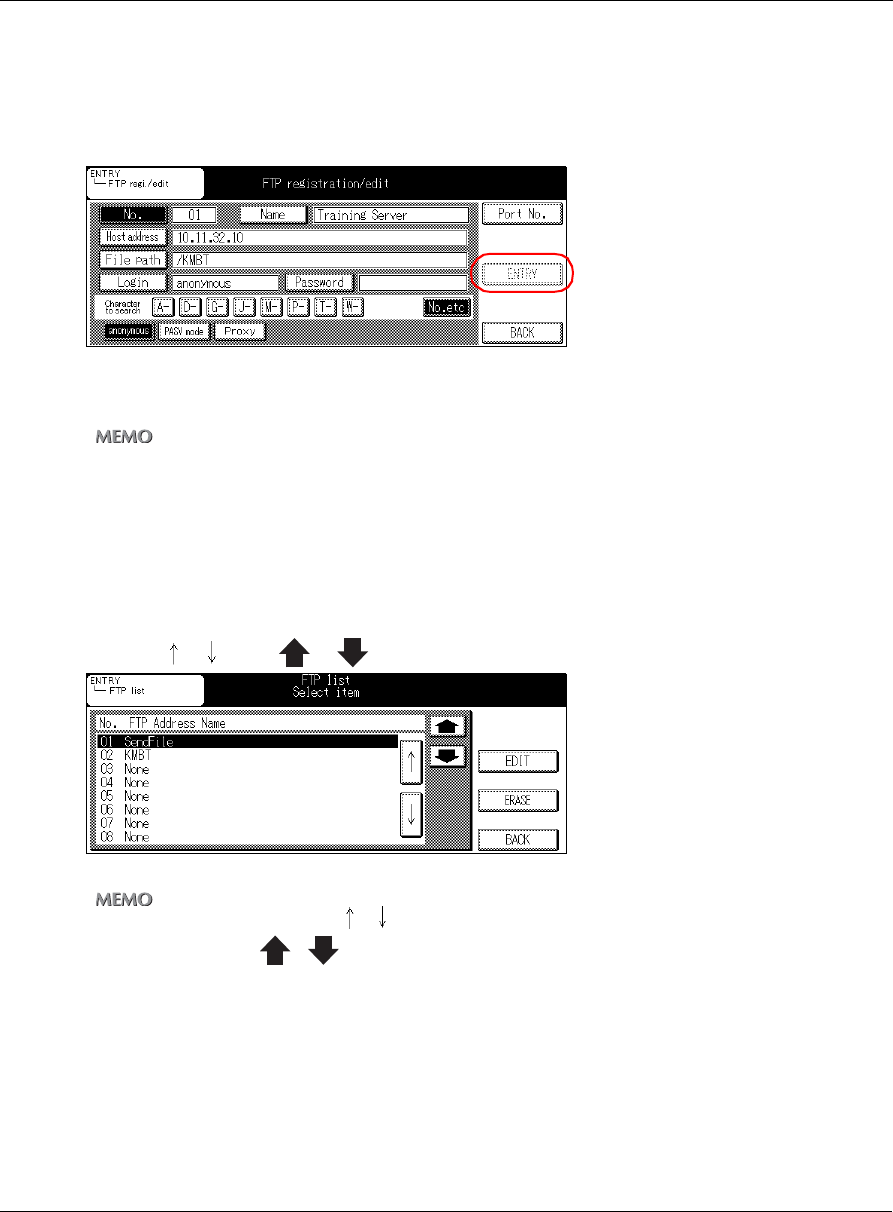
15 Touch the [A-] - [No. etc] key to set the registration group.
When you register a group, it is displayed in the groups registered with the [FTP select] screen.
→ The selected group is displayed in the [Character to Search] column.
16 Touch the [ENTRY] key.
→ The [Name], [Host address], [File path], [Login], [Password], [Character to search] and [Port
No.] are registered.
To continue registering, repeat Steps 1-16.
zIf the [Host address], [File path], [Login], [Password], or [Character to Search] is not input, [ENTRY] is not enabled.
17 Touch the [BACK] key.
→ The [Registration/Edit Menu] screen is displayed.
FTP list screen
1 Use the [ ] [ ] and [ ], [ ] key and select the FTP profile name.
→ The selected profile name is displayed inverted.
zThe profile name is selected with [ ] [ ].
zSwitch the page with [ ] [ ].
2 Touch the [EDIT] or [ERASE] key.
→ When you touch the [EDIT] key, the [FTP registration/edit] screen is displayed. When [ERASE]
is touched, the selected FTP profile name is deleted.
3 Touch the [BACK] key.
→ The [Registration/Edit Menu] screen is displayed.


